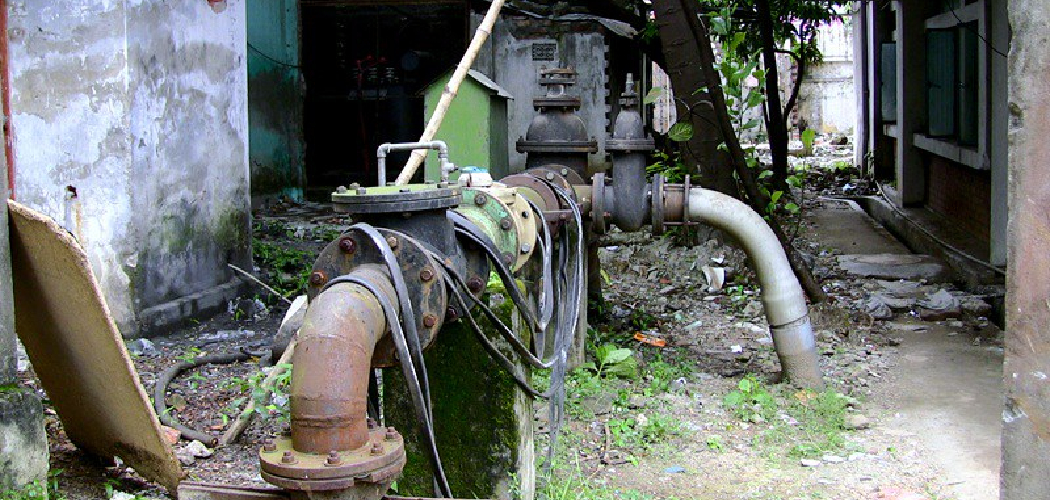
Frozen well water pipes are a prevalent concern in colder climates, posing significant risks to homeowners. When temperatures plummet, water within pipes can freeze, leading to a disrupted water supply and the potential for costly damage if left unaddressed. It’s essential to act swiftly when you suspect freezing, as the consequences of delayed action can include burst pipes and extensive water damage to your property.
This article will provide a comprehensive guide on how to unfreeze well water pipes, outlining effective steps to identify frozen pipes, methods for safely thawing them, and strategies to prevent future freezes. By following these guidelines, you can mitigate risks and protect your plumbing in the long term.
Identifying Frozen Well Water Pipes
Recognizing the signs of frozen well water pipes quickly can prevent further damage and costly repairs. The first and most obvious indicator of freezing is no water flow; if you turn on the faucet and nothing comes out, the pipes are likely frozen. Another telltale sign is frost on pipes; visible frost or ice on exposed pipes should raise alarm bells. Additionally, listen for any odd noises when attempting to run the water—gurgling or clanking sounds often signal ice blockages in the system. Finally, consider the cold temperatures; pipes in unheated areas such as basements, crawl spaces, or exterior walls are at higher risk of freezing.
To locate the frozen section of the pipes, begin by checking exposed pipes in areas where freezing is more likely to occur. This includes inspecting basements and crawl spaces, where temperatures can drop significantly. To further identify the problem, trace the pipes from the well to the house. Focus your attention on the sections that are exposed to cold air, which are more susceptible to freezing. Additionally, using temperature as a guide can be helpful; run your hand along the pipes to feel for any cold spots, as these areas are likely to contain ice blockages. Identifying these signs promptly will enable you to act before further issues arise.
Preparing to Thaw Frozen Pipes
Before starting the thawing process, taking specific precautions is crucial to avoid further complications, such as flooding.
Turn Off the Water Supply
The first step is to turn off the water supply to prevent potential flooding in the event of a pipe burst. Locate the main shut-off valve, typically near the well or pressure tank. Ensure that the valve is turned clockwise until it is fully closed. This action stops water flow through the pipes, thereby minimizing the risk of water damage if the pipe unexpectedly bursts while you are thawing it.

Remember that the main shut-off valve may be situated in a recessed area, so check carefully to ensure it is accessible. Marking this valve’s location in your home can save valuable time during an emergency, ensuring you can act quickly when needed.
Open Faucets
After shutting off the water supply, the next step is to open the faucets connected to the frozen pipe. This should be done for both hot and cold faucets. Opening the faucets serves two crucial purposes: it relieves pressure in the plumbing system and enables water to flow as the ice melts. Allowing air into the system prevents additional pressure from building up, which could lead to potential burst pipes.
Make sure to wait for a moment to allow any residual water in the pipes to drain before beginning the thawing process. Additionally, monitoring the temperature around the open faucets can help assess the effectiveness of the thawing efforts, as you should start to hear dripping water as ice begins to melt.
How to Unfreeze Well Water Pipes: Methods
Successfully thawing frozen well water pipes requires careful methods to ensure effectiveness and safety. Below are three effective techniques to restore your water flow.
Method 1: Using a Hair Dryer or Heat Gun
Step-by-Step Instructions: Start by selecting a hair dryer or heat gun and ensuring it is in good working condition. Turn it to a low heat setting and begin warming the frozen section of the pipe nearest to the faucet. Gradually move the tool along the length of the pipe toward the well. This technique allows even more thawing, preventing damage from rapid temperature changes. Maintain a few inches distance between the tool and the pipe to avoid directing intense heat directly onto the material.
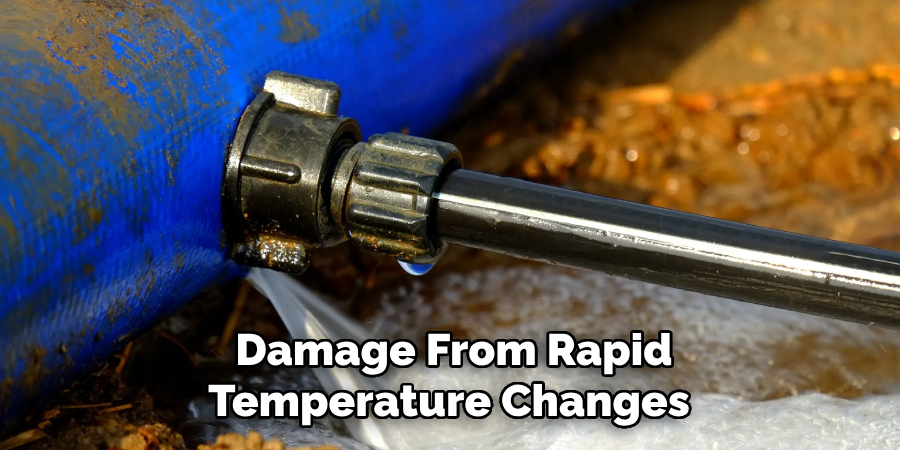
Safety Tips: High heat can damage pipes or cause them to warp, leading to leaks. Always keep the dryer or heat gun moving to evenly distribute warmth and avoid overheating a single area. Additionally, stay clear of using these devices near standing water to mitigate the risk of electrical hazards.
Method 2: Applying Heat Tape
Step-by-Step Instructions: Heat tape, or pipe heating cables, can be a great solution for thawing frozen pipes. Begin by turning off the water supply. Carefully unwrap the heat tape and wrap it around the frozen section of the pipe, ensuring it covers the entire affected area. Once securely attached, plug in the heat tape, allowing it to generate a gentle heat that will gradually thaw the ice within the pipe.
Safety Tips: Always follow the manufacturer’s instructions for the heat tape, especially regarding installation and activation. Avoid overlapping the tape, as this can lead to overheating, posing a fire risk, or damaging the pipe.
Method 3: Space Heaters and Heating Pads
Step-by-Step Instructions: For a broader approach, space heaters or heating pads can effectively warm the surrounding area of the frozen pipe. Place the heater or pad close to the pipe without allowing direct contact, as this can lead to damage. Turn the heater on to a low setting and keep it running to help increase the ambient temperature sufficiently to thaw the ice.
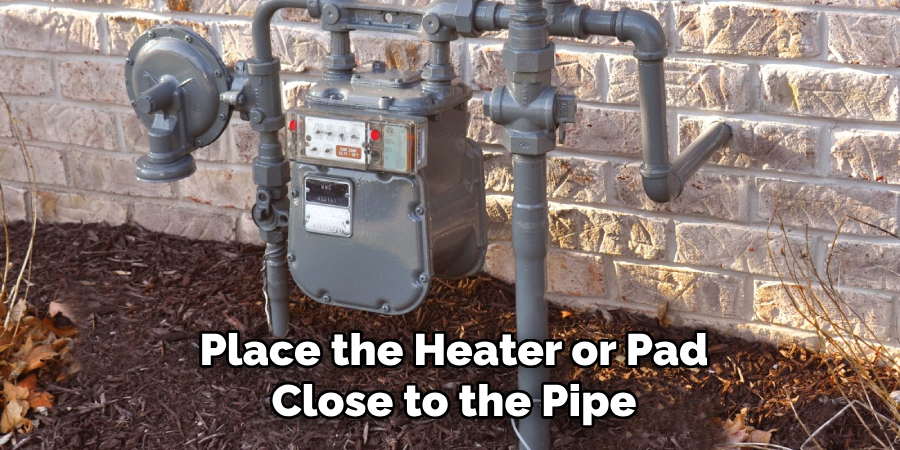
Safety Tips: While using space heaters, always maintain a safe distance from any flammable materials. Never leave space heaters unattended, as this can increase the fire risk. It’s also important to monitor the area closely to ensure that heat is effectively working to thaw the pipes without causing any other hazards.
By carefully choosing and applying these methods, you can effectively thaw frozen well water pipes while prioritizing safety and damage prevention.
Preventing Pipe Bursts and Water Damage
Preventing pipe bursts and subsequent water damage is crucial during the thawing process. It’s essential to remain vigilant and attentive to any changes in your plumbing.
Monitor the Thawing Process
As you initiate the thawing methods, carefully monitor the process. Listen for signs of water flow, such as dripping or gurgling, that indicate ice is melting. Be prepared to shut off the water supply immediately if you detect leaks or bursts emerging during thawing. Quick action can help mitigate potential flooding and damage to your property.
Check for Leaks
Once the pipe has been successfully thawed, thoroughly inspect it and its connections for any signs of leaks or cracks. Pay close attention to areas that may have been previously strained or frozen. If you notice any damage, make necessary repairs immediately to prevent future issues. Addressing these problems swiftly will help ensure the integrity of your plumbing system and avoid costly water damage.
Preventing Future Pipe Freezes
Taking proactive measures to prevent future pipe freezes is essential for protecting your plumbing system and avoiding costly repairs. Implementing insulation techniques and maintaining a steady flow of water can significantly mitigate the risk of frozen pipes.
Insulate Pipes
Step-by-Step Instructions: Start by identifying exposed pipes in your home, particularly those in vulnerable areas such as basements, crawl spaces, and exterior walls. Use foam pipe insulation, which is readily available at most hardware stores, and cut it to size before fitting it around the pipes. For additional protection, consider applying heat tape or pipe sleeves to particularly cold areas. Ensure the insulation covers the entire pipe length and any joints or bends that are more prone to freezing. Furthermore, adding extra insulation can create a significant barrier against cold air in well houses.
Tips: In addition to insulating pipes, checking for and sealing any cracks or gaps in walls or around windows can prevent cold air from entering. Caulk or spray foam can seal these areas effectively, reducing the likelihood of pipes freezing in extreme weather.
Keep Water Flowing
Step-by-Step Instructions: One effective way to prevent pipes from freezing is to allow faucets to drip slightly during particularly cold temperatures. This technique enables water to keep moving through the pipes, which lowers the chance of ice formation. Focus on the faucets that are least insulated or farthest from your home’s heat source, as these are at higher risk.
Tips: It’s advisable to let these faucets drip during the night or when forecasts predict a significant drop in temperatures. This simple action can be a critical safeguard against the inconvenience and damage that frozen pipes can cause. By adopting these preventive measures, you can help ensure the integrity of your plumbing system throughout the winter months.
When to Call a Professional
While many frozen pipe situations can be managed with DIY methods, there are instances where professional help is essential. If you suspect that pipes are deeply frozen and not responding to heat applications, or if they are located in hard-to-reach areas, it may be time to call a plumber. Additionally, if you’ve experienced a burst pipe or significant leaks during the thawing process, professional intervention is critical to resolve the damage and prevent further issues.
Complex Thawing Situations
In situations where pipes are buried deep within walls or floors or when extensive damage has occurred, a licensed plumber can efficiently locate and thaw the pipes without causing additional harm to your property. Their expertise can save time and reduce the risk of further complications.
Long-Term Solutions
For long-term peace of mind, consider consulting a plumbing professional about rerouting vulnerable pipes, enhancing insulation, or installing heating systems. These solutions can be particularly beneficial in regions prone to extreme cold, ensuring your plumbing remains safe and functional throughout winter.
Conclusion
In summary, effectively addressing frozen well water pipes involves a series of key steps: identifying the problem, cautiously thawing the pipes, and implementing preventive measures. Start by recognizing the signs of freezing, then follow the appropriate methods to unfreeze them safely, such as using heating pads or space heaters. Always turn off the water supply and closely monitor the thawing process to prevent leaks and damage.
Safety should be a priority throughout this process. Additionally, being proactive is vital; insulating pipes and allowing faucets to drip during extreme cold can significantly reduce the risk of future freeze-related issues. Understanding how to unfreeze well water pipes and taking the necessary precautions can protect your plumbing system and ensure its integrity during harsh winter conditions.

