./When faced with a clogged bathroom sink or needing to replace old plumbing fixtures, knowing how to unscrew the sink drain can be an essential skill. The process may seem daunting at first, but with the right tools and a step-by-step approach, anyone can tackle this straightforward maintenance task.

This guide on how to unscrew bathroom sink drain will provide you with the necessary instructions to safely and effectively remove the sink drain, ensuring that you can handle plumbing repairs with confidence.
Why Do You Need to Unscrew the Bathroom Sink Drain?
Understanding the reasons for unscrewing your bathroom sink drain is vital for effective home maintenance. First and foremost, it allows you to clear out clogs that can lead to slow drainage or complete backups, which can be inconvenient and unsanitary.
Additionally, removing the drain provides access to clean or replace old plumbing parts that may have corroded or degraded over time.
Regularly checking and maintaining the sink drain can prevent bigger plumbing issues down the line, ultimately saving you time and money on repairs. Finally, this task can also be necessary for remodeling projects where new fixtures need to be installed, ensuring that your bathroom looks and functions at its best.
Tools You Will Need
Before diving into the steps, make sure you have the necessary tools on hand to unscrew your bathroom sink drain. Here is a list of items you will likely need:
Pliers or Channel Locks:
These tools provide a firm grip and leverage when performing the unscrewing motion. Pliers are best for small and tight spaces, while channel locks can handle larger drains.
Screwdriver:
A standard flathead or Phillips screwdriver is essential for loosening any screws holding the drain in place.
Plumber’s Putty:
This soft, moldable material helps create a seal between the sink and the drain to prevent leaks. It can also be used to temporarily plug the drain if needed.
Plumbers Tape:
Also known as Teflon tape, this thin white tape helps create a water-tight seal when wrapping around screw threads.
Bucket:
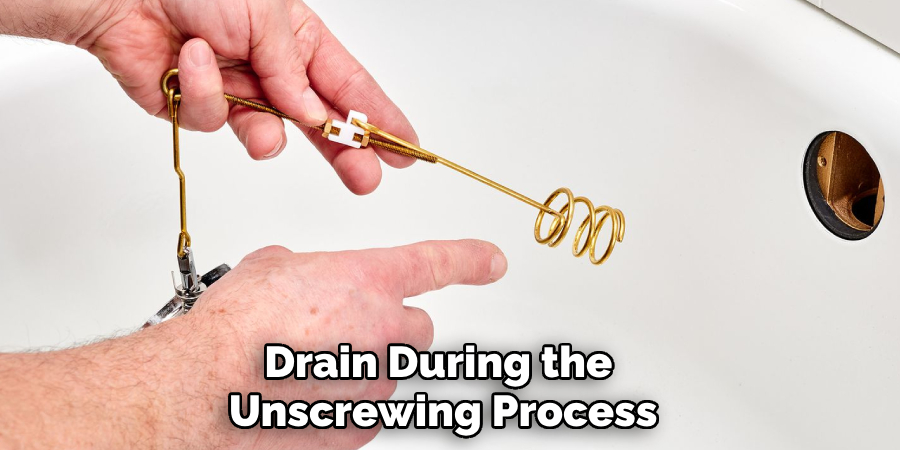
It’s always a good idea to have a bucket or container nearby to catch any water that may come out of the drain during the unscrewing process.
8 Steps on How to Unscrew Bathroom Sink Drain
Step 1: Clear Out Any Items Under the Sink
Before you begin the process of unscrewing the bathroom sink drain, it’s essential to clear out any items stored under the sink. This may include toiletries, cleaning supplies, and personal items.
Removing these obstacles not only provides you with ample space to work but also prevents any potential damage to your belongings during the unscrewing process.
Once the area is clear, you’ll have unobstructed access to the sink and drain, making it easier to maneuver your tools and complete the task efficiently.
Step 2: Turn Off the Water Supply
Before proceeding with unscrewing the sink drain, it’s crucial to turn off the water supply to prevent any accidental flooding or spills. Locate the shut-off valves typically found underneath the sink—there should be one for both the hot and cold water lines. Turn these valves clockwise until they stop to ensure that no water can flow into the sink.
Once the water supply is turned off, turn on the faucet briefly to release any remaining water in the pipes and alleviate pressure. This simple step will create a safer and cleaner work environment as you carry out the drain unscrewing process.
Step 3: Locate the Drain Stopper
The next step in the process is to locate the drain stopper, which is the mechanism responsible for sealing the drain when it’s closed. Depending on your sink model, the drain stopper may be a lift-and-turn type, a push-and-pull style, or a toggle lever.
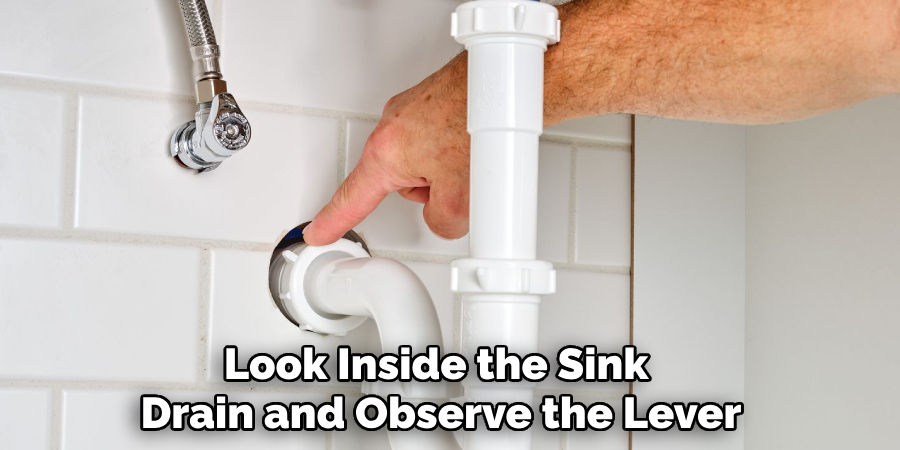
To find it, look inside the sink drain and observe the lever or knob usually situated at the back of the sink. If it’s a lift-and-turn type, you can usually pull directly upward to remove the stopper.
For push-and-pull styles, you may need to turn it or press it down to release. If applicable, detach any linkage or rod connected to the stopper mechanism as you prepare to unscrew the drain. Properly removing the stopper will provide complete access to the drain and simplify the unscrewing process.
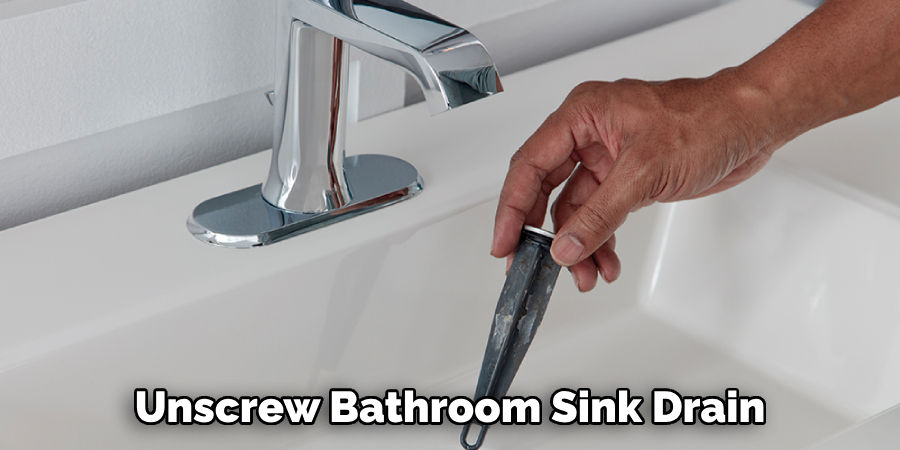
Step 4: Use Pliers or Channel Locks to Loosen the Drain
Now it’s time to grab your pliers or channel locks and use them to loosen the drain. Place the tool around the top edges of the drain, making sure it has a secure grip on both sides.
Turn counterclockwise or lefty-loosey until you feel the drain begin to loosen. If you’re having difficulty turning, try applying some WD-40 lubricant or heating with a hairdryer to help break any rust or buildup that may be hindering movement.
Once you feel confident that the drain is loosened, continue unscrewing until it comes out entirely from underneath the sink. If your drain has a crossbar attached to it, make sure to remove it before proceeding.
Step 5: Remove Any Remaining Parts
Once the drain is successfully unscrewed, the next step is to remove any remaining parts that may still be attached. This typically includes the drain flange and any washers that were situated between the flange and the sink. Using your hand or a flathead screwdriver, gently pry off the drain flange if it hasn’t come off with the drain itself. Be cautious not to scratch or damage the sink surface during this process.
If there are any rubber or metal washers, remove them as well, as they can become worn over time and may need to be replaced during reassembly. Inspect all components for signs of wear or corrosion, as this is the perfect opportunity to replace any parts that could cause future leaks or drainage issues. With the removal of these components, you’ll have a clean workspace to either install new plumbing fixtures or perform necessary maintenance.
Step 6: Clean the Sink and Drain Components
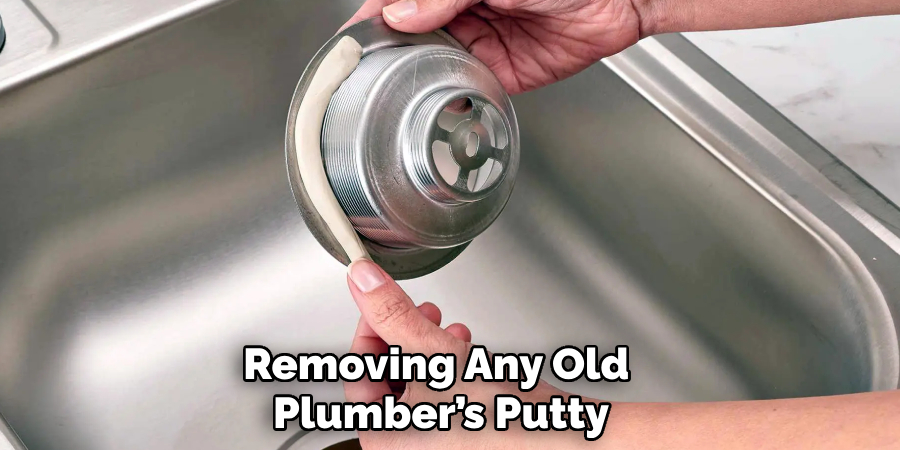
Before reinstalling any parts, make sure to thoroughly clean all components of the sink and drain. This includes removing any old plumber’s putty or Teflon tape residue, as well as scrubbing away any grime or buildup that may have accumulated in the drain.
Use a mild cleaning solution and a brush to ensure all surfaces are completely free of debris. Once everything is clean and dry, you can proceed with reassembling the sink drain.
Step 7: Reinstall the Drain and Stopper
Now that everything is clean, it’s time to reattach the drain and stopper mechanisms. Start by wrapping plumber’s tape around the threads of the drain where it will make contact with the sink. This will help create a tight seal and prevent any potential leaks.
Next, insert the drain back into place through the bottom of the sink, ensuring that it sits flush against both sides of the sinkhole. Add any washers or additional components as needed before securing with your pliers or channel locks. If applicable, reattach any linkage or rod to the stopper mechanism and test it out to ensure it’s functioning properly.
Step 8: Turn on the Water Supply and Test the Sink
With everything reassembled, it’s time to turn on the water supply and test out your newly unscrewed bathroom sink drain. Slowly open the shut-off valves and allow water to flow into the sink.
Check for any leaks or dripping around the drain area, as this could indicate a faulty installation. If needed, tighten any connections or add additional plumber’s tape to create a tighter seal.
Once you’re confident that everything is in proper working order, run some water through the sink and watch it disappear down the drain without any issues. Congratulations, you have successfully unscrewed and reinstalled your bathroom sink drain!
Frequently Asked Questions
Q: Can I Unscrew My Bathroom Sink Drain Without Any Tools?
A: While it may be possible in some cases, it’s not recommended to attempt this process without the necessary tools. Using pliers or channel locks will provide a more secure grip and make it easier to loosen the drain.
Q: How Often Should I Clean My Bathroom Sink Drain?
A: It’s recommended to clean your bathroom sink drain every 1-2 months to prevent buildup and potential clogs. Regular maintenance will also help prolong the lifespan of your plumbing fixtures.
Q: Do I Need to Replace Any Parts While Unscrewing My Bathroom Sink Drain?
A: It’s always a good idea to inspect all components for wear or damage while performing this process. If any parts show signs of deterioration, it’s best to replace them before reassembling the drain. This will save you from potential future issues and costly repairs.
Q: Can I Use Alternative Cleaning Solutions Instead of Chemical Drain Cleaners?
A: Yes, there are many natural and DIY cleaning solutions that can be just as effective in unclogging and cleaning a sink drain. These include using a combination of baking soda and vinegar or hot water and dish soap. It’s important to always avoid using harsh chemicals, as they can damage your plumbing and be harmful to the environment.
With these steps and tips on how to unscrew bathroom sink drain, you now have the knowledge and confidence to successfully unscrew your bathroom sink drain. Remember to always take precautionary measures and seek professional help if needed for any plumbing issues beyond your expertise.
Conclusion
Unscrewing a bathroom sink drain may seem like a daunting task, but with the right tools and techniques, it can be easily accomplished. Remember to always turn off the water supply and remove any obstruction from the sink before attempting to unscrew the drain.
Take your time and be gentle with all components to prevent any damage or leaks. With these steps on how to unscrew bathroom sink drain in mind, you’ll have a clean and functional bathroom sink in no time!

