Have you ever noticed water pooling in your basement, or taken a look down the drain only to be met with murky, mystery-filled water? You might be dealing with a clogged drain. Before you grab your plunger and take matters into your own hands, make sure you’re equipped with a tool that can thoroughly examine the insides of your drains: a drain camera.
A drain camera has multiple uses – from diagnosing plumbing problems and checking for blockages to giving an accurate picture of piping – which makes it an invaluable piece of equipment for any homeowner’s toolbox.
In this blog post, we’ll cover how to use a drain camera, what exactly a drain camera is, and why it’s important for detecting and addressing plumbing issues quickly before big repair bills start piling up!
What Is a Drain Camera and the Importance of Using One?
A drain camera, also known as a plumbing snake camera or an inspection camera, is a flexible, waterproof device that allows you to see what’s going on inside your drains. It has a tiny camera attached to one end and a screen or monitor on the other for viewing.
The camera is typically connected to a long cable, allowing it to reach deep inside the pipes to capture images and videos of any blockages, cracks, or other issues that may obstruct proper water flow.
Using a drain camera is essential for detecting and addressing plumbing problems quickly. It allows you to pinpoint the exact location and cause of a clog or blockage, saving you time and money in unnecessary repairs. With a drain camera, you can also identify potential issues before they become major problems, preventing costly and disruptive repairs down the road.
8 Easy Steps on How to Use a Drain Camera
Step 1: Preparation
Before you begin, ensure that your drain camera is in working condition. Check the camera for any visible damage and ensure the lens is clean for a clear view. If your drain camera has lights, test them in a dark space to confirm they’re operational.
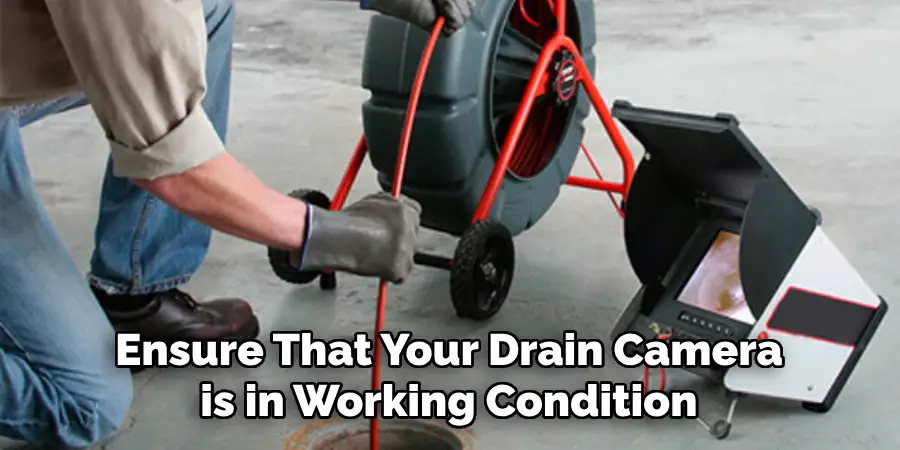
Prepare the area you’re about to inspect by clearing any debris or obstacles that could hinder the camera’s movement. Remember, safety is your priority; wear gloves and safety glasses to protect yourself from potential hazards.
Step 2: Inserting the Camera
With your drain camera prepared and your area cleared, you’re now ready to begin the inspection. Slowly begin inserting the camera into the drain. Some models come with a flexible rod attached to the camera, allowing you to navigate the camera with ease through your pipes.
Move slowly and take care not to force the camera past any particularly tight spots; if you meet resistance, back up slightly and try a different angle. Remember to take note of any irregularities or blockages you see along the way.
Step 3: Navigating the Drain
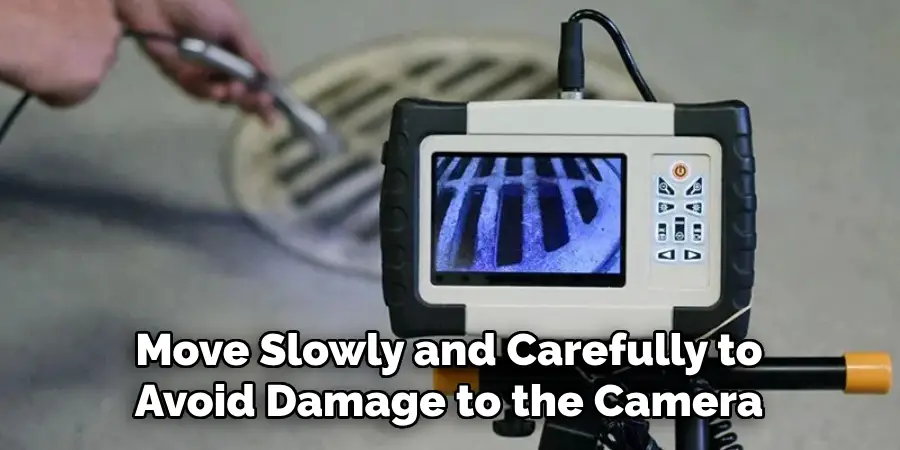
Once you have successfully inserted the camera into the drain, it’s time to navigate the system. Most drain cameras come with a small screen that allows you to view the feed in real time as you move the camera through the drain. Use the controls to gently guide the camera around bends and through the various sections of the pipe.
Remember to move slowly and carefully to avoid damage to the camera or pipes. If your drain camera has a recording feature, this might be a good time to start recording so you can review the footage later for anything you might have missed.
Step 4: Analyzing the Footage
As you navigate the drain camera through the pipes, pay close attention to the images on the screen. Look for any signs of blockages, leaks, or damage within the drainage system. These might include tree roots, accumulated debris, cracked pipes, or animals. Remember that some issues might not be immediately apparent, so take your time and thoroughly examine them.
If your drain camera has a zoom function, use it to examine any potential problem areas closely. Once you’ve completed the inspection, slowly retract the camera from the drain, taking care to avoid causing any damage. Review the recorded footage, if available, for any additional insights about the condition of your pipes.
Step 5: Documenting Your Findings
Once you’ve thoroughly inspected your drainage system and gathered the necessary footage, it’s time to document your findings. Take note of any problem areas, blockages, or leaks, and describe their location within the system. If your drain camera has the capability, take snapshots of these areas for future reference.
Remember to record the date of your inspection, as this information can be helpful in tracking changes over time or for warranty purposes. With your documentation in hand, you’re now equipped to discuss any issues with a professional plumber, if necessary, or to begin planning any essential repairs.
Step 6: Taking Action
With your findings documented and your drain issue identified, it’s time to decide on the next course of action. If the blockage is minor and located near the drain opening, you might be able to clear it yourself with a plumbing snake or plunger. If the issue is more serious, like a deep-rooted blockage or damaged pipes, it’s best to enlist the help of a professional plumber.
Provide them with the information and footage gathered from your drain camera inspection to help them accurately diagnose and fix the problem. Remember, while it’s beneficial to pinpoint the issue yourself, attempting serious plumbing repairs without professional assistance can lead to further damage and costlier repairs.
Step 7: Post-Inspection Cleanup
After you have finished your inspection and action has been taken to address any issues, clean your drain camera to maintain its performance properly. Detach any removable parts according to the manufacturer’s instructions and wipe them down with a mild, non-abrasive cleaner. Avoid using harsh cleaning chemicals as they might damage the equipment.
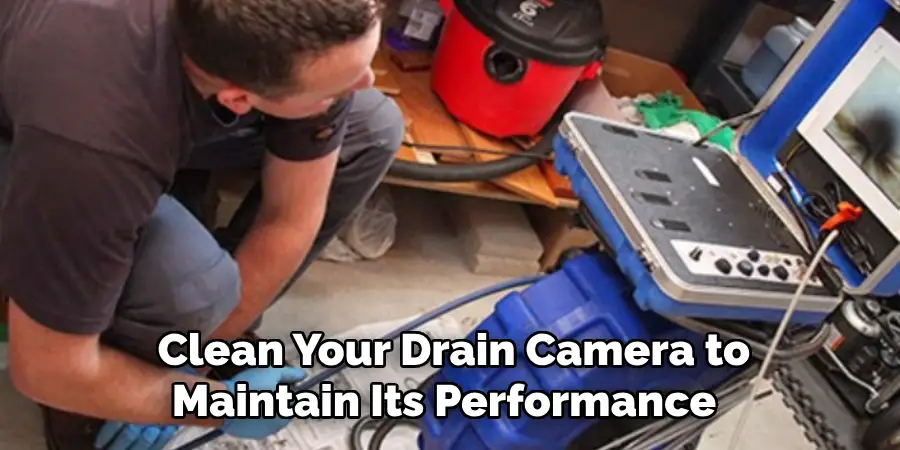
Thoroughly dry all parts before reassembly and storage to prevent any moisture damage. Always store your drain camera in a dry, clean environment to extend its lifespan. Regular maintenance and proper storage will keep your tool in top condition for future use.
Step 8: Regular Inspections
Keeping your drainage system healthy is not a one-time event but a continuous process. Regular inspections using your drain camera can help identify potential issues before they escalate into major problems. Establish a routine inspection schedule based on the condition of your pipes, the surrounding environment, and the frequency of usage.
For instance, if trees surround your home, you may need to inspect more frequently due to potential root intrusion. Keep all your documentation from previous inspections for comparison and tracking purposes.
By following these steps and knowing how to use a drain camera, you can effectively inspect and maintain your drainage system.
5 Additional Tips and Tricks
- Always Clean Your Camera First: Before using your drain camera, ensure it is clean and debris-free. This prolongs the camera’s lifespan and delivers more explicit images.
- Slow and Steady Wins the Race: Take your time feeding the drain camera into the pipe. Moving too quickly can cause the camera to overlook blockages or get stuck.
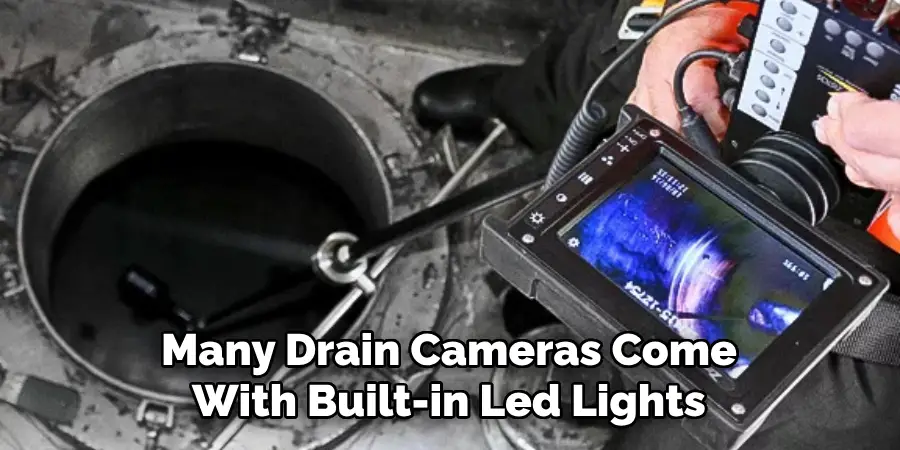
- Use Proper Lighting: Many drain cameras come with built-in LED lights. Use these to your advantage to see any potential problems in the pipe.
- Check for Multiple Angles: Don’t rely on a single view from the drain camera. Move it around to get different angles and perspectives, allowing you to assess the pipe’s condition fully.
- Use a Second Pair of Eyes: It may be beneficial to have another person watch the live feed from the drain camera while you are maneuvering it. This can help identify potential issues or blockages you may need to see yourself.
With these additional tips and tricks, you can confidently use your drain camera to diagnose and solve any drainage problems effectively. Remember always to follow safety precautions and consult a professional if needed.
5 Things You Should Avoid
- Avoid Forcing the Camera: Never force the camera into a pipe. If you encounter resistance, there may be a blockage, or the pipe’s route changes direction. Moving the camera may result in equipment damage or exacerbate existing issues.
- Don’t Ignore Warning Signs: If the camera shows signs of a major issue, such as a severely damaged pipe, do not ignore it. It’s important to contact a professional immediately to prevent further damage.
- Avoid Overlooking Small Details: Small anomalies can indicate more extensive problems. Be aware of minor details as they may be early indicators of potential issues such as leaks or cracks.
- Only Use With Proper Training: Drain cameras are sophisticated devices. Improper use can potentially cause more harm than good. Ensure you’re well-versed in its operation before proceeding.
- Avoid Neglecting Regular Maintenance: Regular cleaning and maintenance of your drain camera ensures longevity and effectiveness. Neglecting this can lead to poor performance and potential equipment failure.
Remember, the use of a drain camera is a preventative measure. It’s always better to proactively investigate and rectify minor issues before they become major ones.
Conclusion
As you can see, how to use a drain camera is an essential tool to identify and diagnose any potential issues with your plumbing system. With the right tools, techniques, and expertise, a drain camera inspection can help safeguard your home from damage and disruption due to overflow and blockages.
To get the most out of your drain camera inspection, it’s essential to work with trained professionals with access to the latest camera technology.
Properly performed drain inspections will give you the peace of mind that comes with knowing that your plumbing system is functioning correctly and offering maximum protection against costly water damage.
Whether you’re a home or business owner – reach out today to get a no-risk assessment and start accessing the benefits of drain camera inspections!

