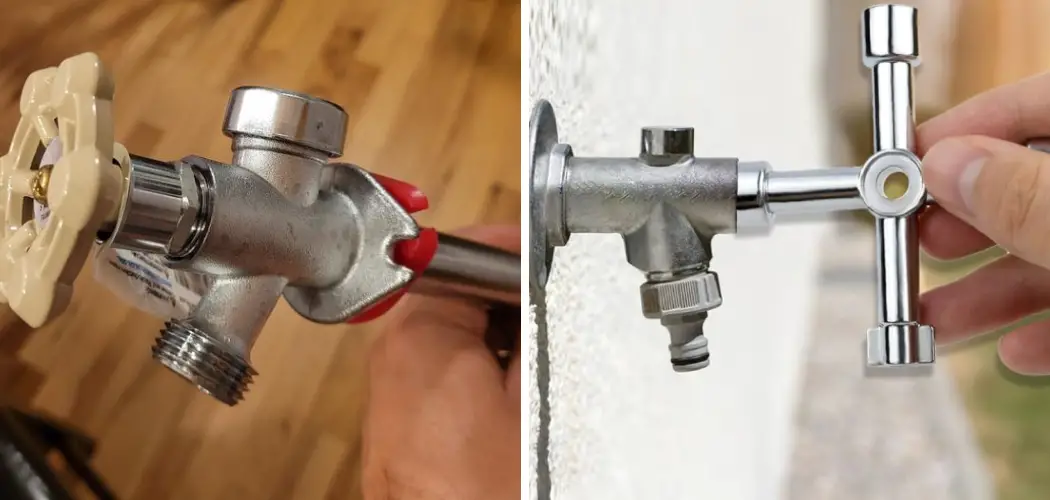
Using a sillcock key is an essential skill for homeowners, maintenance workers, and plumbers, especially when accessing outdoor faucets and water spigots without traditional handles. A sillcock key, a simple yet vital tool, is designed to turn the valve stems on these water outlets, typically found in commercial buildings, schools, and older homes. Understanding how to use a sillcock key ensures you can control the water flow effectively, whether for gardening, cleaning, or other outdoor activities.
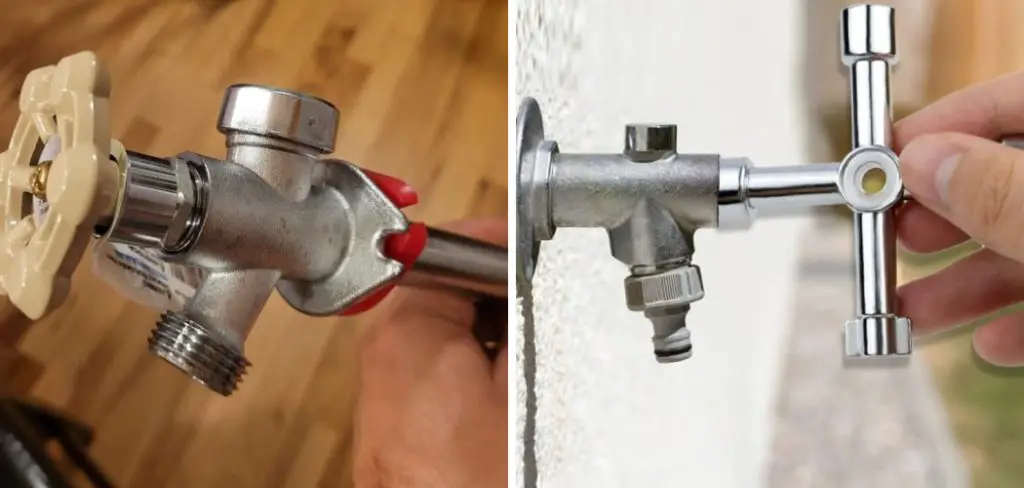
The process begins with identifying the correct key size, as sillcock keys come in various sizes to match different valve stems. Once you have the appropriate key, you insert it into the valve stem and turn it to open or close the water flow. This guide will walk you through the steps of selecting the right sillcock key, using it correctly, and ensuring a secure fit to prevent leaks, helping you manage your outdoor water needs efficiently and effectively.
Understanding Sillcock Keys
Sillcock keys are indispensable tools for anyone needing to access and control water from outdoor faucets, especially in environments where traditional handles are not present. These keys typically feature a four-way design, allowing one tool to function with multiple valve stem sizes, which is crucial for versatility in different settings. The four common sizes found on most sillcock keys are 1/4 inch, 9/32 inch, 5/16 inch, and 11/32 inch. Made usually from durable materials like steel or brass, these keys are built to withstand frequent use and tough conditions.
The head of the sillcock key is designed to fit over the valve stem, and turning it either clockwise or counterclockwise will open or close the valve accordingly. It’s important to apply steady pressure to ensure the valve turns smoothly without causing any damage. Modern versions may even have ergonomic grips or other features aimed at making the task easier and more comfortable.
Understanding the proper care and maintenance of your sillcock key can also extend its lifespan. After use, make sure to clean the key to remove any dirt or debris, and store it in a dry place to prevent rust and corrosion. By familiarizing yourself with sillcock keys’ specifications and usage, you can ensure efficient and effective water management for a wide array of outdoor tasks.
10 Methods How to Use a Sillcock Key
1. Understanding the Sillcock Key
Before using a sillcock key, it’s important to understand what it is and how it functions. A sillcock key, also known as a water key or outdoor faucet key, typically has a square or hexagonal socket on one end. This socket fits onto the valve stem of a sillcock or spigot, allowing you to turn the water on or off. Sillcock keys come in different sizes, usually 1/4, 9/32, 5/16, and 11/32 inches, to fit various types of valves. Familiarize yourself with these sizes and ensure you have the correct one for your application. Understanding the tool’s design and purpose is the first step in using it effectively.

2. Identifying the Valve Type
Identify the type of valve you’re working with. Sillcock valves are commonly found in outdoor faucets, irrigation systems, and commercial buildings. They are typically recessed and do not have a traditional handle. The valve stem will have a square or hexagonal shape that matches the sillcock key. Confirming the valve type and shape ensures that you use the correct size of sillcock key, preventing damage to the valve and ensuring efficient operation.
3. Selecting the Correct Size
Choosing the right size sillcock key is crucial for effective operation. Measure the size of the valve stem or refer to the manufacturer’s specifications. Sillcock keys come with multiple sizes on a single tool, often with a cross-shaped design featuring different sizes on each end. Match the size of the key to the valve stem to ensure a secure fit. Using the correct size prevents stripping the valve stem and ensures smooth operation.
4. Inserting the Sillcock Key
Once you have selected the correct size, insert the sillcock key onto the valve stem. Ensure the key is seated firmly and fully onto the stem. A secure fit is essential for turning the valve without slipping or causing damage. If the key does not fit properly, double-check the size and try again. Proper insertion is a critical step for effective use and prevents wear on the valve stem and the key.
5. Turning the Valve On
To turn the water on, rotate the sillcock key counterclockwise. Apply steady pressure to avoid stripping the valve. If the valve has not been used for a while, it may require additional force to turn. Be patient and use even pressure to avoid damaging the valve stem. Once the water starts flowing, adjust the key to control the water flow as needed. Turning the valve on is a straightforward process but requires care to avoid damaging the components.
6. Turning the Valve Off
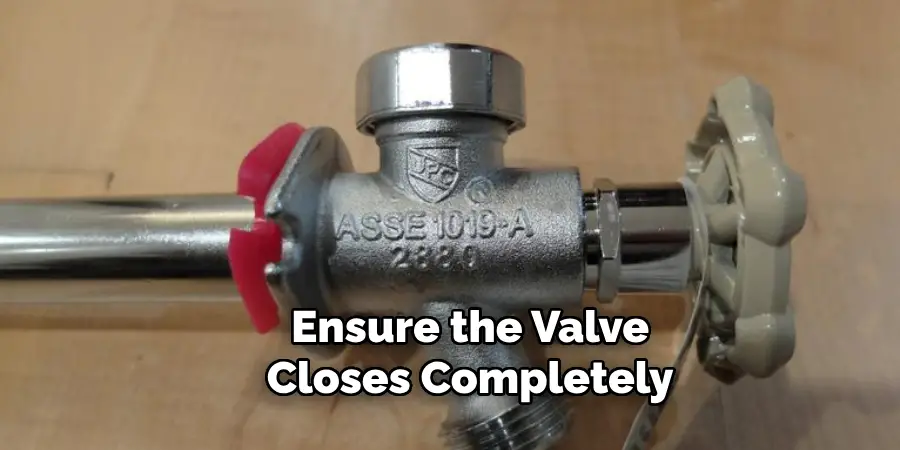
To turn the water off, rotate the sillcock key clockwise. Again, apply steady pressure to ensure the valve closes completely. If the valve is difficult to turn, do not force it excessively as this could cause damage. Once the water flow has stopped, give the key a final, gentle turn to ensure the valve is fully closed. Properly turning off the valve prevents leaks and conserves water.
7. Checking for Leaks
After operating the valve, it’s important to check for leaks. Inspect the area around the valve stem for any signs of water leakage. If you notice a leak, ensure the valve is fully closed. Sometimes, a slight turn in the opposite direction can help seat the valve properly and stop the leak. Regularly checking for leaks ensures efficient water use and prevents potential water damage.
8. Maintaining the Sillcock Key
Proper maintenance of your sillcock key ensures its longevity and reliable operation. After each use, clean the key to remove any dirt or debris. Inspect it for signs of wear or damage, such as bent or worn-out sockets. Store the key in a dry place to prevent rust and corrosion. Regular maintenance keeps the tool in good working condition, ensuring it is ready for use when needed.
9. Using Extensions for Hard-to-Reach Valves
Sometimes, sillcock valves are located in hard-to-reach places, such as deep recesses or behind obstructions. In these cases, using an extension bar with your sillcock key can make the task easier. Attach the extension bar to the key, then insert it into the valve stem. This provides additional leverage and reach, allowing you to operate the valve without strain.
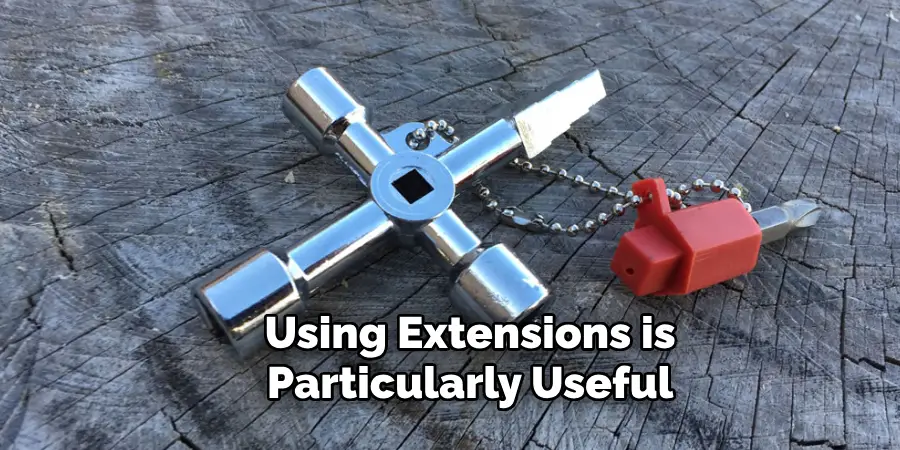
Using extensions is particularly useful in commercial or industrial settings where valves may be located in less accessible areas.
10. Practicing Safe Usage
Safety is paramount when using a sillcock key. Always ensure you are working in a safe environment, free from hazards. Wear gloves if necessary to protect your hands from sharp edges or debris. Be cautious when applying force to turn the valve, as excessive force can cause damage or injury. Additionally, be aware of your surroundings, especially if working in public or shared spaces, to avoid accidents. Practicing safe usage ensures a smooth and efficient operation, reducing the risk of injury or damage.
Common Mistakes to Avoid
When using a sillcock key, there are several common mistakes that can impair its effectiveness or cause damage to the components:
- Using the Wrong Size Key
One of the most frequent errors is using an incorrectly sized sillcock key. A mismatched key can strip the valve stem, making it difficult or impossible to operate the valve correctly. Always measure the valve stem or refer to the manufacturer’s specifications to select the proper size.
- Applying Excessive Force
While it might be tempting to use brute force, doing so can damage the valve stem or the key itself. If the valve is difficult to turn, apply steady and even pressure rather than forcing it. A lubricant may also help in loosening a stuck valve.
- Incorrect Valve Turning Direction
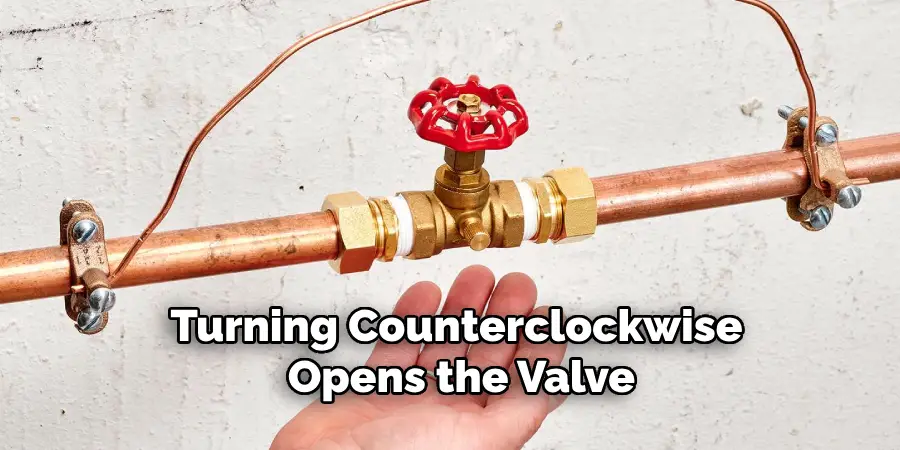
Turning the valve in the wrong direction can cause unnecessary strain on the valve components. Remember that typically, turning counterclockwise opens the valve and turning clockwise closes it. Double-check the directions if unsure to avoid causing damage.
- Ignoring Maintenance
Failing to maintain your sillcock key can lead to rust, corrosion, and wear, compromising its functionality. Regularly cleaning and storing the tool in a dry place ensures it remains in good working condition for when you need it.
Conclusion
Using a sillcock key involves a series of precise and careful steps, each contributing to the effective and safe operation of outdoor and recessed faucets. Understanding the tool, identifying the correct valve type, selecting the appropriate size, and ensuring proper insertion are foundational steps. Turning the valve on and off with care, checking for leaks, maintaining the key, and using extensions for hard-to-reach areas further enhance the process. Above all, practicing safe usage is crucial to avoid injury and ensure smooth operation.
Regular practice and adherence to these steps will ensure that you can handle any sillcock valve with confidence and ease, maintaining the functionality and integrity of your water systems. Hopefully, this article gave you some helpful tips about how to use a sillcock key successfully, so now that you have the proper knowledge on how to get the job done, why not give it a try today?

