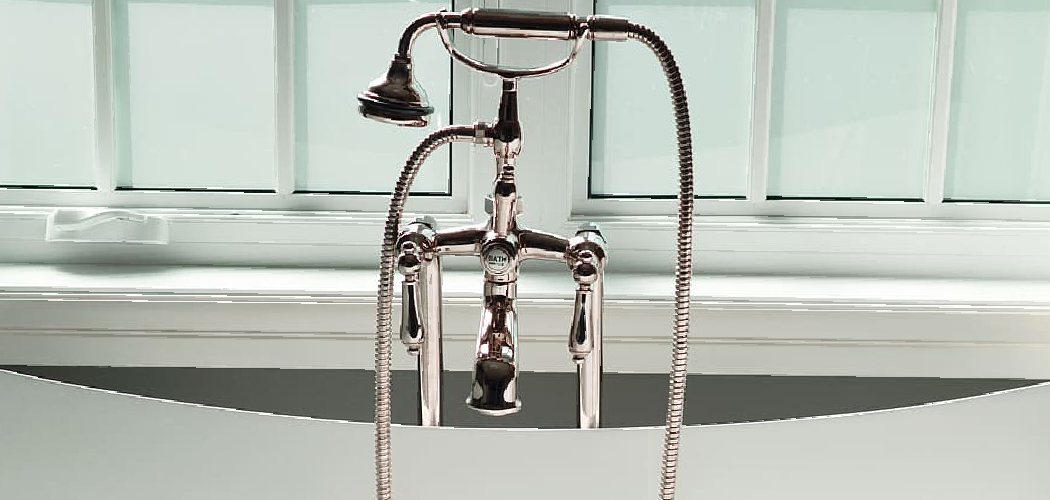
Delta faucets are renowned for their exceptional durability, innovative design, and reliability, making them a popular choice for homes and businesses alike. With sleek aesthetics and functionality, they have become an industry leader in plumbing fixtures.
However, Delta faucets can develop issues over time like any frequently used appliance. Common problems include persistent leaks, annoying drips, and weak water flow, disrupting your daily routine and leading to higher utility bills if left unaddressed.
This article is designed to provide step-by-step guidance on how to use Delta faucets repair kits to resolve these problems quickly and effectively — even if you’re new to DIY plumbing. By following the instructions, you can save time and money while extending the life of your faucet.
Whether you’re fixing a stubborn drip or restoring water pressure, these repair kits are an accessible and cost-effective solution for every homeowner.
Understanding Delta Faucet Repair Kits
Delta faucet repair kits are specially designed to make faucet repairs straightforward and accessible for homeowners. Whether you’re addressing a minor leak or restoring proper functionality, these kits include the essential components required for various repairs.
What’s Included in a Typical Kit
A standard Delta faucet repair kit often contains common components such as seats, springs, O-rings, stem units, and specialized tools. Each part plays a crucial role in the faucet’s operation. For instance, springs and seats control water flow and create a tight seal, preventing leaks.
O-rings ensure a watertight connection at various points in the faucet, and stem units are responsible for regulating water temperature and pressure. These well-organized kits are designed to simplify the repair process, offering everything needed for common malfunctions.
Types of Repair Kits
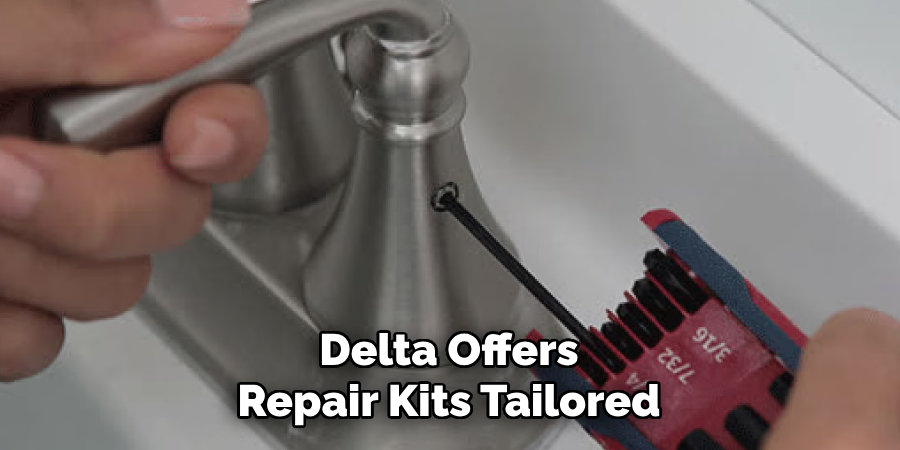
Delta offers repair kits tailored to different faucet types, including single-handle, double-handle, kitchen, and bathroom faucets. Single-handle kits focus on replacing components for controlling both temperature and flow, while double-handle kits address separate hot and cold handles. Kits for kitchen faucets may include specific parts for pull-down or pull-out designs, while bathroom faucet kits cater to smaller fixtures.
When to Use a Repair Kit
Knowing when to use a repair kit can mean the difference between a minor fix and a costly replacement. Common signs that your faucet requires repair include persistent leaks, difficulty turning the handle, or irregular water flow. Addressing these issues promptly with a Delta faucet repair kit can prevent further damage and extend the lifespan of your faucet.
Identifying Your Delta Faucet Model
Model Number Location
Identifying your Delta faucet model is essential for selecting the correct repair kit. The model number is typically located in a few key areas, such as under the sink on the supply line, on the back of the faucet itself, or at the base of the handle.
Carefully inspect these areas, as the number may be engraved or printed on a small sticker. If the number is difficult to locate, check any original packaging or documentation that came with the faucet.
Using Delta’s Online Resources
Delta provides a variety of online tools to help identify your faucet model. You can access their Faucet Identifier tool by visiting their official website, which guides you step-by-step. Uploading a photo of your faucet or selecting features like finish, style, and handle type can further narrow the search. Additionally, their customer support team is available to assist in identifying your model and recommending the proper repair kit.
Importance of Getting the Correct Kit
Using the correct repair kit is crucial to achieving a proper fix. Mismatched parts, such as incorrect sizes or shapes, can lead to incomplete seals, resulting in continued leaks or improper function. By taking the time to identify your faucet model, you ensure a reliable repair and prevent unnecessary wear, saving time and money in the long run.
Gathering Tools and Preparing the Area
Tools You’ll Need
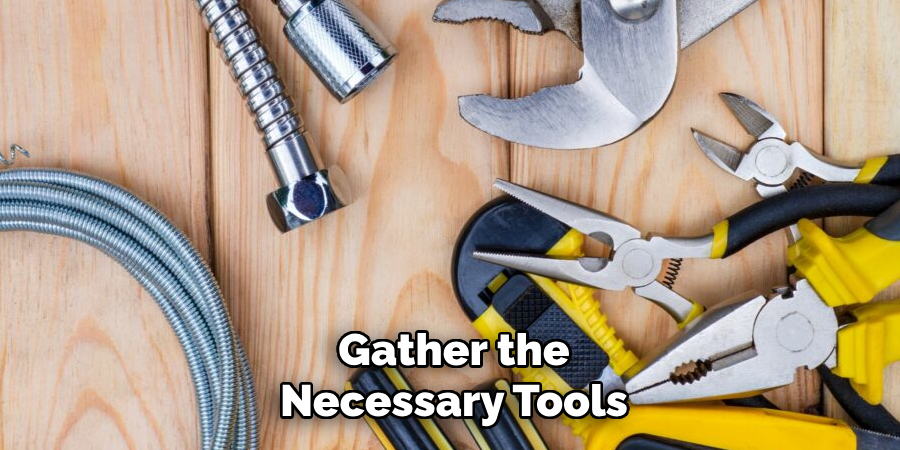
Before starting, gather the necessary tools to ensure a smooth repair process. Common tools for faucet repairs include an adjustable wrench, an Allen wrench, a screwdriver, plumber’s grease, and a towel. Having these tools handy will make it easier to work efficiently and avoid unnecessary interruptions.
Shutting Off Water Supply
Start by locating the water valves under the sink. Typically, you’ll find two valves—one for hot water and one for cold water. Turn both valves clockwise to shut off the water supply. Next, open the faucet to release any remaining water in the pipes. Draining excess water helps prevent leaks or spillage when disassembling the faucet.
Prepping the Workspace
Prepare your workspace by lining the sink basin with a towel. This prevents small parts or tools from falling into the sink and adds protection against scratches. It’s also a good idea to have a parts tray or a small container nearby to keep screws, washers, and other components organized as you remove them. Proper preparation ensures a clean and efficient repair process.
Disassembling the Faucet
Removing the Handle
To begin, locate the handle cap, which often conceals the screws holding the handle in place. Depending on your faucet model, you may need to unscrew the cap with a screwdriver or gently pop it off using a flathead tool.
Once the cap is removed, use the appropriate screwdriver to loosen the screws securing the handle. Afterward, carefully lift off the handle to access the cartridge or valve underneath.
Taking Out Old Parts
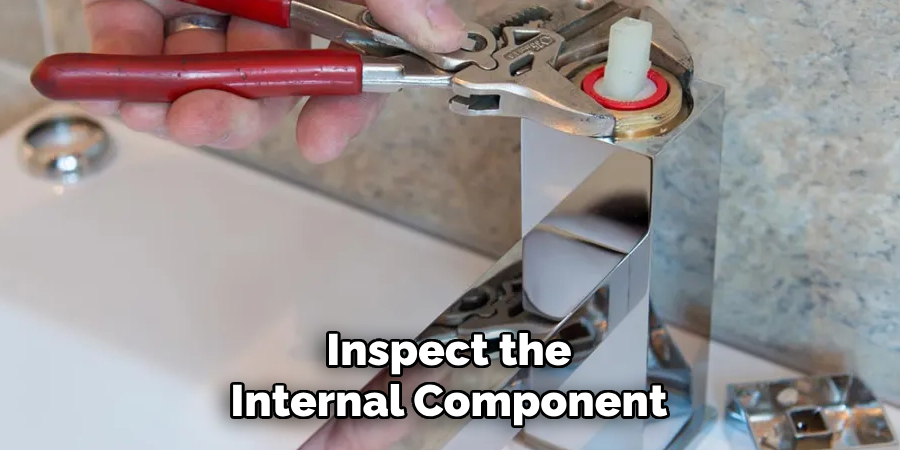
Use needle-nose pliers or a small screwdriver to carefully extract the stem, springs, and seats from the faucet assembly with the handle removed. Be cautious during this step to avoid damaging surrounding components. Once these parts are removed, cleaning the faucet body’s interior is essential. Use a soft-bristled brush or cloth to remove any mineral buildup, sediment, or debris. This step is crucial for ensuring the longevity and proper functionality of the repaired faucet.
Inspecting for Damage
Before proceeding further, inspect the internal components for signs of damage or wear. Pay close attention to O-rings, washers, and seats, as they may become hardened, cracked, or worn over time.
Additionally, check for any corrosion or visible cracks within the faucet body or other parts. If any issues are detected, list the replacement parts needed before reassembling the faucet. A thorough inspection at this stage will help ensure a successful repair and prevent future leaks.
How to Use Delta Faucets Repair Kits: Installing New Components from the Repair Kit
When installing new components from the repair kit, following the correct sequence and handling parts carefully is essential to ensure a successful repair.
Inserting New Seats and Springs
Begin by placing the springs into their designated holes in the faucet body. Ensure the springs are seated properly, providing a stable base. Next, take the new rubber pieces (seats) and gently press them over the springs. Use a small, soft tool or your finger to apply just enough pressure to seat the rubber pieces securely without causing damage. Proper installation of the seats and springs is critical for preventing leaks and ensuring smooth water flow.
Replacing the Cartridge or Stem
When replacing the cartridge or stem, align the new component carefully with the grooves or guides in the faucet body. Insert it gently, ensuring that it fits snugly into place. If your faucet has separate hot and cold stems, carefully position them correctly to maintain proper water temperature functionality. Refer to the manufacturer’s markings or guide if needed.
Applying Plumber’s Grease
Before reassembling, apply plumber’s grease to O-rings, seals, and any moving parts that require lubrication. Use just enough grease to coat these parts lightly, which will help prevent leaks, reduce friction, and extend the lifespan of the components.
Reassembling the Handle
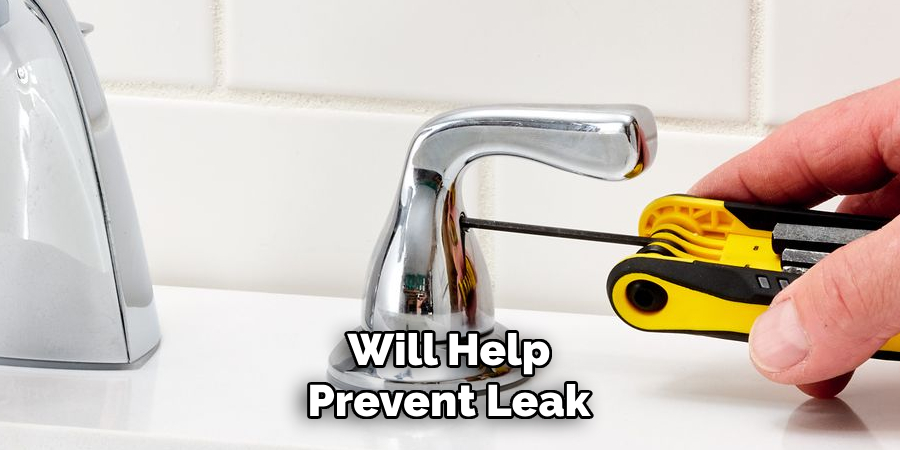
Finally, reattach the faucet handle. Secure it by tightening any screws or set nuts as needed. Test the handle to ensure its movement feels smooth and tight, avoiding wobbling or stiffness. Reassembling properly completes the installation process and prepares the faucet for reliable use.
Testing the Faucet and Checking for Leaks
Turning Water Back On
Slowly turn the water supply valves back on to avoid any pressure shock that could disturb the newly installed components. The gradual reintroduction of water flow helps ensure that the seals and fittings remain in place without unnecessary strain.
Testing All Movements
Once the water is flowing, test the faucet by moving the handle through its full range of motion. Check the mixing of hot and cold water, ensuring smooth transitions between temperatures. Test the faucet at full pressure and confirm it shuts off completely without dripping.
Checking for Leaks
Inspect all faucet areas for potential leaks, including the base, under the sink, and around the handle. If you notice any small leaks, try to tighten connections slightly or reset any components if necessary. These adjustments should resolve minor issues and ensure the faucet operates without water seepage.
Tips for Long-Term Faucet Maintenance
Proper maintenance can significantly extend the life of your faucet and ensure its smooth operation over time.
Routine Cleaning
Regularly wiping the faucet to remove mineral buildup and debris is essential for maintaining its appearance and functionality. Clean the aerators periodically to ensure consistent water flow and prevent clogs caused by sediment.
Annual Checkups
Conduct a brief inspection of seals, handles, and other components each year. This allows you to catch early signs of wear or damage, such as loose parts or deteriorating seals, and address them before they become larger issues.
Using a Water Softener if Needed
Hard water can lead to mineral deposits that wear down faucet components over time. If you live in an area with hard water, consider using a water softener to reduce calcium and magnesium buildup, which will prolong the life of your faucet and keep it running efficiently.

Conclusion
Delta faucet repair kits are cost-effective DIY solutions for addressing common faucet issues, helping you save money while restoring your faucet’s functionality. By learning how to use Delta faucets repair kits, you can resolve leaks or drips with minimal effort, ensuring a smooth repair process.
Remember to identify the correct kit for your faucet model, follow the instructions carefully step-by-step, and thoroughly test the faucet after completing the repair. With regular maintenance and the occasional use of repair kits, a Delta faucet can provide excellent performance and durability for many years to come.

