As any AC technician knows, diagnosing issues with your air conditioning system starts with understanding what the freon gauge readings tell you. These specialized pressure gauges provide valuable clues about what’s happening inside the lines, valves, and compressors. However, for the average homeowner just trying to keep cool without breaking the bank, figuring out what “high side” and “low side” mean can be confusing.

In this post, I will walk through the basics of how freon gauges work, what the different pressure readings indicate, and how you can use this information to troubleshoot common AC problems and ensure your system is running efficiently. You can interpret those mysterious numbers and dials like a pro when you’re finished. Let’s get started on how to use freon gauges!
Necessary Items
Before using your freon gauges, you must have all the necessary items and tools. This includes:
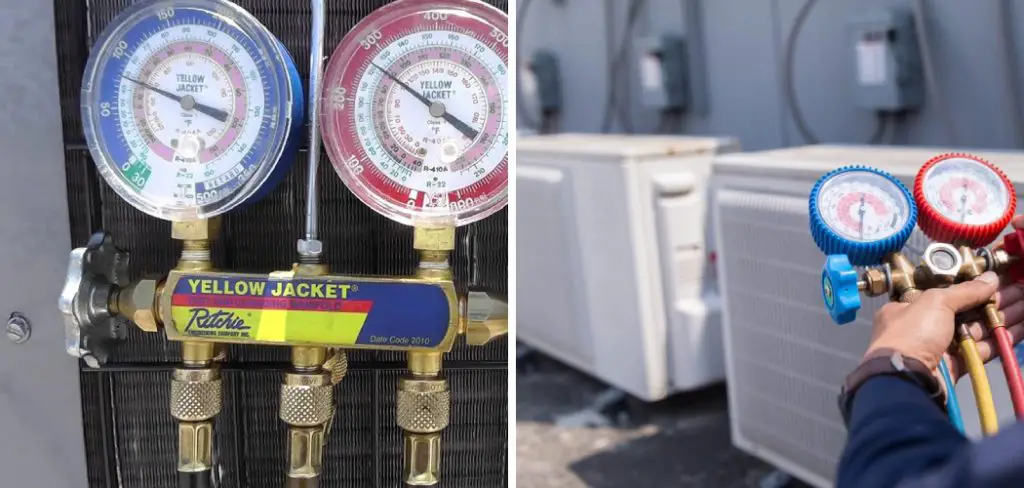
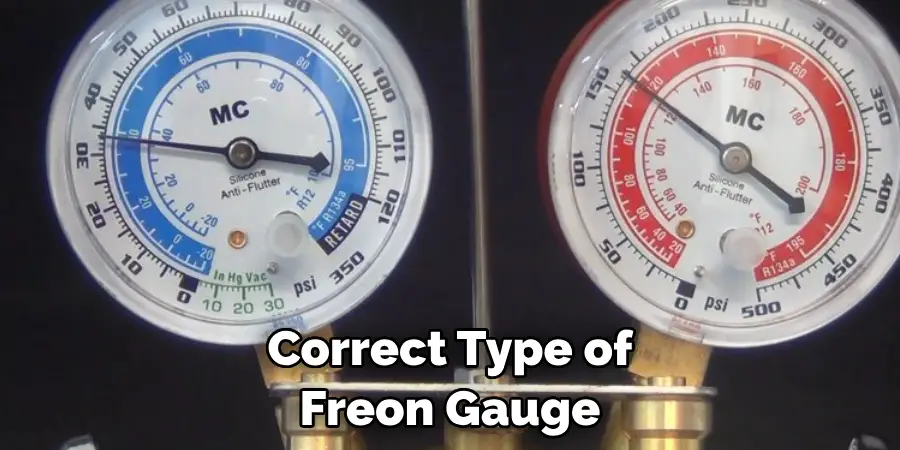
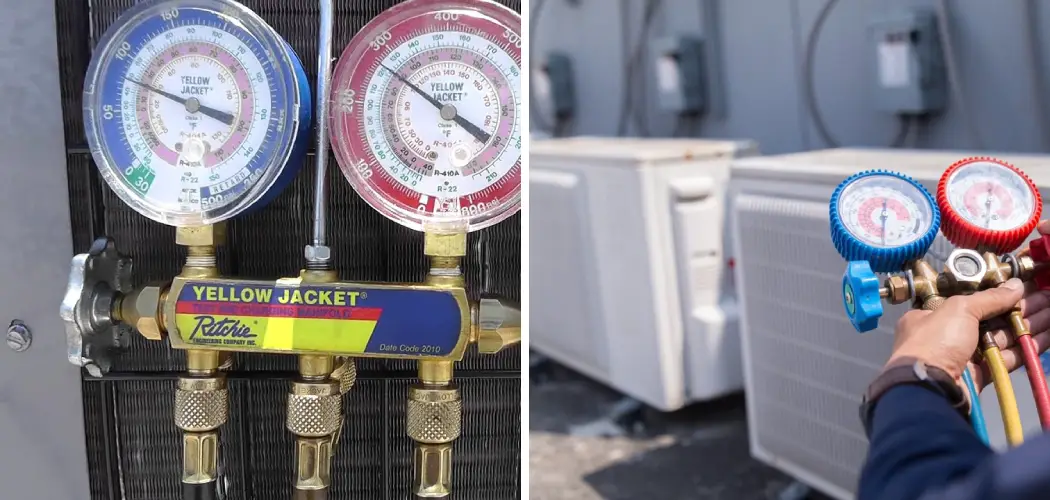
- A Set of Freon Gauges: These are typically color-coded and come with two gauges – one for high pressure and one for low pressure.
- Refrigerant: Ensure you have enough refrigerant to refill your system if needed.
- Safety Gear: This includes gloves, safety glasses, and a face mask to protect you from any potential leaks or spills.
- A Refrigeration Manifold: This is used to attach the gauges to the system and control the refrigerant flow.
- Wrenches and Pliers: These will be necessary to remove any caps or fittings on the air conditioning system.
- A Thermometer: This will be used to check the temperature of the air coming out of your AC unit.
Once you have all these items, you can use your freon gauges.
10 Steps on How to Use Freon Gauges
Step 1: Preparing Your System
Before attaching your freon gauges, preparing your system correctly is essential. This will help ensure accurate readings and prevent potential damage to your AC system. This is crucial for your safety and will avoid interference with the readings. Open up the refrigerant valves on the manifold gauge by turning them counterclockwise.

Step 2: Connect the Refrigeration Manifold
Next, connect your refrigeration manifold to the high and low-pressure ports on your AC system. The high-pressure port is usually located on the smaller of the two lines and will be marked with a red cap, while the low-pressure port is located on the more significant line and typically has a blue cap.
Step 3: Connect the Gauges
Once your manifold is attached, it’s time to connect your freon gauges. The high-pressure gauge should be connected to the high-pressure port on the manifold, while the low-pressure gauge should be connected to the low-pressure port.
Step 4: Check for Leaks
Before proceeding with any readings, checking for leaks in your system is essential. This can be done using a refrigerant leak detector or applying soapy water to all connections and checking for bubbles. If you detect a leak, addressing it before moving on is essential.
Step 5: Turn on the AC Unit
You can turn on your AC unit with all connections secure and no leaks detected. Ensure the thermostat is set to the coldest setting and the system has been running for at least five minutes before taking any readings.
Step 6: Take the High-Side Reading
The high-side gauge, or “red gauge,” typically reads pressure in pounds per square inch (PSI). The exact range can vary depending on the type of refrigerant used in your system. Naturally, readings will fall within a range of 200 to 350 PSI.
Step 7: Take the Low-Side Reading
The low-side gauge, also known as the “blue gauge,” will typically read pressure in pounds per square inch (PSI) or inches of mercury (inHg). Again, the exact range can vary depending on the type of refrigerant used. Typically, readings will fall within 30 to 50 PSI for R-22 and 20 to 40 PSI for R-410A.
Step 8: Compare Readings
Once you have both high-side and low-side readings, it’s essential to compare them. The difference between the two readings is known as the “pressure differential” and should be within a specific range based on the outside temperature. If the pressure differential is too high or too low, this could indicate a problem with your AC system.

Step 9: Check Temperature
Temperature is another crucial factor to consider when using freon gauges. You can use a thermometer to check the temperature of the air coming out of your AC unit and compare it to the manufacturer’s specifications. If there is a significant difference, this could also indicate an issue with your system.
Step 10: Record and Interpret Results
Finally, record all your readings and compare them to the manufacturer’s specifications or recommended ranges. This will help you identify potential issues with your AC system and determine if any adjustments need to be made. If you need clarification on the results, it’s always best to consult a professional AC technician for further assistance.
Using freon gauges may seem daunting initially, but with the right tools and knowledge, it can be valuable for troubleshooting common AC problems. Following these ten steps, you can accurately interpret pressure readings and ensure your system runs efficiently.
Always prioritize safety and consult a professional if you need clarification on any results or encounter any issues during the process. So, confidently use your freon gauges to keep your AC unit in top condition!
Troubleshooting with Freon Gauges
Freon gauges can also help troubleshoot common AC problems. For example, if your low-side pressure reading is too high, this could indicate a clogged filter or dirty evaporator coil. On the other hand, if your high-side pressure reading is too low, this could mean a refrigerant leak. By using your freon gauges and following the proper steps on how to use freon gauges, you can quickly identify and resolve these issues to keep your AC system running efficiently.
8 Things to Avoid
While using freon gauges, there are a few things you should avoid to prevent any potential damage or accidents:
1. Overfilling the System
Adding too much refrigerant can cause damage to your AC system and decrease efficiency. Follow the manufacturer’s recommendations for how much refrigerant to add.
2. Mixing Refrigerants
Different types of refrigerants should not be mixed, as this can cause severe damage to your AC system and potentially harm your health.
3. Ignoring Safety Gear
It’s important always to wear safety gear when working with freon gauges to protect yourself from potential leaks or spills.

4. Opening Manifold Valves Too Quickly
When opening the manifold valves, do it slowly and carefully to avoid any sudden pressure changes that could damage your system.
5. Using Worn or Damaged Hoses
Inspect your gauge hoses before each use and replace them if you notice any cracks or damage. This will help prevent leaks and ensure accurate readings.
6. Checking for Leaks with Bare Hands
Always use gloves when checking for leaks in your AC system. Freon can cause skin irritation and should be handled carefully.
7. Ignoring Unusual Noises or Smells
If you notice any unusual noises or smells coming from your AC system while using freon gauges, turn off the system and consult a professional.
8. Forgetting to Record Initial Pressure Readings
It’s essential to record the initial pressure readings before adding refrigerant to have a baseline for comparison. This can help diagnose any potential issues with your AC system.
Using freon gauges can be valuable for maintaining and troubleshooting your AC system. However, following safety precautions and using caution when handling refrigerants is essential. Regularly checking for leaks, monitoring pressure readings, and ensuring proper airflow can help keep your AC system running efficiently.
Frequently Asked Questions
Can I Use Freon Gauges on Any AC System?
Ensuring you have the correct type of freon gauge for your specific AC system is optional. Consult the manufacturer’s instructions or a professional if you need clarification.

How Often Should I Check My AC System with Freon Gauges?
It’s recommended to check the pressure readings and airflow of your AC system at least once a year. However, if you notice any issues with your AC, such as a lack of cool air or unusual noises, it’s essential to check it more frequently.
Is It Safe to Add Refrigerant Myself?
While it is possible to add refrigerant to your AC system yourself, consulting a professional is recommended. Mishandling refrigerants can be dangerous and cause damage to your AC system. So, it’s best to leave this task to the experts. Properly using freon gauges can help maintain and troubleshoot issues with your AC system, but it should be done with caution and following safety guidelines.
Conclusion
As you can see, successfully using a freon gauge takes some practice and expertise. Still, when you get the hang of it, you can do everything necessary for successful refrigerant management. With easy-to-use digital gauges available, this task should take little time.
So don’t wait; start practicing today and become an expert on freon gauges yourself! You can check out our blog for some great tips and tricks on how to use freon gauges, so if you’re serious about wanting to learn how to use the gauge properly, then make sure to read up and keep learning!

