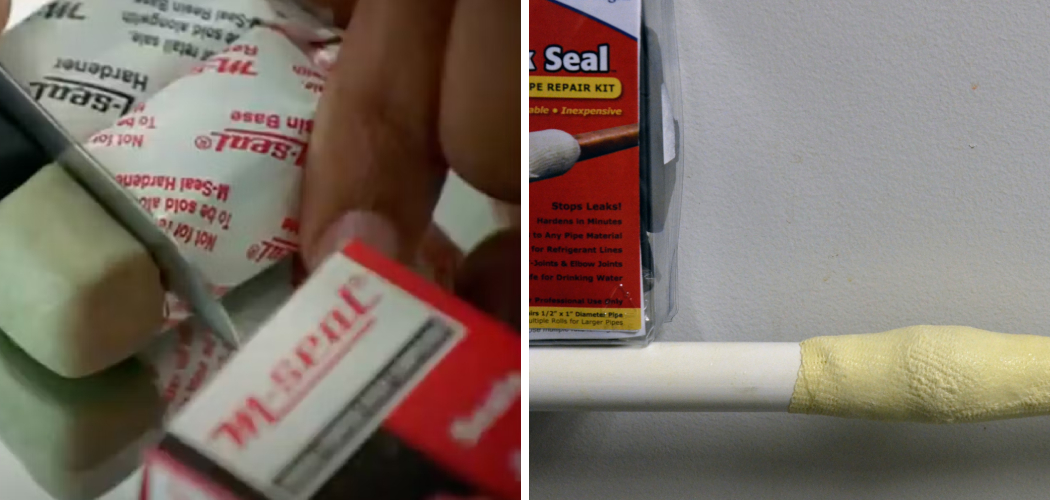
M.Seal is a versatile, quick-setting sealant commonly used to repair leaks and cracks in a variety of surfaces. Whether you are dealing with a plumbing issue, a crack in a wall, or even minor structural damages, M.Seal serves as a reliable solution for sealing and fixing. This guide will walk you through the proper steps of how to use M.seal on leakage effectively to address leakage problems, ensuring long-lasting results.
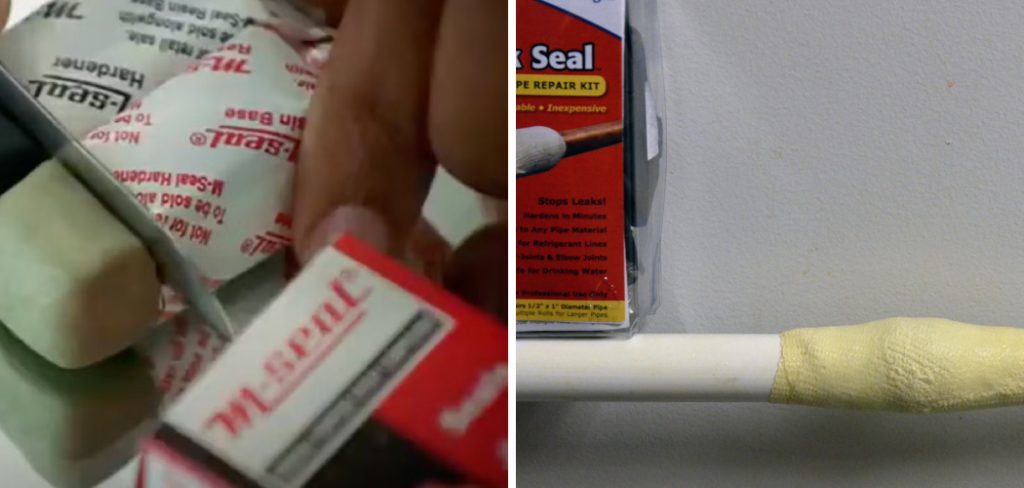
What is M-Seal?
M-Seal is a popular, multi-purpose sealant known for its ability to bond, seal, and repair a wide range of materials. It is composed of two components, a resin base and a hardener, which need to be mixed together to create a workable paste. Once applied, M-Seal hardens into a durable, waterproof, and heat-resistant material, making it ideal for household repairs, plumbing fixes, and industrial applications. Its versatility extends to surfaces such as metal, wood, ceramic, glass, and concrete, ensuring it is a go-to solution for many maintenance and repair tasks.
When and Where to Use M-Seal
M-Seal is highly versatile, making it suitable for a variety of applications across different contexts. It is particularly effective for stopping leaks in plumbing systems, such as sealing cracks in metal or PVC pipes, faucets, and joints. For construction or home repairs, M-Seal can be used to fix cracks in walls, ceilings, and floors, ensuring a strong, watertight bond.
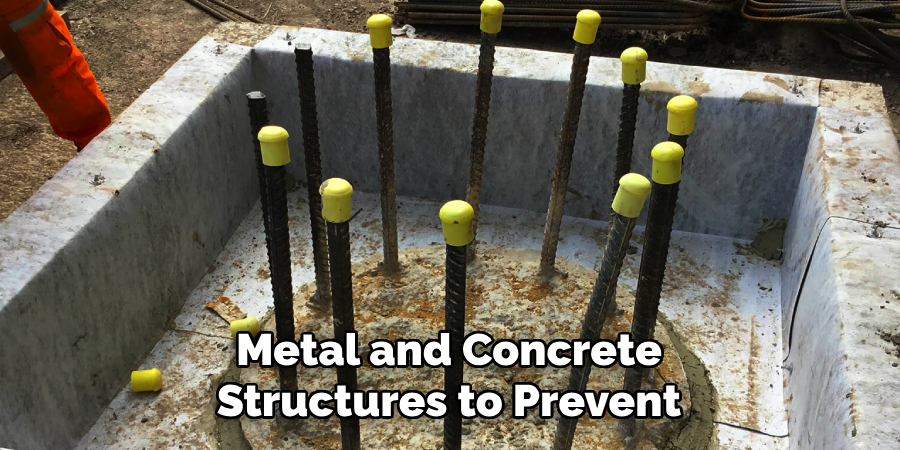
It is also ideal for industrial purposes, such as patching damaged machinery or sealing joints in metal and concrete structures to prevent water ingress. Additionally, M-Seal can be employed in DIY projects for bonding decorative items, repairing broken fixtures, or even art installations. Whether it’s a minor household repair or a large-scale industrial task, M-Seal proves to be a reliable choice in areas where strength, durability, and waterproofing are essential.
Common Applications of M-Seal
Plumbing Repairs
M-Seal is widely used in plumbing to address issues such as sealing leaks in pipes, faucets, and joints. Its waterproof nature ensures reliable fixes for both metal and PVC plumbing components.
Wall and Ceiling Repairs
Cracks in walls, ceilings, and floors can be effectively patched using M-Seal. Its strong adhesion and ability to harden into a durable material make it a trusted solution for construction-related repairs.
Industrial Maintenance
M-Seal is invaluable in industrial settings for repairing damaged machinery, sealing joints, and preventing leaks in metal and concrete structures. Its heat-resistant properties make it ideal for demanding environments.
DIY Projects
For hobbyists and crafters, M-Seal is a great option for bonding decorative items or fixing broken fixtures. Its adaptability can also be leveraged for creative art installations or other small projects.
Automotive Repairs
M-Seal is often used in automotive maintenance to seal leaks in components like radiators or fuel tanks, providing a quick and durable fix for emergency situations.
These common applications demonstrate the versatility and reliability of M-Seal across various tasks and industries.
10 Methods How to Use M.Seal on Leakage
1. Identify the Leakage Point
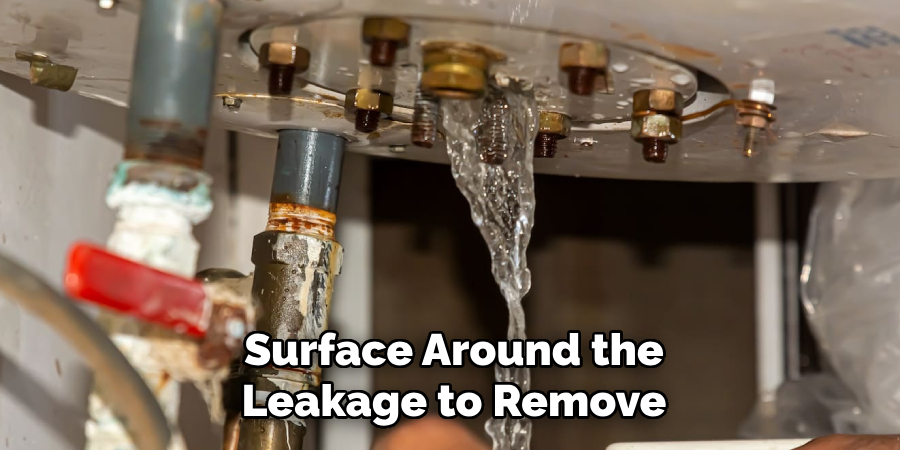
Before applying M-Seal, thoroughly inspect the area to locate the exact source of the leakage. Clean the surface around the leakage to remove dirt, grease, and moisture. Use a dry cloth or sandpaper to prepare the area, ensuring the M-Seal adheres properly. Identifying the precise spot ensures that the sealant is applied effectively, preventing recurring issues.
2. Select the Right Type of M-Seal
M-Seal comes in various formulations tailored for specific applications, such as plumbing, metal repairs, or waterproofing. Choose the appropriate type based on the material and conditions of the leakage area. For example, M-Seal Aqua is ideal for underwater repairs, while M-Seal General Purpose works well for most household applications.
3. Prepare the M-Seal
M-Seal typically consists of two components: a resin and a hardener. Mix equal amounts of both components until you achieve a uniform color and consistency. This process activates the epoxy, making it ready for application. Follow the manufacturer’s instructions to ensure proper mixing, as improper proportions can compromise the sealant’s effectiveness.
4. Shape the M-Seal for Application
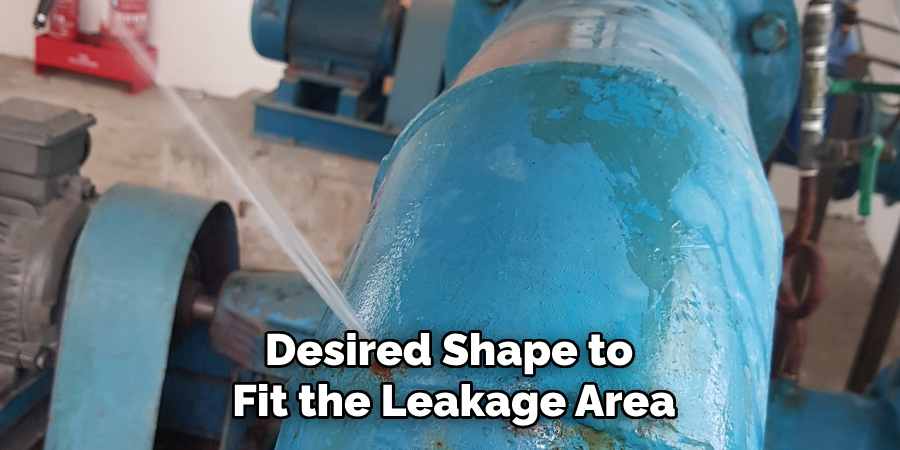
Once mixed, mold the M-Seal into the desired shape to fit the leakage area. Flatten or roll the sealant as needed to cover the crack, gap, or hole completely. Working quickly is crucial, as the epoxy begins to harden within a few minutes. Proper shaping ensures a snug fit and a strong bond.
5. Apply M-Seal to the Leakage Area
Press the M-Seal firmly onto the leakage point, ensuring full coverage of the damaged area. Smooth out the edges with your fingers or a tool to create a seamless seal. Apply consistent pressure to eliminate air pockets and enhance adhesion. Proper application creates a robust barrier against leaks.
6. Reinforce with Additional Layers
For larger leaks or high-pressure areas, consider applying multiple layers of M-Seal. Allow the first layer to partially cure before adding subsequent layers. This method provides extra strength and durability, ensuring the repair can withstand intense conditions. Reinforcement is especially useful for industrial or heavy-duty applications.
7. Allow the M-Seal to Cure Fully
Curing time varies depending on the type of M-Seal and environmental conditions, but it typically ranges from 30 minutes to a few hours. Avoid disturbing the repair during this period to allow the sealant to harden and bond effectively. Full curing ensures maximum strength and resistance to water, pressure, and temperature changes.
8. Test the Repair
Once the M-Seal has cured, test the repaired area to ensure the leakage is completely sealed. Gradually introduce water or pressure to the system while monitoring for any signs of leakage. If necessary, reapply the sealant to address any weak spots or gaps. Testing confirms the effectiveness of the repair and prevents future issues.
9. Finish and Protect the Repaired Area
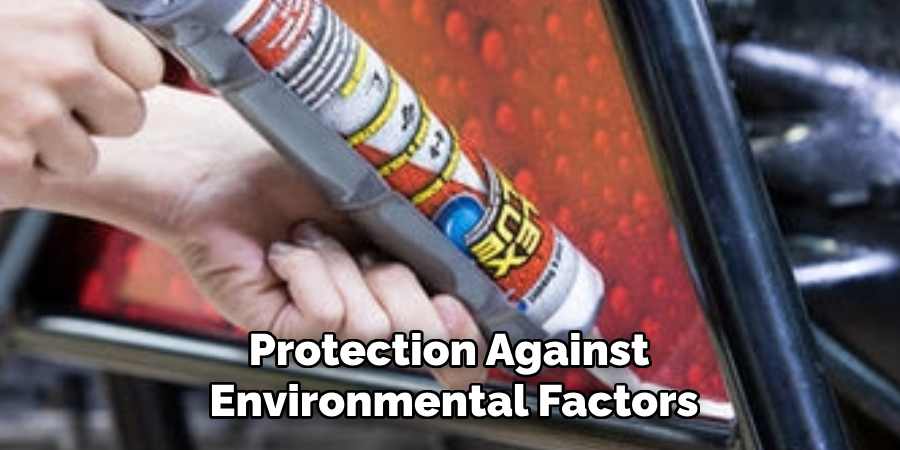
For a professional finish, sand or paint over the cured M-Seal to match the surrounding surface. This step not only improves aesthetics but also provides additional protection against environmental factors. Covering the repair ensures it remains durable and blends seamlessly with the original material.
10. Maintain and Monitor the Repair
Regularly inspect the repaired area to ensure the M-Seal remains intact and effective. Environmental factors, such as temperature fluctuations or exposure to chemicals, can impact the sealant over time. Prompt maintenance and reapplication, if needed, help extend the lifespan of the repair and prevent further damage.
Maintenance and Upkeep of M-Seal Repairs
Proper maintenance and regular inspection of M-Seal repairs are crucial to ensure their longevity and effectiveness. Over time, exposure to environmental factors such as temperature fluctuations, moisture, and chemicals can weaken even the strongest repairs. To maintain the integrity of your M-Seal application, periodically check the repaired area for signs of wear, such as cracks, peeling, or leaks. Promptly addressing any minor issues can prevent larger problems from developing.
When necessary, clean the repaired surface with a mild detergent and a soft cloth to remove dirt and debris. Avoid using harsh chemicals or abrasive materials that could damage the sealant. For high-pressure or industrial applications, consider scheduling routine inspections to evaluate the condition of the repair under operational stress. If required, reapply M-Seal to reinforce or repair any weakened areas. Proper upkeep not only extends the lifespan of the repair but also ensures the continued functionality and safety of the system.
Safety Considerations
When working with M-Seal, prioritizing safety is essential to prevent accidents and ensure proper handling of the material. Always wear protective gloves to avoid direct contact with the epoxy, as some formulations can cause skin irritation or allergic reactions. Additionally, work in a well-ventilated area to minimize inhalation of fumes that may be released during mixing or application.
Keep the product out of reach of children and store it in a cool, dry place away from direct sunlight or heat sources, as excessive heat can affect the quality and performance of the sealant. Follow the manufacturer’s instructions and guidelines carefully, including recommended curing times and handling precautions. Dispose of any leftover material responsibly according to local waste management regulations. By adhering to these safety measures, you can ensure a secure and efficient repair process while protecting your health and environment.
Conclusion
Using M-Seal to fix leakages is a straightforward and reliable solution when done correctly. By following these ten methods, you can effectively address leaks in pipes, tanks, roofs, and other surfaces. Whether for household or industrial purposes, proper application and maintenance of M-Seal ensure long-lasting results and peace of mind. With the right techniques, M-Seal can be your trusted ally in tackling leaks and restoring functionality to damaged areas. Hopefully, this article gave you some helpful tips about how to use M.seal on leakage successfully, so now that you have the proper knowledge on how to get the job done, why not give it a try today?

