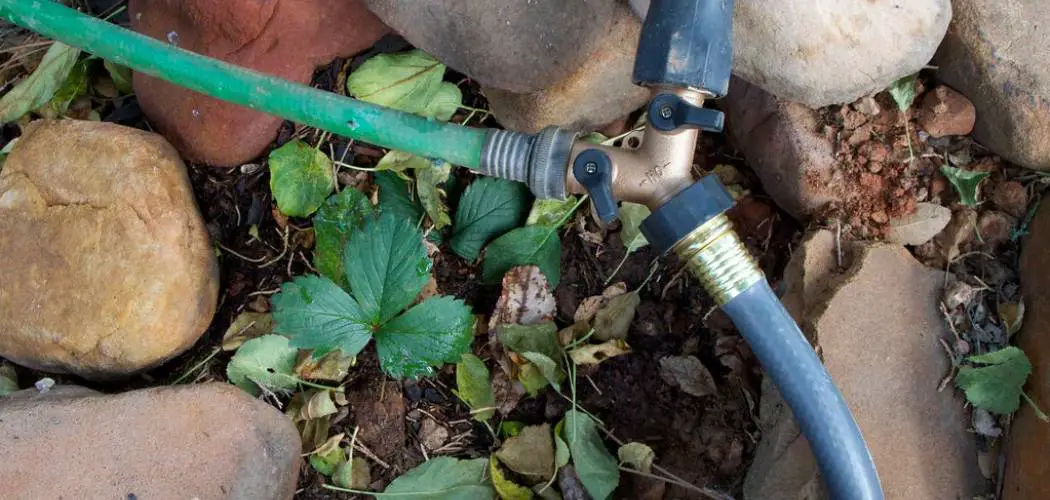
Watering your foundation is an important task that helps you prevent soil erosion, foundation cracking, and expensive repairs. However, watering your foundation manually can take a lot of time and be ineffective, especially if you live in a dry climate or have a large yard.
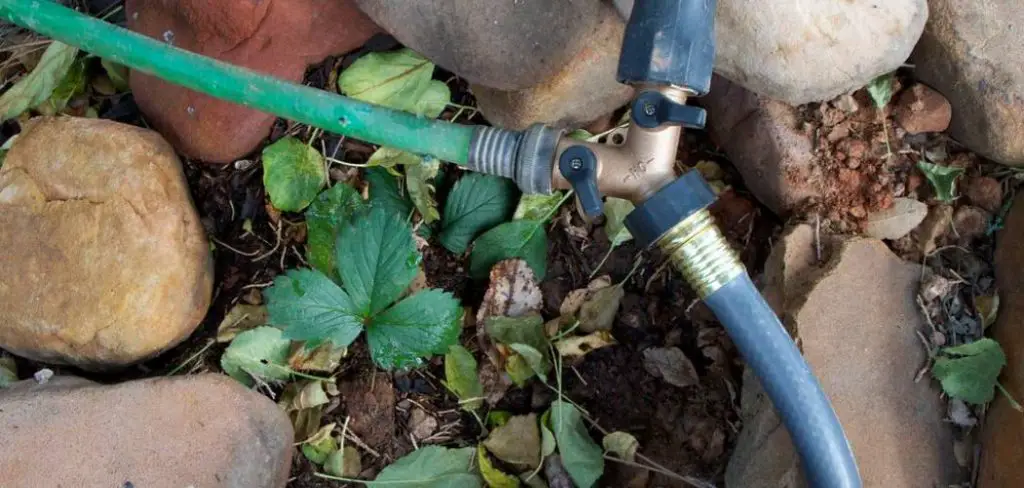
Soaker hoses can be a great solution for foundation watering, as they deliver water directly to the soil without wasting it on foliage or evaporation. In this blog post, we will cover the basics of using soaker hoses for foundation watering, from selecting the right equipment to positioning the hoses correctly. So keep reading to learn more about how to use soaker hose for foundation.
What Is Soaker Hose?
If you’re a gardener, you may have come across soaker hoses while browsing for irrigation systems. A soaker hose is a type of garden hose that gently waters your plants by penetrating the soil directly and delivering a steady stream of water to your plants’ roots.
What makes them different from traditional hoses is that they’re porous, allowing water to seep through the hose and into the ground more effectively. With soaker hoses, you won’t have to worry about water droplets evaporating in the hot sun before they can soak into your plants’ roots. They’re an efficient and easy way to keep your garden refreshed and hydrated, making gardening a more enjoyable and productive experience.
Why Use Soaker Hose for Foundation Watering?
The foundation of your home is the very thing that holds it all together. With so much importance placed on this one element, ensuring that it receives the proper amount of water is critical. But, with so many different watering methods available, it can be difficult to determine which one is the best. Enter the soaker hose.
This innovative device is specifically designed to deliver water directly to the root system of plants, making it an ideal choice for watering your home’s foundation. By avoiding surface runoff and evaporation, a soaker hose ensures that your foundation receives the water it needs to remain stable and secure. It’s an easy and effective way to give your home the care it deserves, and you’ll rest easy knowing that your foundation is well taken care of.
Benefits of Using Soaker Hose for Foundation
1. Prevent Foundation Cracks and Settlement
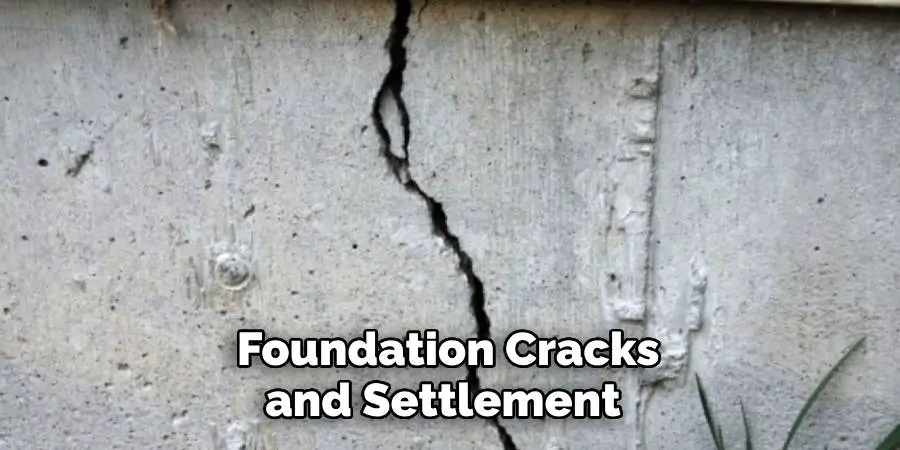
One of the most common problems homeowners face is foundation cracks and settlement. This can be caused by fluctuations in moisture levels in the soil, which can lead to the soil shifting or shrinking. By keeping a consistent level of moisture around your foundation with a soaker hose, you can prevent these issues from occurring.
2. Reduce Soil Erosion
Soaker hoses deliver water directly to the roots of your plants without spraying it onto the soil’s surface. This means that there will be less water runoff and erosion, preserving both your foundation and your garden’s topsoil.
3. Improve Drainage
Proper drainage is crucial for maintaining a stable foundation. Soaker hoses help improve drainage by delivering water slowly over an extended period, allowing the soil to absorb it more effectively. This prevents water from pooling around your foundation and causing damage.
4. Conserve Water
Traditional watering methods can waste a lot of water through evaporation or runoff. Soaker hoses are designed to deliver water directly to the roots of your plants, eliminating unnecessary water usage and helping you save on your monthly bill.
How to choose a soaker hose for foundation watering
1. Size
To ensure that your foundation gets the right amount of water, you’ll need to choose a soaker hose that is long enough to cover the entire perimeter. Measure around your home and add a few extra feet to allow for any curves or bends.
2. Type
There are various types of soaker hoses available, including rubber, vinyl, and polyurethane. Rubber hoses are known for their durability, while vinyl hoses are typically more affordable but less durable. Polyurethane hoses are lightweight and flexible, making them easy to move around your garden as needed.
3. Durability
Since your soaker hose will be in constant contact with moisture and soil, it’s essential to choose one that is durable and can withstand outdoor conditions. Look for soaker hoses with reinforced layers and UV protection to ensure they last for several seasons.
How to Use Soaker Hose for Foundation Watering: A Comprehensive Guide
1. Choose the Right Equipment
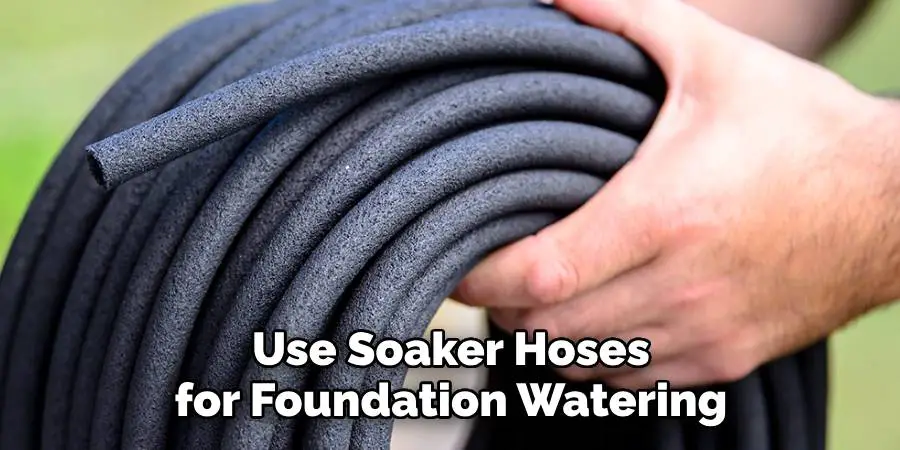
To use soaker hoses for foundation watering, you must buy or rent the hoses and the necessary accessories. Soaker hoses are made of porous material that consistently releases water along the hose’s length. You can find them in different lengths, thicknesses, and shapes to fit your yard’s layout.
Before buying soaker hoses, measure the distance from your water source to your foundation, and buy hoses long enough to cover that distance. You will also need a pressure regulator to ensure water doesn’t flow too fast and damage your foundation. Finally, you can use timers or shut-off valves to automate watering and avoid overwatering.
2. Prepare the Soil
Before installing soaker hoses, you should prepare the soil around your foundation to ensure that water can penetrate it and reach the roots of your plants. Compact soil or clay soil can be hard to penetrate, so it’s a good idea to aerate it first by using a fork or a tiller. You can also mix organic matter or compost into the soil to improve its structure and retain moisture. Remove any weeds or debris that could block the water flow or damage the hoses.
3. Position the Hoses
Once you have the hoses and the soil ready, you can start positioning the hoses along your foundation. Soaker hoses should be laid directly on the soil, preferably buried under a mulch layer to avoid UV rays or foot traffic damage. You can also use garden staples or hose clamps to keep the hoses in place and prevent them from moving.
Avoid placing the hoses too close to the foundation, as this can cause too much saturation and damage the structure. The ideal distance from the foundation is about 12 inches.
4. Adjust the Watering Schedule
After you have installed the soaker hoses, you should adjust the watering schedule based on your soil type, climate, and plants’ needs. You should generally water your foundation deeply and infrequently rather than shallowly and often. Watering deeply will encourage the roots to grow deep into the soil, strengthening your plants and preventing them from drying out during a drought.
You can test the soil’s moisture level by inserting a screwdriver or a soil sensor into the soil and checking if the soil is dry below the surface. Also, water early in the morning or late in the evening to avoid evaporation and fungal growth.
5. Maintain the System
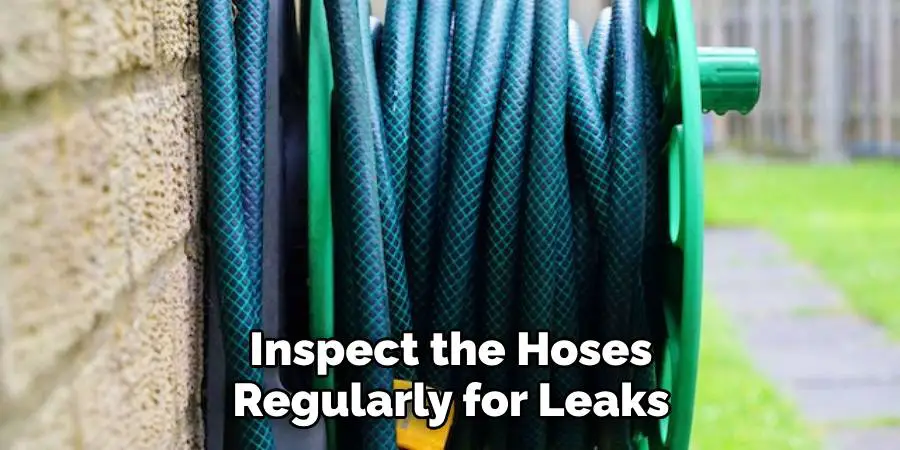
Using soaker hoses for foundation watering can save you time and money, but it also requires some maintenance to keep the hoses and the soil healthy. You should inspect the hoses regularly for leaks, clogs, or damage and unbury them if necessary.
You should also replace the pressure regulator, the timers, or the shut-off valves if they malfunction or become outdated. Finally, you should clean the hoses and the accessories at the end of the season to remove any dirt or debris that could attract pests or mold.
5 Tips for Using Soaker Hose for Foundation Watering
1. Determine the Length of Hose Required
The first step in using a soaker hose for foundation watering is to determine the length of hose you will need. Measure the distance around the perimeter of your home and then add an extra 10 feet to account for any curves or bends in the hose. You should also consider where you will be connecting the soaker hose to your water source, as this will affect the total length of hose required.
2. Attach the Soaker Hose
Once you have determined the length of soaker hose needed, attach one end of it to your water source, such as a spigot or outdoor faucet. Make sure that all connections are secure and that there are no leaks before proceeding.
3. Place the Soaker Hose Around Your Home
Next, carefully place the soaker hose around your home’s foundation, ensuring that it is evenly spaced and not too close to any plants or shrubs. Ensure that all sections are connected securely and that there are no kinks or bends in the hose that may prevent water from flowing freely.
4. Set a Timer
Once you have placed the soaker hose around your home’s foundation, set a timer for when you would like it to turn on and begin watering your foundation. Most timers will allow you to set specific times when you would like it to turn on and off, allowing you to control precisely how much water is being used each day.
5. Monitor Water Usage
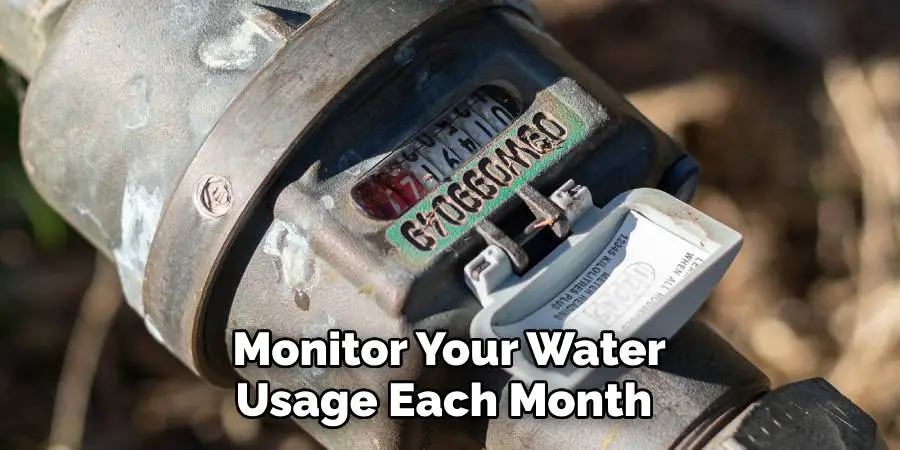
Finally, monitor your water usage each month to ensure that your foundation receives enough water without unnecessarily over-watering it or wasting resources. If necessary, adjust your timer or use a moisture meter to check for signs of over-watering, such as soggy soil or standing water near the foundation walls.
Conclusion
Soaker hoses can be cost-effective and efficient to water your foundation and protect your home from damage. Following the steps outlined in this blog post, you can choose the right equipment, prepare the soil, position the hoses correctly, adjust the watering schedule, and maintain the system for optimal results. Remember that watering your foundation is a practical task and a way to enhance your curb appeal and enjoy a healthy and lush environment. Thanks for reading our post about how to use soaker hose for foundation, and happy gardening!

