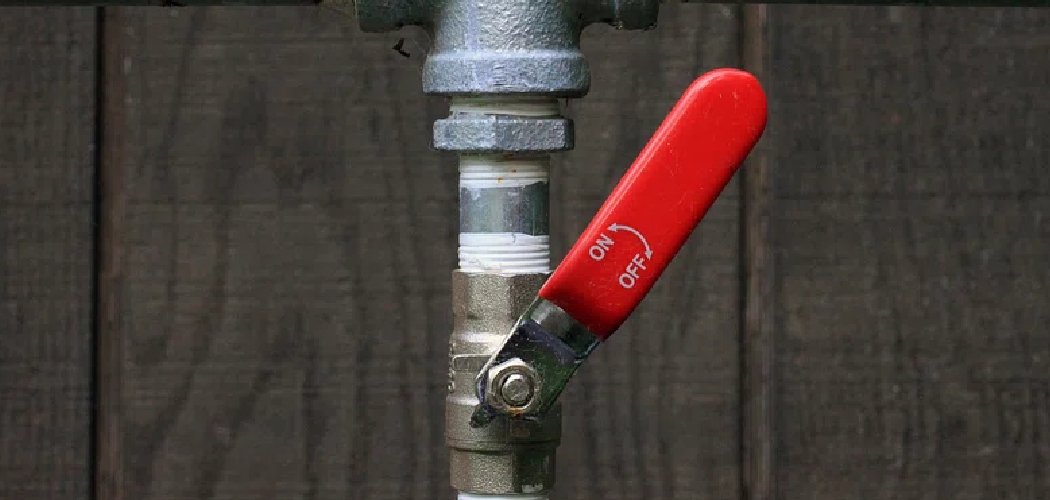
Are you tired of using a screwdriver to turn on your sprinkler system? Do you want a more efficient and convenient way to control your valves? Look no further than a sprinkler valve key!
Using a sprinkler valve key can be essential to maintaining your irrigation system and ensuring your lawn or garden receives the proper care it needs. This handy tool is designed to control and operate the underground sprinkler valves, allowing you to easily turn the water flow on or off.
Whether you’re performing routine maintenance, needing to shut off water in case of a leak, or adjusting the water distribution, understanding how to use sprinkler valve key is a simple yet essential skill for any homeowner or gardener.
This guide will walk you through the steps to use it effectively and safely.
What Are the Benefits of Using a Sprinkler Valve Key?
There are many benefits to using a sprinkler valve key, including the following:
- Convenience: With a sprinkler valve key, you can easily access and control your underground sprinkler system without digging or removing any parts.
- Time-saving: Using a sprinkler valve key, you can quickly turn the water on or off without needing to manually adjust each valve.
- Water Conservation: Having proper control over your sprinkler valves means you can efficiently distribute water to your lawn and plants, reducing waste and saving money on your water bill.
- Easy Maintenance: If you need to perform maintenance on your sprinkler system, having access to the valves with a sprinkler valve key makes the process much easier and quicker. This can also save you money on hiring a professional to maintain you.
- Versatility: A sprinkler valve key can be used for various valves, including globe, angle, and gate valves. This makes it a versatile tool to have in your gardening arsenal.
What Will You Need?
To use a sprinkler valve key, you will need the following items:
- A sprinkler valve key (can be purchased at hardware stores or online)
- Adjustable wrench
- Gloves (optional)
- Teflon tape (optional)
Once you have these items, you can begin using your sprinkler valve key.
8 Easy Steps on How to Use Sprinkler Valve Key
Step 1. Locate the Sprinkler Valve Box
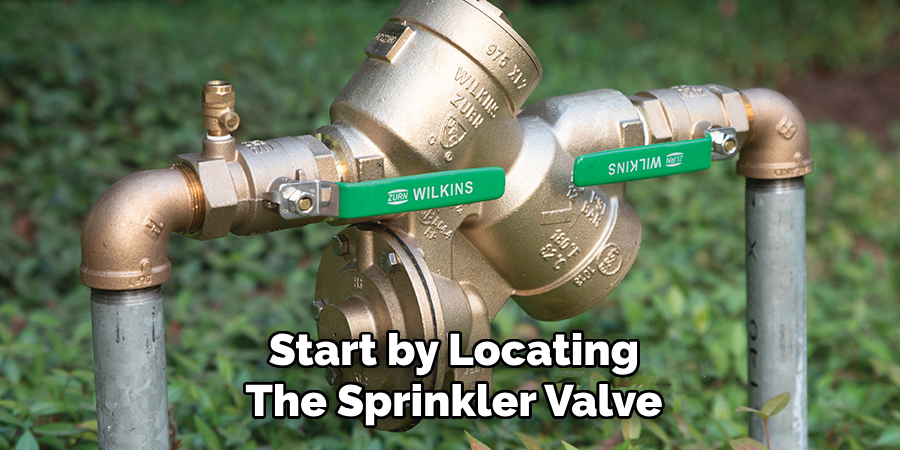
Start by locating the sprinkler valve box in your yard. Typically, this box is installed in the ground and covered by a plastic or metal lid, often marked with “irrigation” or “sprinkler.”
It may be situated near the primary water source or alongside landscaped areas. Use your hands or a small tool to gently remove any dirt, grass, or debris that may have accumulated on top of the lid. Clearing this area will ensure easier access to the box.
Carefully lift the cover to reveal the valves inside, which are usually organized in rows or groups. Inspect the box for any signs of damage, pests, or excessive moisture, as these could indicate potential issues requiring attention before proceeding. Once the sprinkler valve box is clear and accessible, you can move on to the next step.
Step 2: Inspect and Test the Valves
Begin by visually inspecting each valve for wear, leaks, or corrosion. Damaged valves can impede proper sprinkler operation and may need to be replaced. Next, manually operate each valve by slowly turning it on and off to ensure it functions correctly.
Listen for any irregular noises, such as hissing or sputtering, which could indicate an internal issue. This thorough inspection and testing will help identify necessary repairs or adjustments before moving forward.
Step 3: Check the Sprinkler Heads
Inspect each sprinkler head for signs of damage, clogs, or misalignment. Remove any debris, such as dirt or grass, that may obstruct water flow.
Ensure that each sprinkler head is positioned correctly and is not tilted or sunken into the ground, as this can affect coverage. Turn on the system briefly to confirm that the spray pattern is uniform and reaches the desired areas. Replace any broken or malfunctioning sprinkler heads to maintain optimal performance.
Step 4: Test the Water Pressure
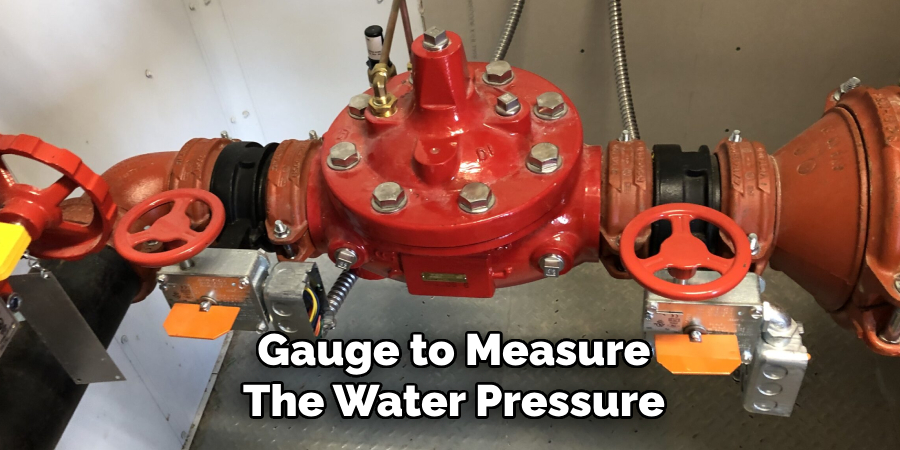
Check the water pressure in your irrigation system to ensure it is at the recommended level. Low pressure can result in inadequate water distribution, while high pressure may damage the system or cause excessive water waste.
Use a gauge to measure the water pressure at the system’s primary source. Adjust the pressure regulator if necessary to achieve a balance that provides efficient and even watering across all zones.
Step 5: Inspect for Leaks
Examine the irrigation system thoroughly for any leaks or broken components. Walk along the system, checking for visible water pooling, wet areas, or damaged pipes and sprinkler heads. Leaks not only waste water but can also reduce the system’s efficiency.
Repair or replace any faulty parts to ensure the system operates effectively without water loss. Regular inspections can help maintain the longevity and performance of your irrigation system.
Step 6: Adjust Sprinkler Coverage
Adjust the sprinkler heads to achieve optimal coverage after ensuring the system is free from leaks. Ensure each sprinkler covers the intended area without excessively overlapping or leaving dry spots. Observe the spray patterns and angles, and fine-tune them to provide even water distribution. Proper adjustments will help conserve water and promote healthy plant growth.
Step 7: Test the System Regularly
Once adjustments are made, periodically test your irrigation system to ensure it operates efficiently. Run the system and observe each zone for any signs of malfunction, such as uneven water distribution, clogged nozzles, or weak water pressure.
Regular testing helps identify issues early, allowing for quick repairs and preventing water wastage. Keeping a consistent testing schedule will enhance the reliability and effectiveness of your irrigation system.
Step 8: Maintain and Clean Components Regularly
Establish a routine for maintaining and cleaning your irrigation system to ensure longevity and consistent performance.
This includes checking filters, removing debris from sprinkler heads, and inspecting hoses and connections for wear or leaks. Regular maintenance prevents clogs and breakdowns, ensuring your system continues to distribute water efficiently. Incorporating these practices will save time and resources in the long run.
By following these maintenance routines, you can identify potential issues early on and address them before they become more significant problems.
5 Things You Should Avoid
- Forcing the Valve Key: Avoid applying excessive force when turning the valve key. Forcing it can damage the internal mechanisms of the valve or even break the key itself, leading to costly repairs.
- Using the Wrong Key Size: Ensure you use the correct valve key size and type for your sprinkler system. An incompatible key can strip the valve or fail to provide proper leverage.
- Turning Valves Too Quickly: Always do so gradually when opening or closing the valve. Turning it too quickly can cause pressure surges in the system, potentially leading to pipe bursts or leaks.
- Ignoring Debris Around the Valve: Before inserting the valve key, ensure the area around the valve is free from dirt, debris, or obstructions. Introducing debris into the system can lead to clogs or damage over time.
- Leaving the Valve Partially Open: After using the valve key, ensure the valve is fully opened or closed. Leaving it partially open can lead to inefficient water flow or leaks, which may affect the performance of your irrigation system.
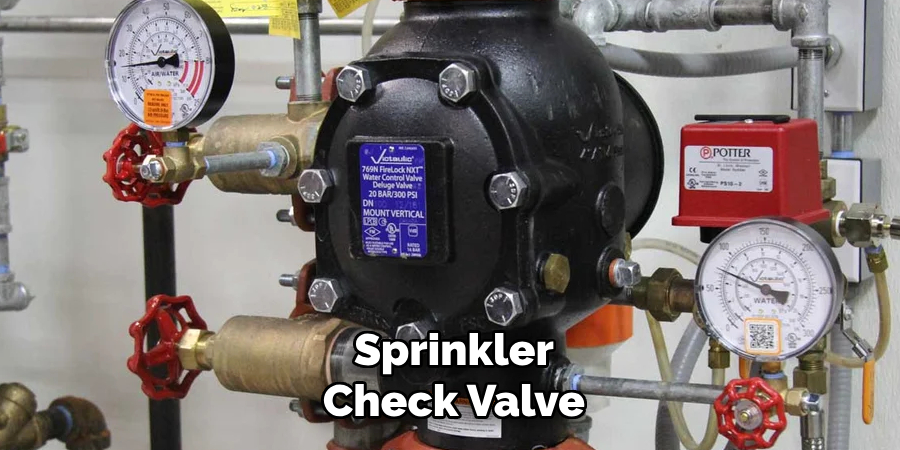
How Does a Sprinkler Check Valve Work?
A sprinkler check valve, also known as a backflow preventer, is essential to any irrigation system. Its primary function is to prevent the reverse flow of water and contaminants from entering the main water supply.
This type of valve works using a spring-loaded mechanism that allows water to flow in only one direction. When the water pressure from the main supply pushes against the valve, it opens and allows water to pass through. However, when there is a pressure drop or if water tries to flow in the opposite direction, the spring tightens and prevents backflow.
Contaminated water from your irrigation system could enter your drinking water supply without a check valve. This can be a serious health hazard, as the water may contain bacteria or chemicals that are harmful to humans.
In addition to preventing backflow, check valves help maintain consistent water pressure in your irrigation system. As the valve opens and closes depending on the primary water pressure, it helps keep the water flow steady and prevents any sudden surges or drops in pressure.
Various types of check valves are available for irrigation systems, including swing, spring, and dual-check valves. Each type has its own advantages and is suitable for different types of irrigation setups.
Conclusion
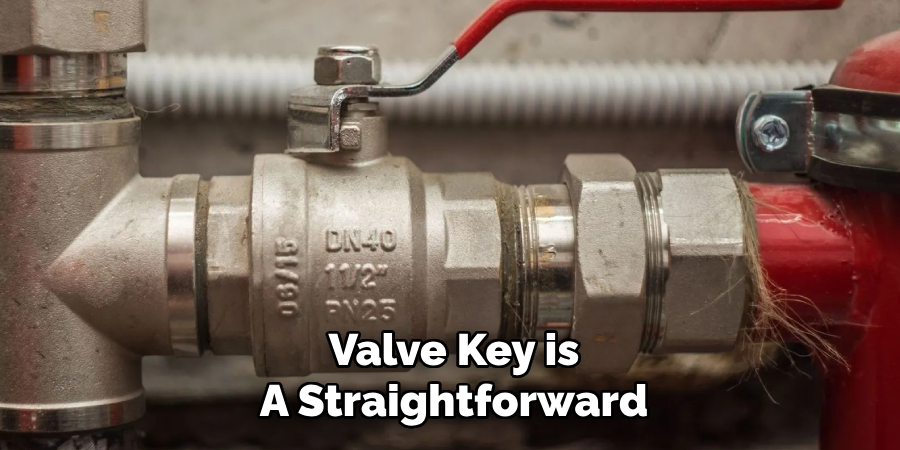
How to use sprinkler valve key is a straightforward and essential process for maintaining and operating your irrigation system effectively.
Begin by locating the valve box, which typically contains the main shut-off or control valves. Insert the sprinkler valve key into the valve’s designated slot and gently turn it in the required direction to open or close it. Always apply steady and even pressure to avoid damaging the valve or the key.
Regularly using the key to inspect and adjust your irrigation valves will help ensure smooth operation and optimal water distribution across your system.

