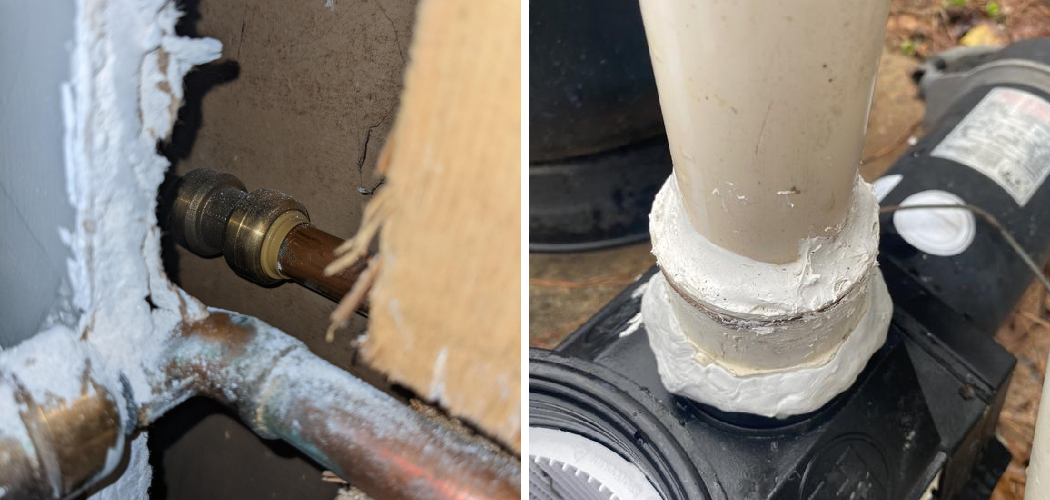
Water Weld is a versatile epoxy putty that proves indispensable for a wide range of repair and bonding applications. Whether you’re tackling a leaking pipe, mending a cracked automotive part, or fixing household items, Water Weld provides a reliable solution. Its water-activated formula sets it apart, which creates an exceptionally strong and durable bond capable of withstanding various conditions. This putty is not only easy to use but also ensures a quick and effective repair.
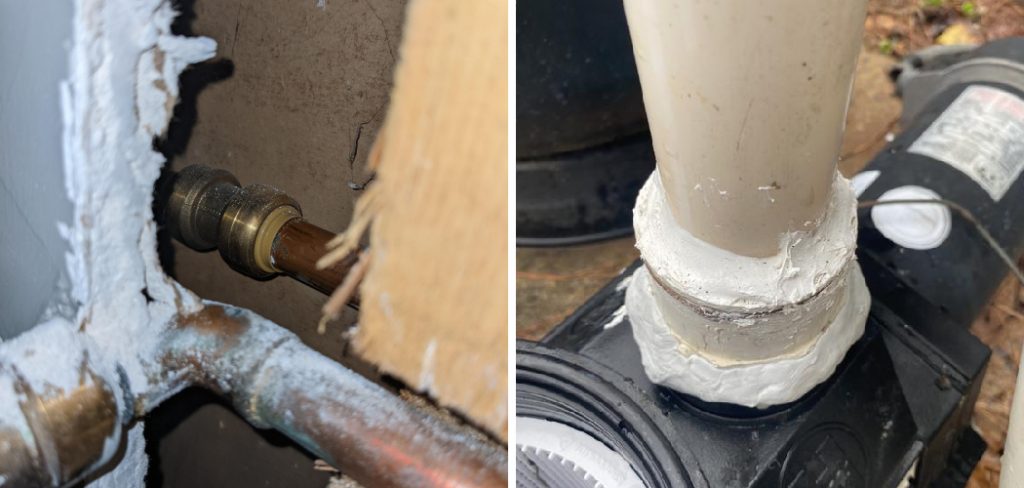
In understanding how to use Water Weld, it’s essential to appreciate its broad applicability. Common uses include plumbing repairs where it seals leaks and stops drips, automotive fixes where it restores broken parts, and household projects that range from filling gaps to bonding dissimilar materials. As you explore how to use Water Weld, you’ll discover its unparalleled versatility and strength, making it an essential tool for any repair toolkit.
Preparation
Clean Surface
Before starting your repair with Water Weld, it’s crucial to properly prepare the surface to ensure a strong bond and effective repair. Begin by cleaning the surface thoroughly. Make sure it is dry and free from grease, oil, and any debris. Use a mild detergent and water to wash away any contaminants, then dry the area completely with a clean cloth. For tougher grime or oil spots, consider using a degreaser. Proper surface cleaning aids in the adhesion of Water Weld, providing a more reliable and long-lasting repair.
Wear Gloves
As you prepare to use Water Weld, it’s essential to protect your hands by wearing gloves. The epoxy putty can be quite sticky and may cause skin irritation upon prolonged contact. Nitrile or latex gloves are ideal as they provide a barrier between the putty and your skin. Wearing gloves not only prevents skin contact but also ensures that no oils or contaminants from your hands interfere with the bonding process. With clean hands and a clean surface, you are now ready to proceed with the mixing and application of Water Weld.
How to Use Water Weld: Mixing and Application
Step 1: Cut Off a Portion
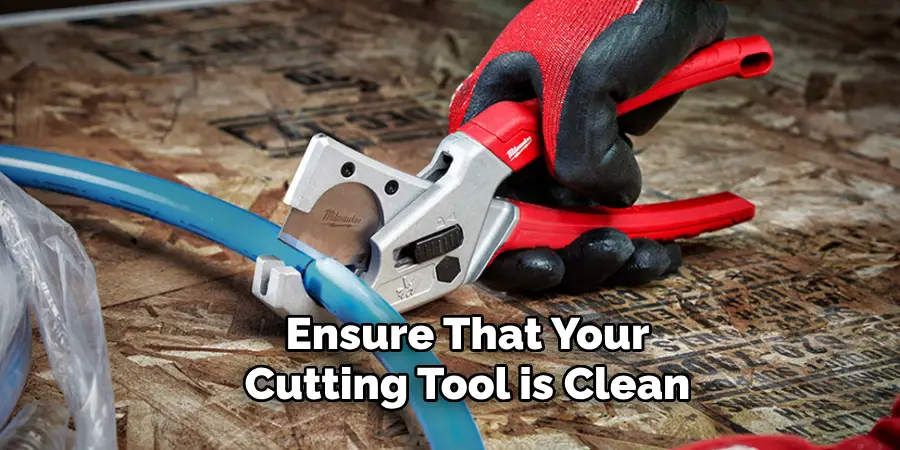
To begin the application process, cut off a suitable portion of the Water Weld from the stick using a knife or scissors. The amount you cut off should be slightly more than you think you’ll need to ensure full coverage and adhesion. Ensure that your cutting tool is clean to prevent contaminants from getting into the putty.
Step 2: Kneading
Next, knead the Water Weld putty in your hands until it becomes a uniform color with no streaks. This kneading process typically takes about one to two minutes. The heat and pressure from your hands will help activate the bonding agents within the putty, making it more pliable and ready for application. Continue kneading until the color is consistent throughout.
Step 3: Apply to Surface
Once the putty is uniformly mixed, press it firmly onto the surface that needs repairing. Mold the putty to the desired shape, pressing it into any cracks or gaps to ensure a thorough fill. This step is crucial for establishing a strong bond and for ensuring that the putty adheres properly to the surface.
Step 4: Water Activation
With the putty applied to the surface, dip your fingers or a brush in water and smooth over it. This water activation step helps further activate the bonding agents in the Water Weld and ensures a smooth finish. The water also aids in conforming the putty more closely to the surface contours.
Step 5: Overfill
Apply slightly more putty than you initially think is necessary. Overfilling ensures that every nook and cranny is covered and helps to create a stronger bond once it cures. Excess putty can be sanded down later, so don’t worry about it bulging or appearing too thick at this stage.
Step 6: Work Quickly
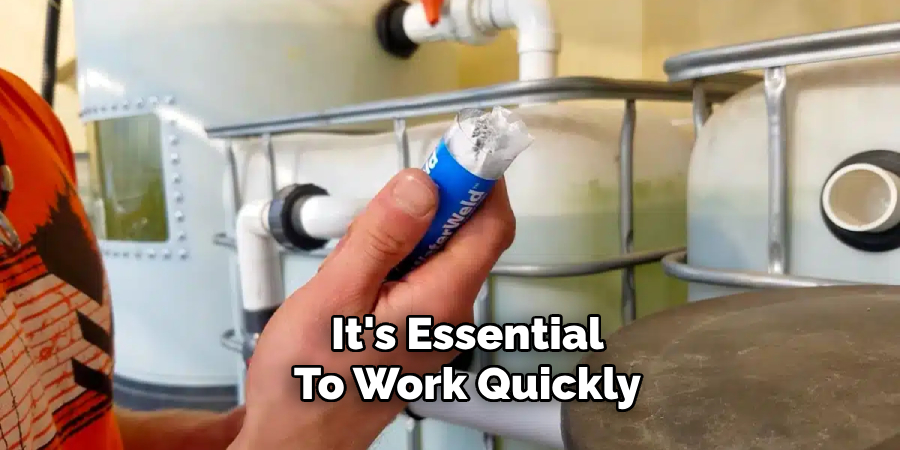
Water Weld sets rapidly, so it’s essential to work quickly. You have a limited time to mold and shape the putty before it begins to harden. Depending on the temperature and environmental conditions, you might have between 15 to 25 minutes to complete your work. Plan your repair steps in advance to make the most efficient use of your time.
Step 7: Allow to Cure
After applying and shaping the putty, allow the repaired area to cure for the recommended time. Typically, Water Weld takes about 30 minutes to 1 hour to fully cure, depending on the thickness of the application and environmental factors such as temperature and humidity. During this period, ensure that the repaired area is not disturbed to allow proper bonding.
Step 8: Sanding (Optional)
Once the putty is fully cured, you may find that the repaired area needs a bit of finishing. If necessary, sand the area to achieve a smooth, even surface. This step is particularly useful for cosmetic repairs where appearance is important. Use fine-grit sandpaper and be gentle to avoid damaging the newly repaired area.
Finishing Touches
Paint or Seal
Consider painting over the repaired area or applying a sealant for a polished and professional finish. Once the Water Weld has fully cured and any necessary sanding is complete, you can use a suitable paint to match the surrounding area. Applying a sealant not only enhances the appearance but also adds an extra layer of protection against environmental factors, such as moisture and UV exposure. Make sure the paint or sealant is compatible with epoxy putty to ensure durability and adhesion.
Clean Tools
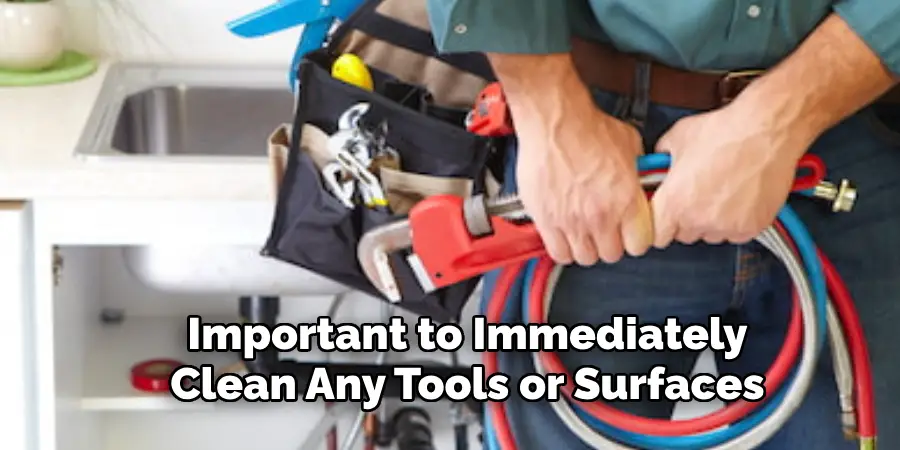
After completing your repair with Water Weld, it’s important to immediately clean any tools or surfaces. The epoxy hardens quickly, so prompt cleaning prevents buildup and ensures your tools remain in good condition for future use. Use warm water and a mild detergent to wash away any residue from knives, scissors, or other equipment used in the process. Proper cleaning helps maintain the longevity and effectiveness of your repair toolkit.
Safety Considerations
Ventilation
When using Water Weld, it is crucial to ensure that you are working in a well-ventilated area. The fumes emitted during the mixing and application process can be harmful if inhaled for extended periods. Adequate ventilation helps to disperse these fumes and minimize your exposure, ensuring a safer working environment. If possible, work outdoors or in a space with plenty of open windows or use fans to improve airflow.
Eye Protection
Always wear safety goggles to protect your eyes from potential splashes or contact with the epoxy putty. Epoxy can cause severe irritation or injury if it comes into contact with your eyes. Safety goggles provide a barrier that can prevent such accidents, helping to keep you safe while carrying out your repair work.
Skin Contact
Avoid prolonged skin contact with Water Weld putty as it can cause irritation or allergic reactions. Always wear gloves during the preparation, mixing, and application stages. After you have completed your work, wash your hands thoroughly with soap and water to remove any residue and reduce the risk of skin irritation.
Ventilation
When using Water Weld, it is crucial to ensure that you are working in a well-ventilated area. The fumes emitted during the mixing and application process can be harmful if inhaled for extended periods. Adequate ventilation helps to disperse these fumes and minimize your exposure, ensuring a safer working environment. If possible, work outdoors or in a space with plenty of open windows, or use fans to improve airflow.
Eye Protection
Always wear safety goggles to protect your eyes from potential splashes or contact with the epoxy putty. Epoxy can cause severe irritation or injury if it comes into contact with your eyes. Safety goggles provide a barrier that can prevent such accidents, helping to keep you safe while carrying out your repair work.
Skin Contact
Avoid prolonged skin contact with Water Weld putty as it can cause irritation or allergic reactions. Always wear gloves during the preparation, mixing, and application stages. After you have completed your work, wash your hands thoroughly with soap and water to remove any residue and reduce the risk of skin irritation.
Storage and Shelf Life
Proper Storage
Proper storage is essential to ensure the longevity and effectiveness of Water Weld. Store the epoxy putty in a cool, dry place away from direct sunlight and moisture. Exposure to heat and moisture can compromise the integrity of the product, reducing its bonding capabilities. An optimal storage location is a sealed container in a garage, workshop, or pantry where temperature and humidity levels are controlled. Make sure the packaging is tightly closed after each use to prevent air and moisture ingress.
Shelf Life
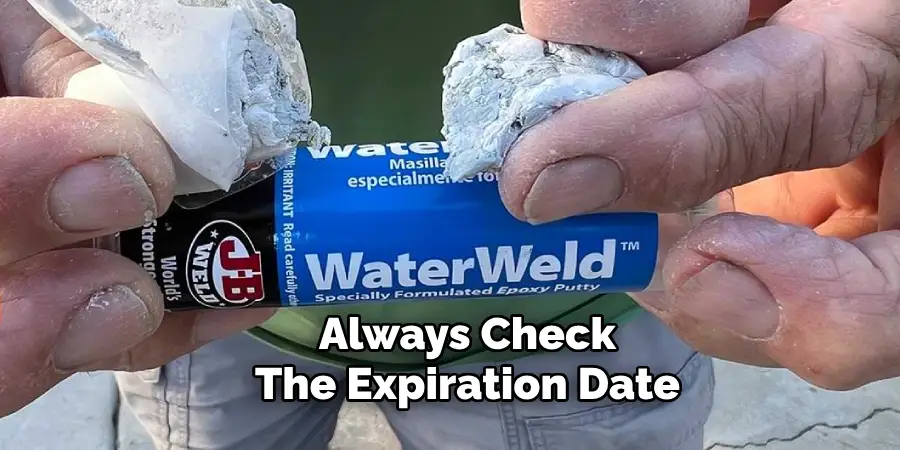
Always check the expiration date on the Water Weld packaging before use. Using the product within its recommended shelf life ensures optimal performance and a strong bond. Expired epoxy putty may not set correctly or achieve the desired strength, compromising the quality of your repair. Track your purchase dates and prioritize using older stock first for best results. Proper storage combined with adherence to the shelf life guarantees the effectiveness of Water Weld in your repair projects.
Conclusion
In summary, knowing how to use Water Weld is crucial for effective repairs. Begin with thorough preparation by cleaning and sanding the repair surface. Mix and apply the putty evenly, allowing it to fully cure undisturbed. Optional sanding can refine the finished look, and applying paint or sealant enhances durability. Safety considerations are paramount, like ensuring proper ventilation, wearing eye protection, and avoiding skin contact. Store the product properly to maintain its efficacy.
Water Weld is renowned for its versatility, strength, and durability, making it suitable for a variety of repair and bonding applications. From household fixes to automotive needs, its ability to bond and set even underwater makes it a reliable choice.
For the best results, always follow the manufacturer’s instructions and test the product on a small area before full application. This ensures compatibility and effectiveness, ultimately guaranteeing a successful and long-lasting repair.

