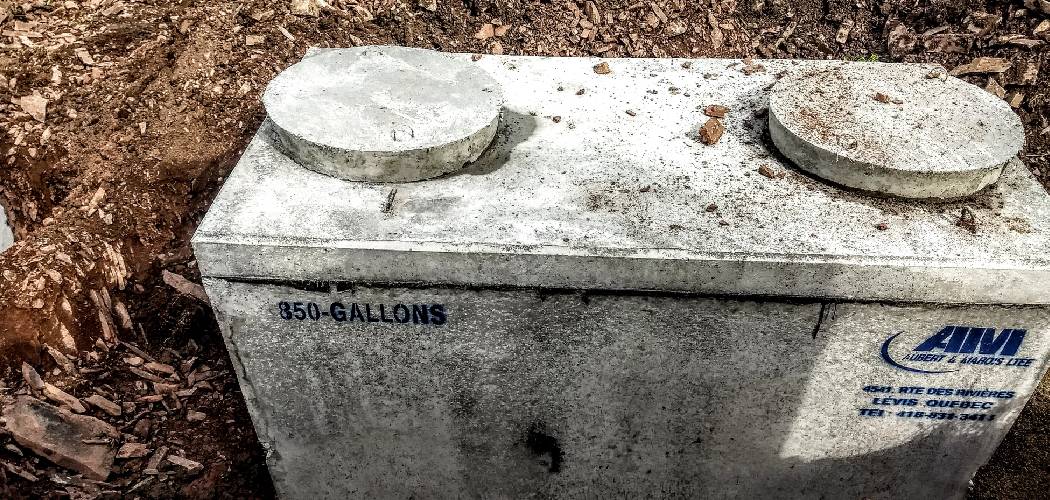
Venting a septic tank is crucial to maintaining a healthy and efficient septic system. Proper ventilation prevents odor buildup by allowing harmful gases to escape, which can significantly improve the overall hygiene of your property.
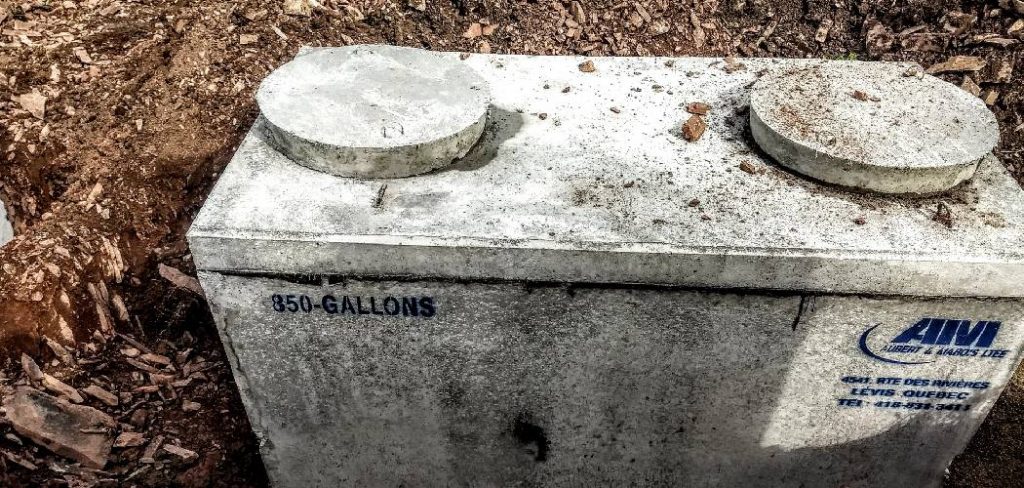
Additionally, adequate venting helps to reduce pressure inside the tank, ensuring that wastewater flows smoothly and efficiently through the system. This not only prolongs the life of the septic components but also minimizes the risk of costly backups and failures.
In this article, we will explore various methods on how to vent a septic tank, including the types of vents available, such as air admittance valves and conventional vent pipes, as well as the essential installation steps to take. Understanding these aspects can empower homeowners to effectively manage their septic systems and maintain a safe, odor-free environment.
Understanding Septic Tank Ventilation
Why Venting is Necessary
Venting is an essential septic system component, primarily focused on ensuring safe gas management and system efficiency. As organic waste decomposes within the tank, methane and hydrogen sulfide can accumulate, posing safety hazards if not properly vented.
By allowing these gases to escape safely, venting reduces the risk of pressure buildup that can lead to system malfunctions or even hazardous explosions. Furthermore, adequate ventilation helps alleviate unpleasant odors that may disrupt the comfort of your living environment. Properly vented septic systems improve air quality around your property, safeguarding both health and hygiene.
Types of Ventilation Systems
Several types of septic tank ventilation systems are designed to facilitate effective gas release and pressure regulation. Soil vents are installed below ground and allow gases to escape into the atmosphere through vertical pipes, while air vents are typically positioned above ground to provide a direct outlet for gases.
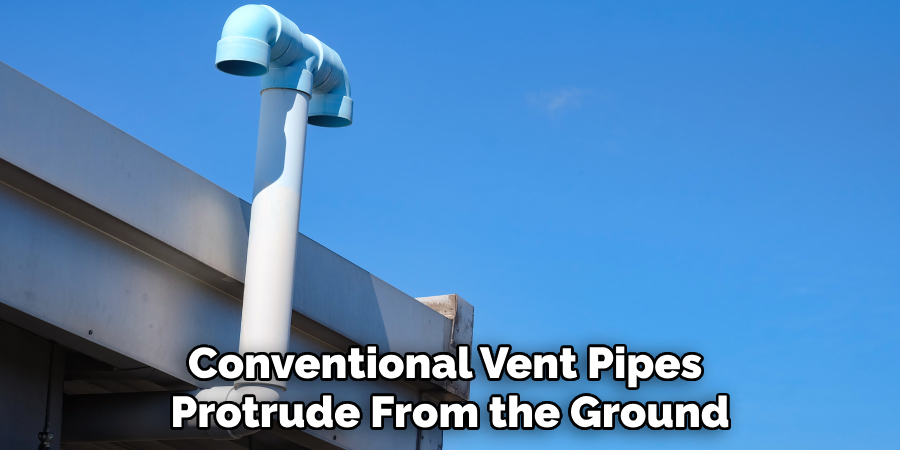
Conventional vent pipes protrude from the ground, often near the septic tank or the drain field, ensuring that harmful gases are safely vented away from living spaces. Each type of ventilation system manages the pressures and odors in a septic system, helping maintain its overall functionality and efficiency.
Preparing for Installation
Step 1: Locate the Septic Tank
To begin the installation process, it’s essential to accurately locate your septic tank. Typically, septic tanks are buried underground, so you may need to refer to site plans or use locating services if the tank’s position is unknown.
Look for any markers or indicators above ground, such as vent pipes or access portals, that may help pinpoint the tank’s location. Once located, select an installation spot for the vent that allows for easy maintenance access and proper alignment with the tank’s outlet.
Step 2: Check Local Codes and Permits
Before proceeding with the installation, ensure that you check local building codes and regulations regarding septic systems. Many areas require permits for vent installation or modifications to existing systems.
Contact your local health department or building authority to verify compliance and obtain any necessary permits. This step is crucial to avoid potential fines and ensure your installation meets regulatory safety standards.
Step 3: Gather Tools and Materials
Having the right tools and materials ready will streamline the installation process. You will need:
- PVC Pipes and Fittings: These are used to construct the venting system.
- Vent Cap or Cover: To keep out debris and pests while allowing gas to escape.
- Drill and Drill Bits: These are used to create holes in the tank or building.
- Pipe Wrench: To secure fittings and connections tightly.
- Sealant or Caulk: To ensure all joints are watertight, preventing leaks.
Gathering these items in advance will facilitate an efficient and effective installation.
How to Vent a Septic Tank: Installing the Vent Pipe
Step 1: Drill a Hole in the Tank Lid
To begin the installation of the vent pipe, you’ll need to drill a hole in the septic tank lid or cover. It’s essential to first select a location that is away from any existing fittings or access ports to ensure proper functionality.
Using a drill with a suitable bit, create a hole that matches the diameter of the PVC vent pipe you have chosen—typically between 2 and 4 inches in diameter. Be cautious during this process to avoid damaging the tank’s structure. Ensure that the hole is clean and free from debris for the next steps in the installation.

Step 2: Install the Vent Pipe
Once the hole has been drilled, insert your PVC vent pipe into the opening. The pipe should fit snugly to prevent any air leaks. If the fit seems loose, consider applying a layer of sealant or caulk around the hole’s edges before inserting the pipe.
After inserting, secure the vent pipe using additional sealant around the joint where it meets the lid. This will prevent any unwanted gas leaks and maintain the integrity of your septic system.
Step 3: Attach the Vent Cap
Next, it’s time to attach a vent cap or cover to the top of the vent pipe. This cap is crucial as it prevents debris, rainwater, and animals from entering the vent while still allowing the gases to escape freely.
Most vent caps are designed to slide or screw onto the top of the pipe. Ensure that it fits tightly and securely to effectively protect the vent system. Regularly check this area to confirm that the cap remains intact.
Step 4: Secure and Test the Vent
With the vent pipe and cap in place, securing everything is essential. Tighten the fittings and ensure that the vent is perpendicular to the ground for proper airflow. After securing, visually inspect for any potential leaks by observing the areas where the pipe meets the lid and the vent cap.
To test the system, you may want to flush the toilets or run water in sinks connected to the septic system to ensure that gases are being expelled appropriately. Confirm that no odors are present around the vent, indicating successful installation.
Step 5: Backfill and Clean Up
After ensuring the vent pipe is secure and functioning correctly, backfill any disturbed soil around the installation area. This will restore the landscape and help prevent any accidental damage to the vent.
Clean up the work site by removing any leftover materials, tools, and debris. Ensuring that the area is returned to its original condition is important for maintaining the aesthetics of your property and ensuring the continued safe operation of your septic system.
Maintenance and Inspection
Regular Inspections
To ensure the continued efficiency of your septic system, it is crucial to conduct regular inspections of the vent pipe and cap. Periodically check for any signs of damage, such as cracks or corrosion, and assess the cap for proper fit and secure attachment.
Look for blockages caused by debris, such as leaves and twigs, which could hinder airflow. Addressing any issues promptly will prevent larger problems in the future, ensuring that the system operates smoothly and safely.
Cleaning the Vent
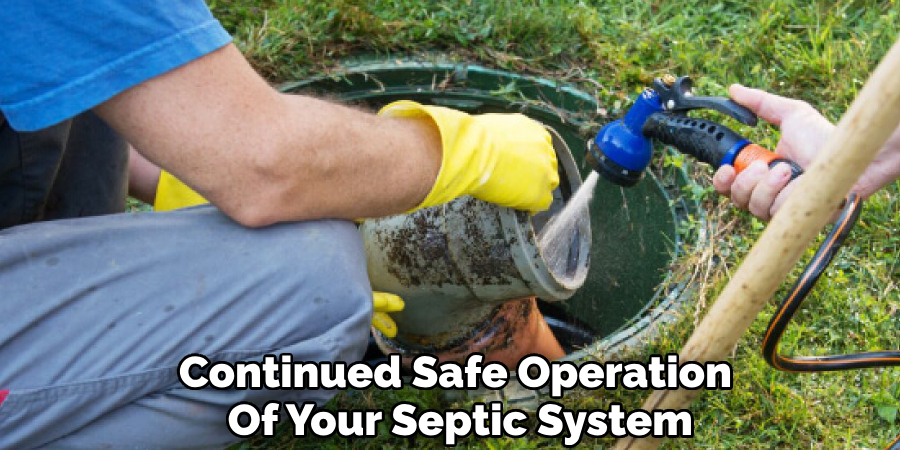
Cleaning the vent pipe and cap is essential for preventing clogs and maintaining optimal airflow through your septic system. Use a soft brush or cloth to remove any accumulated debris from the vent cap and ensure it remains clear.
If you notice any build-up within the pipe, consider flushing it with water or using a plumbing snake carefully so as not to damage the pipe. Regular removal of obstructions helps prevent odors and ensures that gases escape effectively, contributing to the overall functionality of your septic system.
Troubleshooting Common Issues
Blocked or Clogged Vent
A blocked vent pipe may present several symptoms, including unpleasant odors emanating from drains and slow drainage in sinks and toilets. These signs indicate that gases are unable to escape, causing backups.
First, To clear obstructions, use a plumber’s snake to dislodge any debris within the vent pipe. If the issue persists, it is advisable to contact a professional service to assess and resolve the blockage effectively, ensuring the safe operation of your septic system.
Vent Pipe Damage
Common types of damage to vent pipes include cracks, disconnections, and corrosion. Cracks can occur due to environmental factors or improper installation, leading to leaks and reduced function.
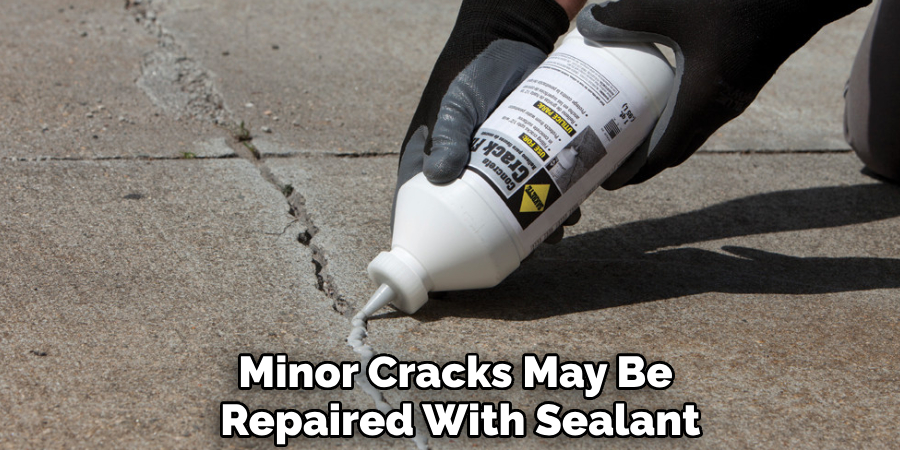
Should you discover visible damage, assess the extent first; minor cracks may be repaired with sealant. However, if there are significant disconnections or severe wear, it is often more effective to replace the damaged sections entirely. Always ensure that repairs restore the vent’s integrity for optimal performance.
Conclusion
Venting a septic tank is a crucial process that ensures the efficiency and safety of your system. To recap the key steps, gather the necessary tools and materials, drill a precise hole in the tank lid, and insert the PVC vent pipe snugly. After securing it with sealant, attach a vent cap to protect against debris.
Then, test the system for proper airflow, ensuring no unpleasant odors are present. Regular maintenance, including inspections and cleaning, is vital for optimal performance. We encourage you to confidently undertake this installation; however, don’t hesitate to seek professional assistance if you encounter difficulties.
Remember, understanding how to vent a septic tank prevents malfunctions and ensures your system’s longevity. Proper venting is essential for maintaining your septic system’s overall safety and functionality, so make it a priority in your care routine.

