Ventilation is a crucial aspect of any plumbing system, and it plays a vital role in ensuring that shower drains function efficiently. Proper venting prevents issues such as slow drainage, unpleasant odors, and the potential for harmful sewer gases to enter living spaces.
This guide on how to vent a shower drain will explore the importance of venting shower drains, the common challenges associated with inadequate ventilation, and practical solutions to effectively vent your shower drain, enhancing both its performance and hygiene in your home.
Why is Venting a Shower Drain Important?
Venting a shower drain is essential for maintaining a balanced plumbing system, as it facilitates the escape of air from the drainage pipes.
This process is crucial because it prevents the formation of a vacuum that can hinder water flow, leading to slow drainage and potential clogs. Without proper venting, wastewater may not flow smoothly, resulting in backups that cause inconvenient and unsanitary situations.
Additionally, effective venting helps to eliminate the risk of foul odors and harmful gases, such as methane, entering your home. Overall, adequate ventilation in shower drains not only improves functionality but also promotes a healthy living environment.
Needed Materials
Before venting your shower drain, you will need to gather the necessary materials. These include:
Vent Pipes:
These are vertical pipes that extend from the drainage system and provide an escape route for air pressure. Vent pipes typically connect to the main plumbing stack, which is connected to the sewer system outside your home.
Air Admittance Valves (AAVs):
In cases where installing vent pipes is not feasible, AAVs provide an alternative solution. These valves allow air to enter and exit the drainage system while preventing harmful gases from entering living spaces.
Pipe Connectors:
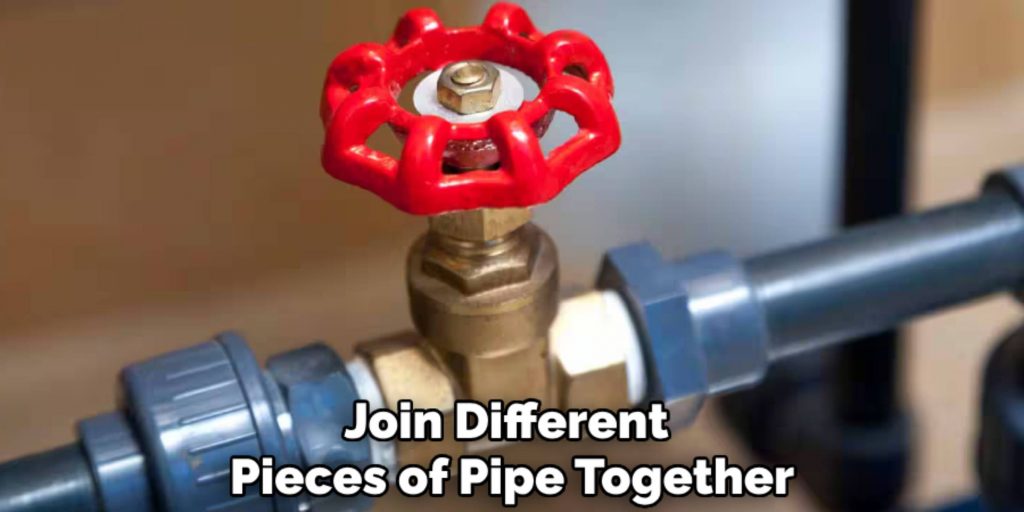
Pipe connectors are used to join different pieces of pipe together, allowing for a proper ventilation system.
7 Simple Step-by-step Guidelines on How to Vent a Shower Drain
Step 1: Determine the Location
The first step in venting your shower drain is to identify the ideal location for your venting system. Consider the layout of your plumbing, specifically the position of your shower drain in relation to the existing plumbing stack or a suitable wall. This will ensure that the vent pipe can be installed with minimal bends, which helps maintain optimal airflow.
Additionally, ensure that the chosen location adheres to local building codes, as they often dictate specific requirements regarding the distance and angle of vent pipes. Properly assessing the location will set a solid foundation for a successful venting installation.
Step 2: Prepare the Opening for Vent Pipe Installation
Once you have determined the location for the vent pipe, the next step is to prepare the opening for installation. Begin by inspecting the area where the vent pipe will penetrate the wall or ceiling. Use a stud finder to locate any framing members, ensuring that you avoid cutting into them.
Next, mark the diameter of the vent pipe on the surface, typically a 2-inch hole for standard venting. Use a power drill or hole saw to create an opening through the material, whether it be drywall, wood, or other surfaces.
Be cautious while drilling to prevent damage to surrounding structures. Once the opening is made, check for any obstructions and clear the area to facilitate the installation of the vent pipe. Proper preparation of the opening is vital for ensuring a smooth and effective venting system.
Step 3: Install the Vent Pipe
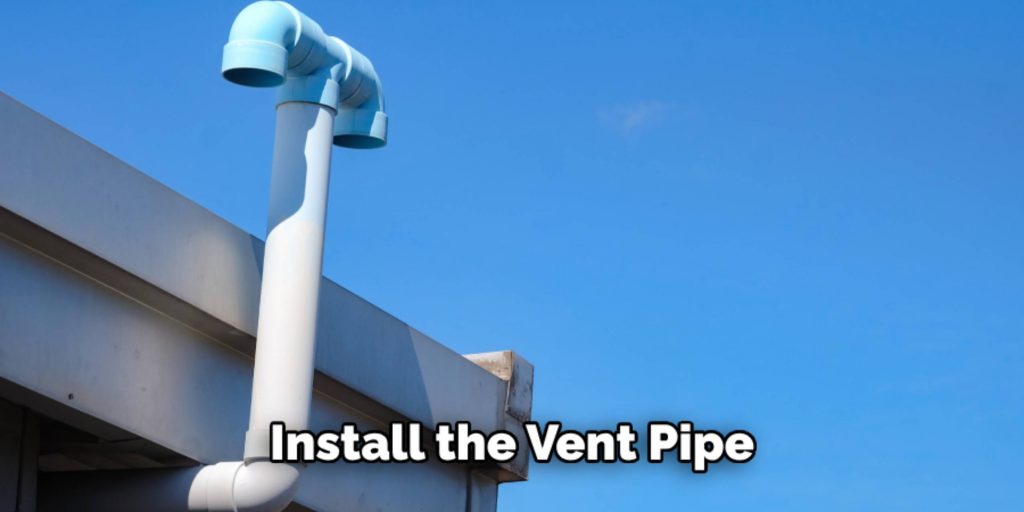
With the opening prepared, it is now time to install the vent pipe. Begin by assembling the pipe segments and connectors according to your specific plumbing layout. Once connected, insert the vent pipe into the hole you have created, ensuring that it extends through the ceiling or wall and reaches outside your home.
Next, secure the vent pipe in place using mounting brackets or straps to prevent movement or sagging. Always follow local building codes for proper installation methods and distances between supports. After securing the vent pipe, seal any gaps around its perimeter with caulking to ensure an airtight fit.
Step 4: Connect to the Main Plumbing Stack
Once the vent pipe is in place, it is important to connect it to the main plumbing stack. This connection ensures that air can flow freely from your shower drain to the outside sewer system. If you are unsure how to make this connection, consult a professional plumber for guidance.
You can also connect the vent pipe to an existing vent stack if that is a more feasible option. Regardless of the method, it is crucial to create a proper connection between the vent pipe and the main plumbing system.
Step 5: Install Air Admittance Valve (AAV)
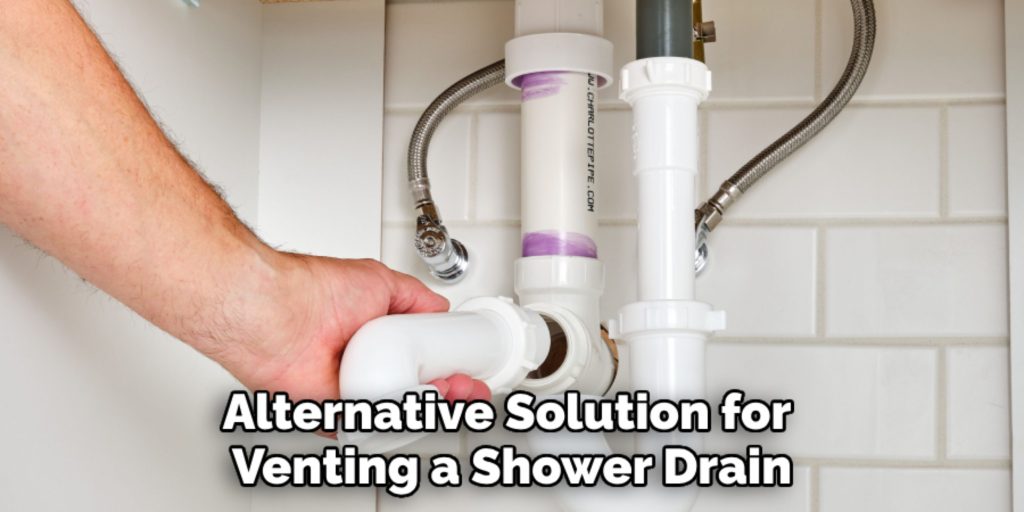
In cases where installing a vent pipe is not possible, AAVs provide an alternative solution for venting shower drains. These valves can be installed directly onto your existing drainpipe or onto a separate vertical pipe connected to your shower drain. AAVs work by opening when airflow is needed and remaining closed when not in use, preventing harmful gases from entering living spaces.
Follow the manufacturer’s instructions for proper installation and ensure that the AAV is placed in an accessible and upright position for easy maintenance.
Step 6: Test the Venting System
Once all components are properly installed, it is important to test the venting system. Run water through your shower drain and observe its drainage speed. If the water drains quickly and smoothly, then your venting system is working effectively. However, if you notice slow drainage or gurgling sounds, there may be a blockage or improper installation that requires further inspection.
It is also essential to check for any foul odors or gases, as this could indicate a faulty AAV or an inadequate venting system. Make any necessary adjustments before finalizing the installation.
Step 7: Maintain and Inspect Regularly
Lastly, it is important to regularly maintain and inspect your shower drain venting system. This includes checking for blockages, leaks, and ensuring proper airflow.
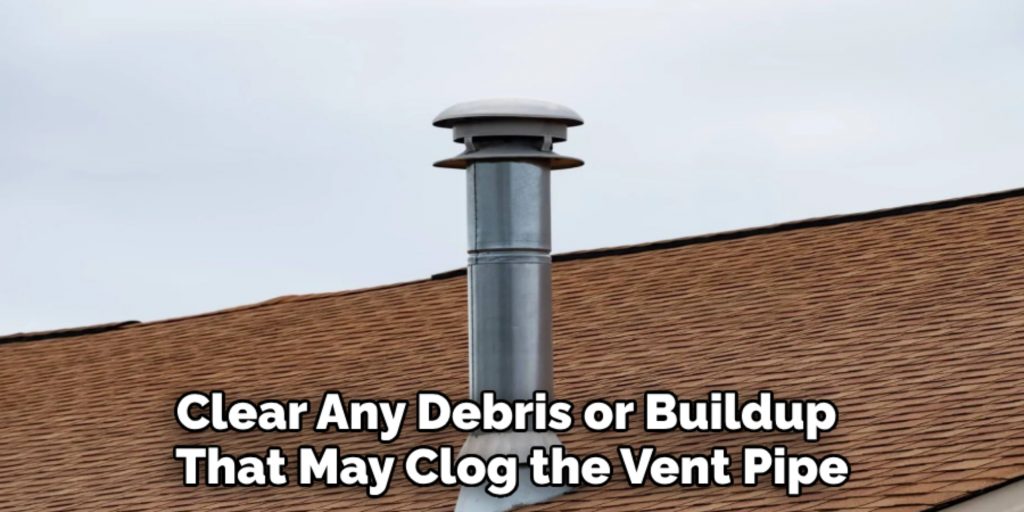
Clear any debris or buildup that may clog the vent pipe and repair any damages immediately. It is recommended to have a professional plumber perform regular maintenance checks to ensure your venting system continues to function properly.
If you follow these simple guidelines on how to vent a shower drain, you can successfully vent your shower drain and maintain a healthy and functional plumbing system in your home. Remember to always adhere to local building codes and regulations for proper installation methods.
So, it is highly recommended to hire a professional plumber to ensure the safety and effectiveness of your venting system. With proper installation and maintenance, you can enjoy a fully functioning shower drain without any worries about unpleasant odors or harmful gases entering your living space.
Do You Need to Use Professionals?
While many homeowners may feel confident in tackling the venting of a shower drain as a DIY project, there are several factors to consider that may warrant hiring a professional plumber.
Firstly, if you lack experience with plumbing systems, attempting to handle the installation incorrectly can lead to significant issues, such as improper drainage or leaks that may damage your home. Additionally, navigating local building codes and regulations can be complex; professionals are well-versed in these requirements and can ensure compliance, saving you potential headaches in the future.
Moreover, in cases where your plumbing layout is unusual or if you are working in a particularly confined space, a professional can provide tailored solutions that you might not have considered.
Hiring an expert can also provide you with peace of mind, knowing your system is installed correctly and will function effectively for years to come. Ultimately, the decision to use professionals should be based on your comfort level with plumbing, the complexity of the project, and your desire for assurance that the job is done right.
Frequently Asked Questions
Q1: Can I Install a Vent Pipe for My Shower Drain Without Professional Help?
A1: While it is possible to install a vent pipe on your own, it is highly recommended to hire a professional plumber to ensure proper installation and adherence to local building codes and regulations. Improper installation can lead to issues such as leaks or inadequate airflow, causing damage to your plumbing system and potential health hazards.
Q2: Can I Connect My Vent Pipe to an Existing Vent Stack?
A2: Yes, you can connect your vent pipe to an existing vent stack if it is a more feasible option for your plumbing layout. Be sure to follow local building codes for proper installation methods and distances between supports. If unsure, consult a professional plumber for guidance.
Q3: Can I Use an Air Admittance Valve Instead of a Vent Pipe?
A3: In cases where installing a vent pipe is not possible, an Air Admittance Valve (AAV) can be used as an alternative solution for venting a shower drain. Consult the manufacturer’s instructions for proper installation and ensure that the AAV is placed in an accessible and upright position for easy maintenance.
Conclusion
In conclusion, venting a shower drain is a critical aspect of ensuring a functional and healthy plumbing system in your home. By carefully following each step on how to vent a shower drain—from determining the location and preparing openings to installing the vent pipe and testing the system—homeowners can effectively manage drainage and prevent plumbing issues.
Regular maintenance and inspections are essential for keeping the venting system in optimal condition.
If challenges arise or if you are uncertain about any part of the process, enlisting the help of a professional plumber can provide peace of mind and ensure compliance with local building codes. With the right approach, you can enjoy a reliable shower drain system and a more comfortable living environment.

