Installing proper ventilation for a basement toilet is essential for maintaining a safe and functional plumbing system. Venting ensures that sewer gases are properly expelled, prevents foul odors from accumulating, and aids in the smooth drainage of wastewater. Without adequate ventilation, your plumbing system can face issues such as slow drainage, frequent clogs, or even dangerous gas buildup.
This guide on how to vent basement toilet will walk you through the importance of venting, the tools you’ll need, and the steps to properly vent a basement toilet for optimal performance and safety.
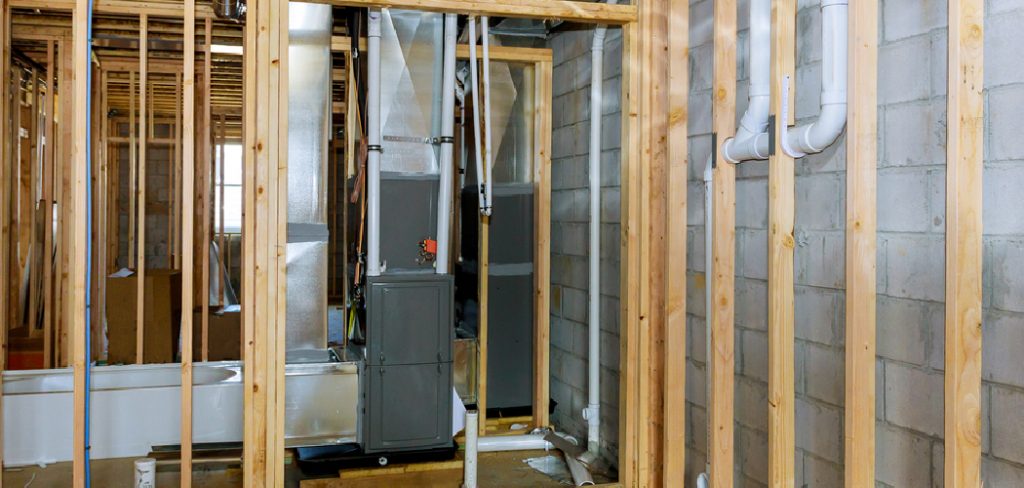
Why Basement Toilet Ventilation is Important?
Basement toilets are often located below the main sewer or septic line, making it difficult for gravity to naturally move wastewater out of the basement. Without proper ventilation, this can result in slow drainage or even sewage backup. Additionally, without a vent, sewer gases can build up and pose health risks to anyone in the vicinity.
You may also notice a foul odor in your basement if the toilet is not properly vented. This is because, without a vent, air pressure can build up and push gases back into your home, resulting in unpleasant smells.
Furthermore, proper ventilation ensures that wastewater flows smoothly through the pipes by equalizing air pressure. As water moves down the drain, it displaces air in the pipe. If there is no vent to allow the displaced air to escape, it can create negative pressure and slow down or even stop the flow of water.
Tools Needed for Venting a Basement Toilet:
Before getting started with installing ventilation for your basement toilet, make sure you have all the necessary tools on hand. These include:
Vent Pipe:
A vent pipe is a vertical pipe that connects to the main sewer or septic line and extends through the roof of your home. It allows air to flow in and out of the plumbing system, preventing negative pressure buildup.
Vent Tee:
A vent tee is a specific type of pipe fitting that connects the toilet’s drain line to the main sewer or septic vent. It has an angled side where the drain line attaches and a vertical side where the vent pipe connects. This allows for proper ventilation while still preventing any waste from backing up into the toilet.
Pipe Cutter or Saw:
You will need either a pipe cutter or a saw to cut through pipes when installing the new ventilation system. Make sure you have one on hand, depending on what type of pipes you are working with.
Piping Adhesive and Sealant:
To ensure a secure and leak-free installation, it’s important to use piping adhesive and sealant. This will create a strong bond between the pipes and fittings, preventing any air or water from escaping.
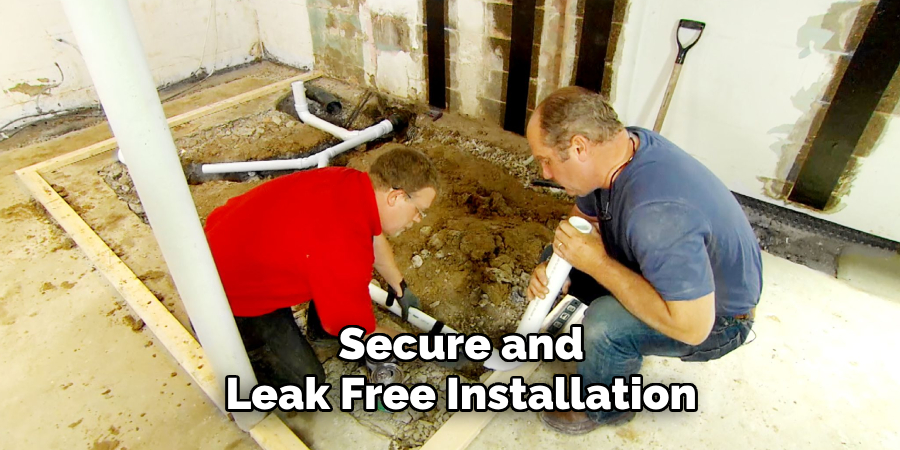
8 Steps on How to Vent Basement Toilet:
Step 1: Plan the Ventilation System
Before beginning any physical work, it’s crucial to properly plan out the ventilation system for your basement toilet. Start by determining the optimal location for the vent pipe based on the layout of your plumbing system. Identify where the toilet drain connects to the main sewer line, as this will guide where the vent pipe needs to be installed. Additionally, check building codes in your area to ensure the venting system complies with local regulations. Some codes may require specific pipe sizes or configurations.
Create a detailed diagram of the planned ventilation route, including connections to the drain line and the path the vent pipe will take to exit through the roof or tie into an existing vent stack. Planning ahead will help prevent errors and ensure a more efficient and straightforward installation process.
Step 2: Cut the Pipe
Once you have planned the ventilation system, the next step is to cut the pipe to accommodate the vent tee and vent pipe. Begin by locating the section of the toilet drain where the vent tee will be installed. Use a pipe cutter or saw, depending on the type of pipe material, to make a clean, precise cut. Ensure that the cut is straight to allow for a proper fit when assembling the components.
Before cutting, shut off the water supply and make sure the plumbing system is not in active use to avoid any potential mess or complications. After cutting, smooth out the edges of the pipe with sandpaper or a deburring tool to remove any rough surfaces or debris. This step is essential to ensure a secure and leak-free connection when attaching the vent tee. Measure twice and cut once to avoid unnecessary material wastage or improper placement.
Step 3: Install the Vent Tee
With the pipe cut and prepped, it’s time to install the vent tee. Apply a thin layer of piping adhesive to both ends of the vent tee before sliding it onto the cut end of the toilet drain pipe. Ensure that the angled side faces the direction of water flow from the toilet.
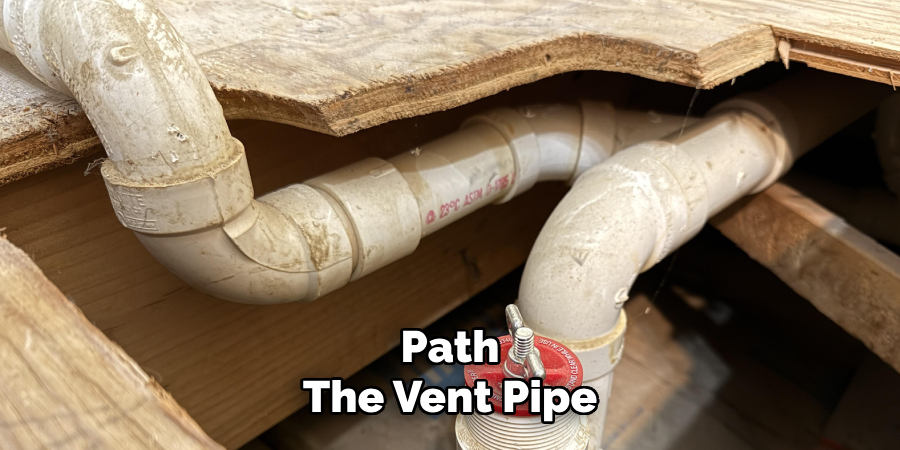
Use a level to make sure the vent tee is installed straight and secure any loose sections with pipe clamps if necessary.
Step 4: Prepare and Cut the Vent Pipe
Measure and cut a section of the vent pipe that will reach from the top opening on your new vent tee to where you plan for it to exit through your roof or tie into an existing vent stack. Don’t forget to account for any angles or turns in the pipe’s path when measuring and cutting.
It’s crucial to ensure the vent pipe is cut accurately, as any mistakes can cause complications and affect the proper functioning of the ventilation system.
Step 5: Connect the Vent Pipe to the Vent Tee
Apply a thin layer of piping adhesive to one end of the cut vent pipe before fitting it onto the vertical side of the vent tee. Use a level to ensure that the pipe is straight before securing it with a pipe clamp. If your planned route involves multiple sections of vent pipes, make sure all connections are secure using piping adhesive and clamps.
The vent pipe should now extend vertically from the toilet drain, allowing for proper airflow and pressure equalization.
Step 6: Route Vent Pipe to Exit Point
If your ventilation system requires the vent pipe to exit through the roof, use a roof flashing kit to create a watertight seal around the hole where the pipe will exit. Securely fasten the vent pipe using pipe straps or hangers to ensure it’s stable and won’t move with any wind or weather conditions.
If you plan on tying into an existing vent stack, make sure you properly connect and secure the pipes before moving on to step 7.
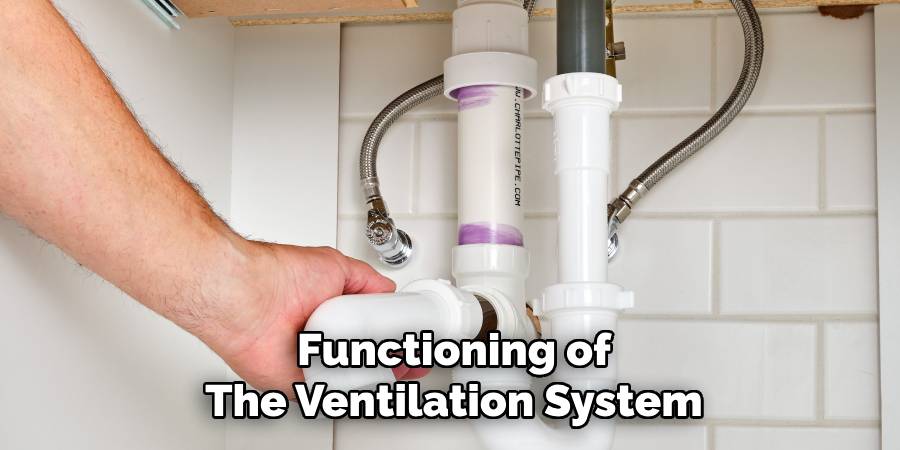
Step 7: Seal All Connections
Go back and double-check that all connections are secure and leak-free. Use piping adhesive or sealant to seal any potential gaps or weak spots in the system. This step is essential to prevent any air or water leaks, which can cause problems with the plumbing system’s functionality.
You may also consider wrapping insulation around the vent pipe to prevent any potential condensation buildup or freezing during colder months. Working correctly.
Step 8: Test the Ventilation System
After completing all the installation steps, it’s time to test if the ventilation system is working correctly. Turn on the water supply and flush the toilet a few times while checking for any potential issues such as leaks, clogs, or unusual noises.
If everything seems to be working correctly, congratulations – you have successfully vented your basement toilet! However, if you encounter any problems, go back and check all connections and make the necessary adjustments. It’s crucial to ensure that the ventilation system is functional before using your basement toilet regularly.
Following these steps on how to vent basement toilet will help you successfully vent your basement toilet and ensure proper functionality.
However, it’s always best to consult a professional plumber if you are unsure about any step or encounter difficulties during the installation process. Proper ventilation is crucial for any plumbing system, and neglecting it can lead to costly repairs and potential health hazards. So take your time, plan carefully, and follow the steps outlined above to successfully vent your basement toilet.
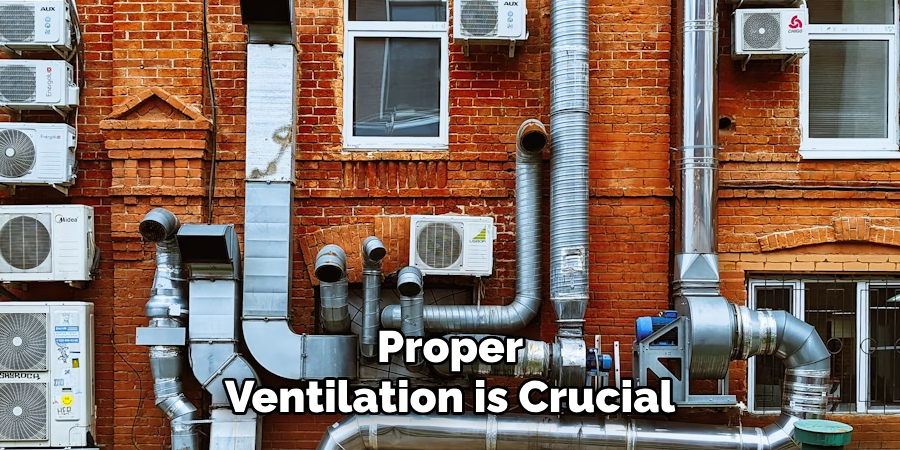
Additional Tips for Installing Basement Toilet Ventilation System
- Consider using a stud finder when planning the ventilation route to avoid any potential damage to structural elements.
- Use pipe hangers or straps every 4 feet along the vent pipe’s horizontal sections for added stability and support.
- Check your local building codes for specific regulations on venting basement toilets.
- Avoid using flexible pipes for the vent system, as they can collapse or trap moisture, causing potential issues with airflow.
- If your basement has low ceilings, consider installing an up-flush toilet instead of a traditional one to avoid complicated and potentially costly venting systems.
By following these additional tips and suggestions, you can ensure a smoother and more successful installation process for your basement toilet ventilation system. Remember to always prioritize proper planning, accurate measurements, and secure connections to prevent any complications in the future. Happy venting!
Frequently Asked Questions:
Q: Can I Vent My Basement Toilet Through an Existing Vent Stack?
A: Yes, it is possible to tie your basement toilet into an existing vent stack. However, it’s crucial to ensure that the existing vent is large enough and properly placed for the added flow from the new vented toilet. It’s best to consult a professional plumber to ensure proper installation in this scenario.
Q: Can I Use PVC Pipes for My Basement Toilet Ventilation System?
A: Yes, PVC pipes are commonly used for venting systems due to their durability and resistance to corrosion. However, always make sure to check local building codes as some areas may have specific regulations on the type of pipes allowed for venting systems.
Q: How Do I Know if My Ventilation System is Working Correctly?
A: Some signs that your ventilation system may not be functioning correctly include slow draining or gurgling noises when flushing the toilet. If you notice any of these issues, it’s best to go back and check all connections and make necessary adjustments. If problems persist, consult a professional plumber for further assistance. So always keep an eye out for any potential issues and address them promptly to prevent more significant problems in the future.
Conclusion
Properly venting a basement toilet is essential for maintaining a safe, efficient, and functional plumbing system. By following the detailed steps outlined in this guide on how to vent basement toilet, you can ensure that your toilet installation meets the necessary standards for airflow and pressure balance, preventing issues like clogs, sewer gas leaks, or slow drainage.
Additionally, integrating the tips provided and adhering to local building codes will contribute to a smoother installation process and long-term reliability. If ever in doubt, consulting a professional plumber can save time and avoid costly mistakes. With careful planning and execution, a well-vented basement toilet can enhance the comfort and functionality of your home.

