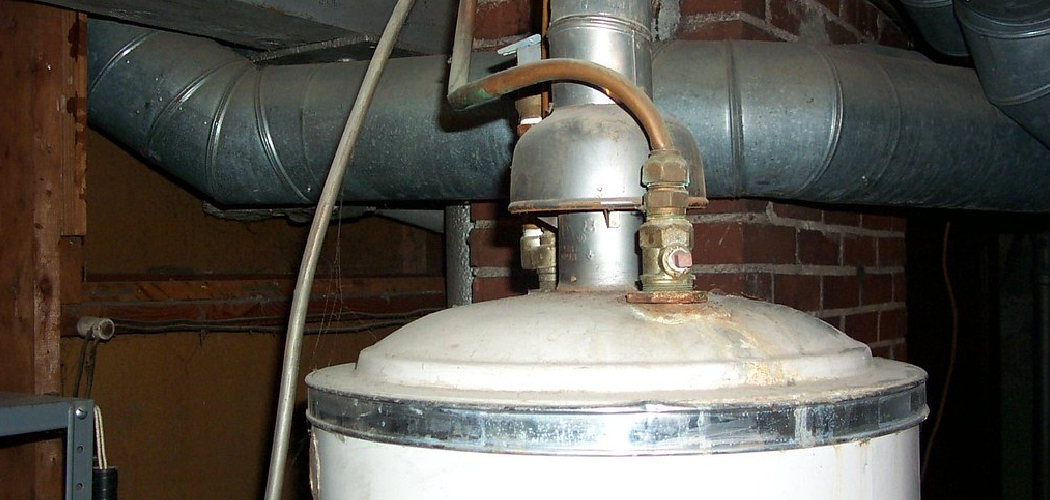
Properly venting a gas water heater in the basement is essential for both safety and efficiency. Venting ensures that harmful gases, such as carbon monoxide, generated during the combustion process are safely expelled from the home.
Without adequate ventilation, these gases can build up and pose significant health risks. Additionally, an effective venting system helps your water heater operate optimally, extending its lifespan and maintaining performance.
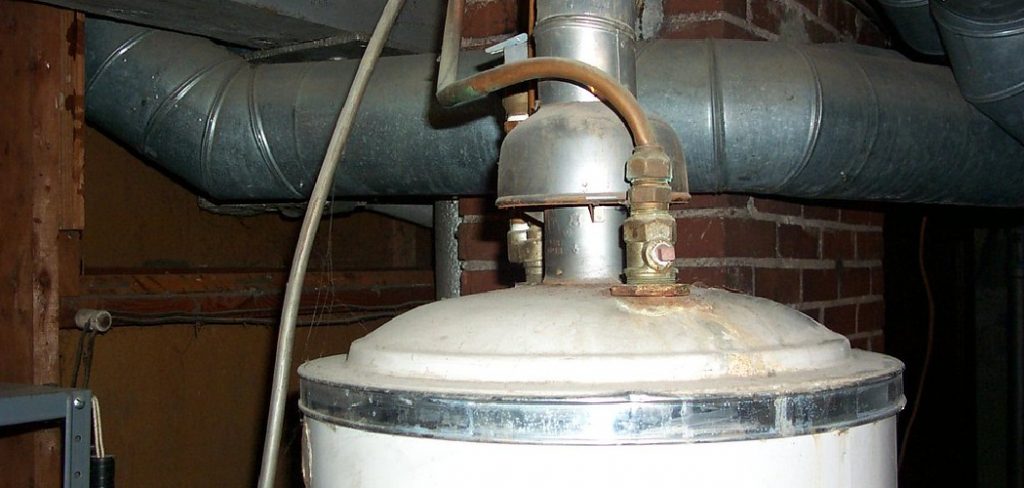
This guide on how to vent gas water heater in basement will walk you through the fundamental steps and precautions for venting a gas water heater in a basement.
Understand How Gas Water Heater Venting Works
Gas water heater venting is essential for safely expelling harmful gases, such as carbon monoxide, created during the combustion process. The venting system works by allowing these gases to exit your home through a chimney, flue, or dedicated vent pipe. There are generally three types of venting systems used with gas water heaters: atmospheric venting, direct venting, and power venting.
Atmospheric venting relies on the natural rise of hot gases to move them out through a vent or chimney. Direct venting uses a sealed system to draw in air from outside for combustion and then expels the gases back outside, making it more efficient and ideal for tightly sealed homes. Power venting, on the other hand, uses an electric fan to force exhaust gases out through a horizontal vent, offering flexibility for installation in basements or areas without direct access to a vertical vent.
Understanding how these systems function allows you to choose the right option for your home and ensures your water heater operates safely and efficiently.
Main Types of Venting Systems
When it comes to water heater venting, there are several main types to consider, each suited to different setups and needs:
Atmospheric Venting
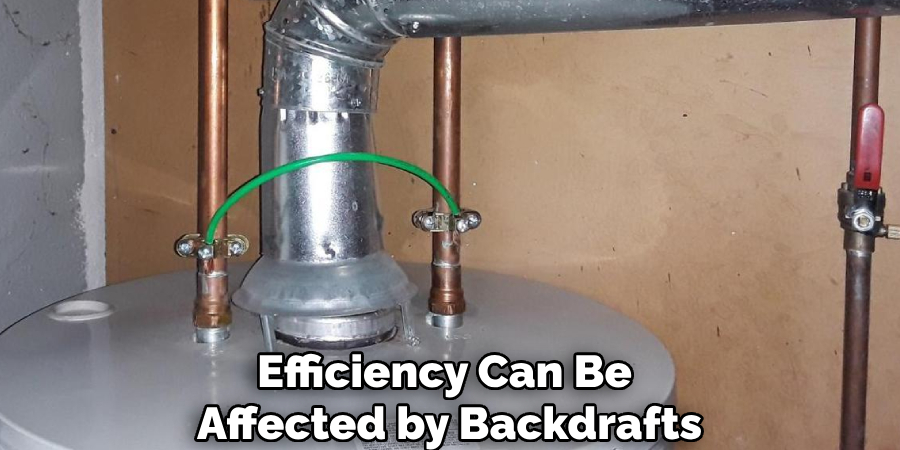
This is the most common and traditional type of venting system. It relies on natural convection to expel exhaust gases through a vertical flue or chimney. Atmospheric venting works best in homes with existing chimneys or designated vertical venting systems. However, its efficiency can be affected by backdrafts or poor air circulation.
Direct Venting
Direct vent systems draw combustion air from outside your home and expel the exhaust gases back outside, usually through a dual vent pipe. This setup is particularly useful for well-sealed, high-efficiency homes, as it prevents air from being drawn from living spaces, improving overall energy efficiency.
Power Venting
Power vent water heaters utilize an electric fan to push exhaust gases through a horizontal vent, offering flexibility in placement. This type of system is ideal for homes where vertical venting is not possible. The fan ensures proper ventilation, but it does require a power source to operate.
Power Direct Venting
Combining the principles of power venting and direct venting, this system features a fan to exhaust gases and also draws combustion air from outside. It’s a versatile option, delivering efficiency and flexibility, especially for energy-conscious homeowners.
Selecting the appropriate venting system depends on your home’s design, existing infrastructure, and energy efficiency goals. Consulting a professional can help ensure you choose the safest and most efficient option for your specific needs.
Choosing the Right Venting Option for Your Basement
When selecting a venting system for your basement, it’s important to consider the unique characteristics of the space. Basements often have limited natural airflow, which makes proper venting crucial for maintaining air quality and preventing issues like excessive moisture or gas buildup. Evaluate factors such as the size of your basement, the type of heating or cooling system in use, and your overall energy efficiency priorities.
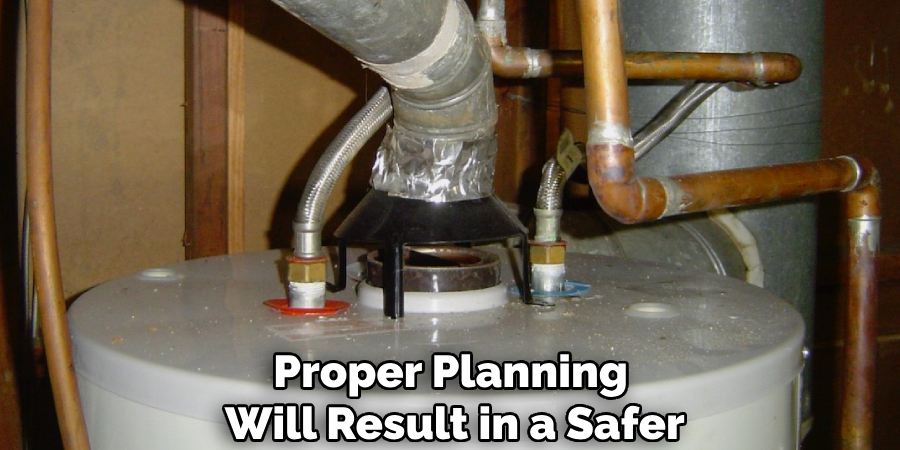
Direct venting can be an excellent choice for basements due to its sealed combustion design, which reduces the risk of indoor air contamination. Alternatively, power venting may be suitable if flexibility in vent placement is required. Always consult with a qualified HVAC professional to ensure the system you choose meets safety regulations and aligns with the specific needs of your basement. Proper planning will result in a safer, more efficient, and comfortable home.
8 Simple Steps on How to Vent Gas Water Heater in Basement
Step 1: Determine the Type of Venting System Needed
The first step in venting a gas water heater in your basement is to determine the appropriate venting system for your specific setup. There are three main types of venting systems to consider: natural draft, power vent, and direct vent. Each system has unique requirements and benefits. Natural draft systems rely on rising warm air to expel exhaust gases, while power vent systems use an electric fan to push gases out.
Direct vent systems draw air from outside and expel exhaust directly, making them ideal for enclosed spaces. Evaluate factors such as the water heater model, available space, and access to ventilation routes before making your choice. This critical decision serves as the foundation for creating a safe and efficient venting setup.
Step 2: Choose the Right Location for Installation
Selecting an appropriate location for your water heater is vital to ensure optimal performance and safety. The chosen area should provide adequate space for maintenance and allow proper airflow to support venting requirements. Avoid installing the water heater in confined or tightly enclosed areas without sufficient ventilation, as this can lead to inefficient operation or potential safety hazards.
Additionally, ensure the location complies with local building codes and is close to necessary utilities, such as water and power connections, to simplify installation. By carefully choosing the right location, you’ll lay the groundwork for a long-lasting and efficient water heating system.
Step 3: Install the Vent Pipes
Proper installation of vent pipes is essential for ensuring the safe and efficient operation of your water heater. Begin by selecting vent pipes that are compatible with your specific model and meet local building codes. Securely connect the vent pipes to the water heater’s vent outlet, following the manufacturer’s guidelines. Ensure the pipes are angled appropriately to allow for proper airflow and the safe expulsion of gases.
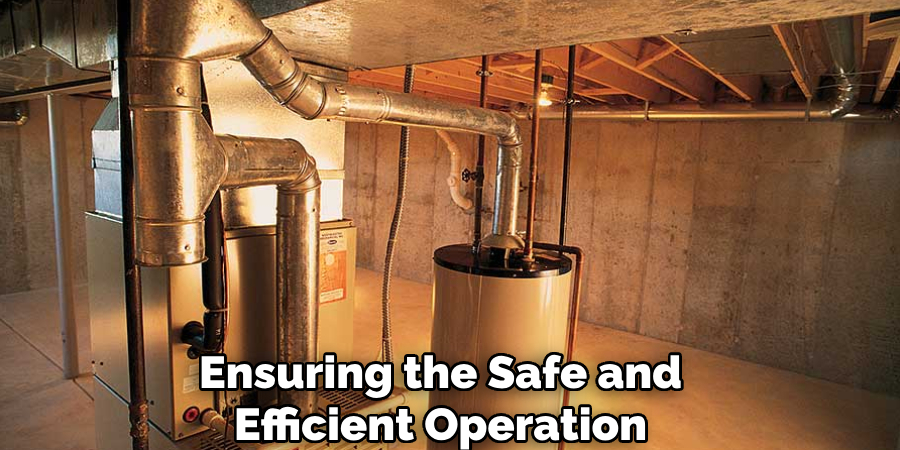
If you’re installing a power-vented or direct-vent system, double-check the positioning to prevent any blockages or obstructions in the vent pathway. Finally, inspect all connections to make sure they are sealed tightly and free of leaks. Taking the time to install the vent pipes correctly will safeguard your system’s performance and your household’s safety.
Step 4: Ensure Proper Ventilation
Proper ventilation is critical to the efficiency and safety of your system. Begin by inspecting the area around the vent pipes to verify there is adequate clearance from any combustible materials. Check that the ventilation openings are not obstructed by debris or other objects that could block airflow. If you are using vent caps or screens, ensure they are securely fastened and not damaged.
Additionally, confirm that the air intake and exhaust pathways are operating as intended, allowing for balanced airflow. Routine maintenance and regular inspections will help ensure that your ventilation system continues to function optimally over time.
Step 5: Connect the Gas Supply
Before connecting the gas supply, make sure to shut off the main gas valve to prevent any accidental leaks. Check that the gas supply line is compatible with the specifications of your appliance and is free from damage. Carefully attach the gas line to the inlet on the appliance, ensuring a secure and tight connection. Use a wrench as needed but avoid over-tightening, which could damage the fittings.
Once connected, test for leaks by applying a soapy water solution to the fittings and watching for bubbles when the gas is turned on. If any bubbles appear, immediately shut off the gas and recheck the connections. Always adhere to local building codes and regulations regarding gas installations, and if in doubt, consult a licensed professional for assistance.
Step 6: Test for Leaks
After completing all connections, it is crucial to test for leaks to ensure safety. Begin by turning on the gas supply and applying a soapy water solution to all the fittings and connections you have installed. Carefully observe each area for the appearance of bubbles, which indicate a gas leak.
If you detect any leaks, immediately shut off the gas supply and tighten or adjust the fittings until no bubbles are present. Always conduct this test thoroughly before using the appliance. If you are unable to resolve a leak or feel uncertain at any point, contact a licensed professional for assistance.
Step 7: Turn on the Gas and Light the Pilot Light
Once you have confirmed that there are no leaks, you can proceed to turn on the gas supply. Locate the pilot light on your appliance and follow the manufacturer’s instructions for lighting it safely. Typically, this involves turning the control knob to the pilot setting, pressing it down, and using a lighter or ignition button to light the pilot flame.
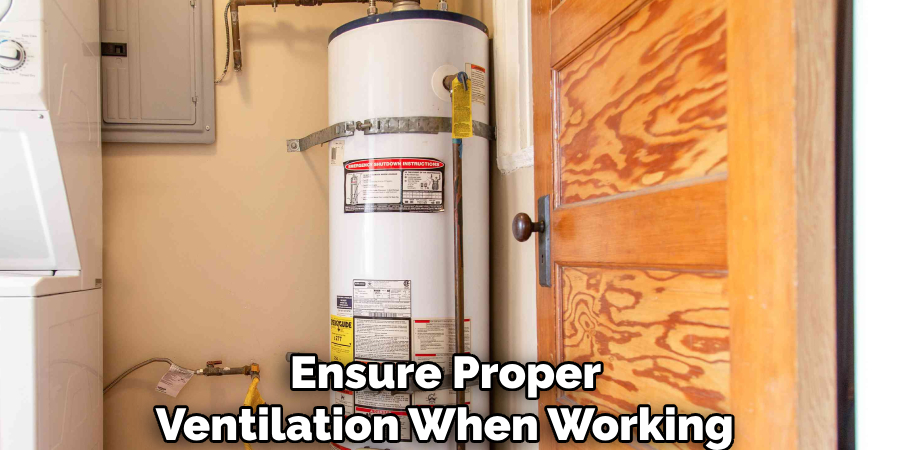
Hold the control knob down for the recommended time to allow the thermocouple to heat up and maintain the flame. Once the pilot light is stable, you can adjust the settings as needed to begin using your appliance. Always exercise caution and ensure proper ventilation when working with gas appliances.
Step 8: Regular maintenance
To ensure your water heater continues to function efficiently, regular maintenance is necessary. This includes flushing out sediment buildup, checking for any potential issues, and replacing worn out parts when needed. It is recommended to schedule a yearly maintenance check with a professional plumber.
Following these steps on how to vent gas water heater in basement will not only ensure the safety of your household, but also prolong the lifespan of your water heater. It is important to always stay informed and updated on proper ventilation techniques for gas appliances to prevent any potential hazards. Remember to never overlook the importance of proper ventilation and regular maintenance for your gas water heater. So, it is advisable to have a regular check-up by a professional plumber or HVAC technician at least once a year.
Conclusion
Proper maintenance and ventilation of gas water heaters are essential for ensuring safety, efficiency, and longevity. By staying diligent with regular inspections and scheduling annual professional check-ups, you can avoid potential hazards and costly repairs.
Taking preventive measures not only protects your household but also provides peace of mind, knowing that your water heater is operating safely and effectively. Prioritize these practices to keep your home safe and your appliances running optimally. Thanks for reading this article on how to vent gas water heater in basement.

