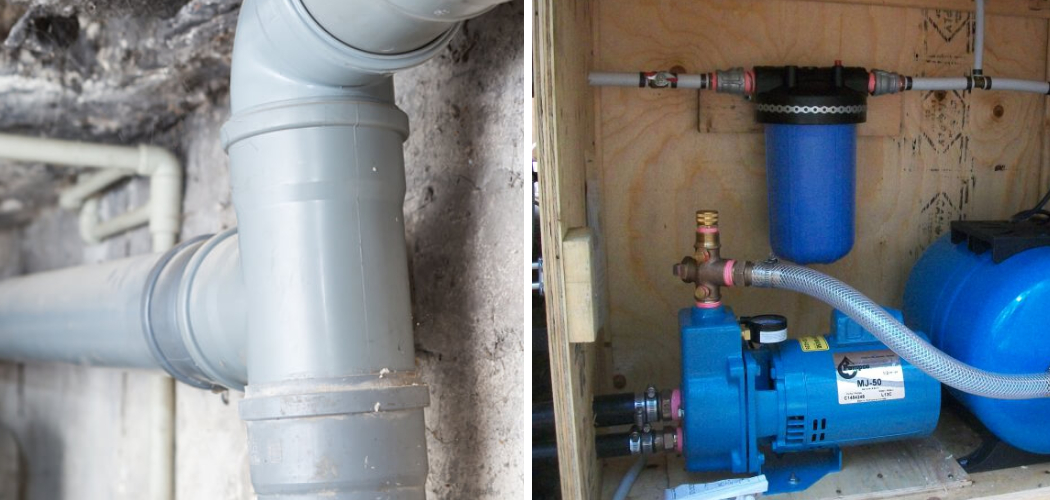
Are you ready for winter and worried about keeping your cabin’s plumbing in good condition during the colder months? If so, this guide is here to help.
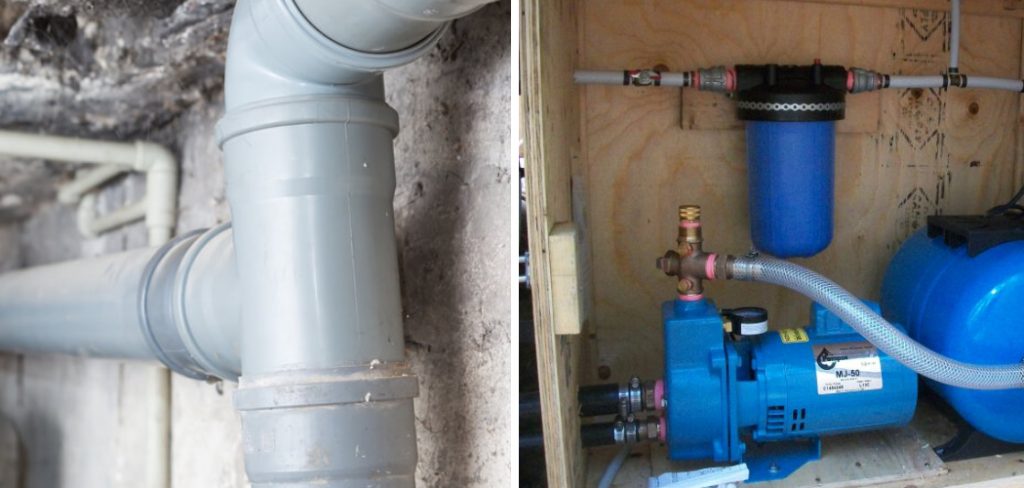
When the colder temperatures arrive, it’s time to take some extra precautions for your cabin plumbing. By winterizing your system properly, you can avoid any potential problems that might occur during the harsh winter months. Failing to do so can result in frozen pipes and costly repairs.
If you’re like most people, your cabin probably isn’t used year-round. And that means there are some necessary preparations to take before the cold weather hits. One of those is winterizing your cabin plumbing system. Here are a few tips on how to winterize cabin plumbing effectively. Let’s get started and Keep reading to learn more!
What Happens if You Don’t Winterize Your Pipes?
The main concern with failing to winterize your pipes is the risk of frozen water. During the colder months, freezing temperatures can cause water in your pipes to freeze and expand, leading to cracks and leaks that require costly repairs. In some cases, it can even damage your cabin’s plumbing system.
Moreover, you may also face other problems, such as clogged pipes or leaks, which can cause water damage and mold growth in your cabin. To avoid these costly and potentially damaging issues, it’s important to take the necessary steps to winterize your cabin plumbing before the cold weather hits.
Overall, winterizing your cabin plumbing is a simple process that can help you protect your system and keep your cabin in good condition. Whether you’re new to winterizing or have done it many times before, these tips will come in handy to ensure your pipes are well-prepared for the colder weather.
What Will You Need?
When it comes to winterizing your cabin plumbing, there are a few key tools and materials that you’ll need to get the job done. Some of these include
- Insulation tape or caulk
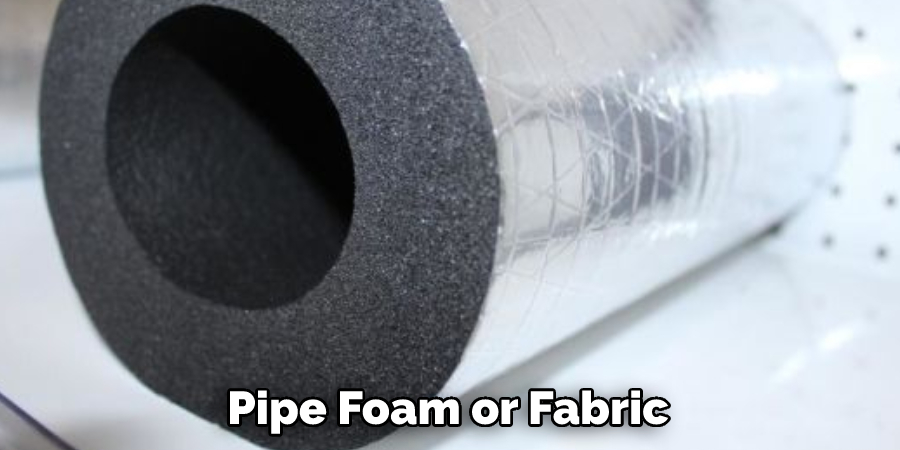
- Pipe foam or fabric
- PEX tubing and fittings, if needed
- A water pump or hose to drain your pipes
- An air compressor or hair dryer (for thawing frozen pipes)
- Water heater blankets, pipe covers, and insulation rods, if needed
- Safety goggles and gloves
- A bucket or container for draining the system
- And other basic plumbing supplies like wrenches and pliers.
If you have all of these materials on hand, you’ll be well-prepared to winterize your cabin plumbing system quickly and effectively. Just follow these simple steps, taking care to work safely and carefully to avoid any potential problems along the way.
10 Easy Steps on How to Winterize Cabin Plumbing
1. Turn Off All the Water:
Before you begin winterizing your cabin plumbing, make sure to turn off the main water supply to prevent any leaks or damage. Because you will be working with your pipes and connections, this is a critical first step. If possible, have a helper turn off the main water valve while you start putting on your safety gear.
2. Insulate and Cover Your Pipes:
One of the best ways to protect your cabin plumbing from freezing is by insulating and covering your pipes. Start by wrapping the exposed pipes in your system with pipe foam or fabric, sealing any cracks or gaps as you go. Then, cover the pipes with insulation rods and blankets, leaving enough room for airflow around them.
3. Drain Your Pipes:
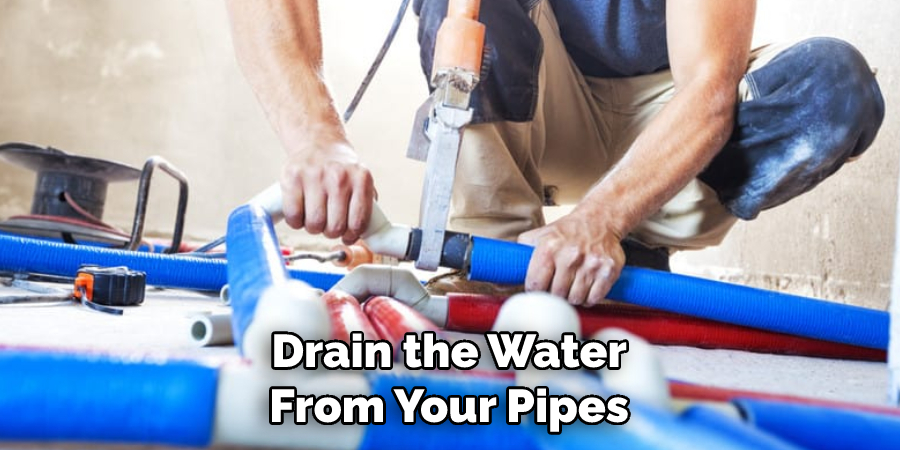
Next, you’ll want to drain the water from your pipes so that it doesn’t freeze and expand when the cold weather arrives. Depending on how your plumbing system is set up, this may require gently blowing air into the lines using an air compressor or hair dryer, draining the water out through a drain spout, or manually removing some of the water by running a pump or hose through each section of your system.
You Can Check It Out to Disconnect Sprayer Hose from Delta Faucet
4. Seal Any Leaks:
Once all of the water has been drained from your pipes, take some time to inspect them for any leaks or cracks that may need to be sealed. To do this, use insulation tape or caulk along the seams and connections of your system, as needed. Be careful to avoid disturbing any of your pipe insulation or covering as you work.
5. Install PEX Tubing:
If you have an older plumbing system with outdated copper pipes, consider switching over to modern PEX tubing instead. This flexible plastic material is easier to work with than metal piping and can help reduce the risk of leaks and other problems down the line. Simply cut the PEX tubing to length and attach it using special connectors or clamps, following the manufacturer’s instructions carefully.
6. Connect a Water Pump or Hose:
If your cabin plumbing system lacks a built-in water pump or hose, it may be a good idea to install one as part of your winterization process. This will make draining and draining your pipes much easier going forward and can help prevent any backup issues in the future. Talk to a professional plumber for advice on how to do this safely and effectively.
7. Thaw Frozen Pipes:
Finally, if you notice that some of your pipes are frozen or beginning to freeze during winter, take action immediately to avoid serious damage. First, try thawing them out with warm air from an air compressor or hair dryer. If this doesn’t work, leave the water supply valve open and call a professional plumber for further assistance. With the right supplies and a little bit of care, you can keep your cabin plumbing safe and functional all winter long.
8. Take Precautions:
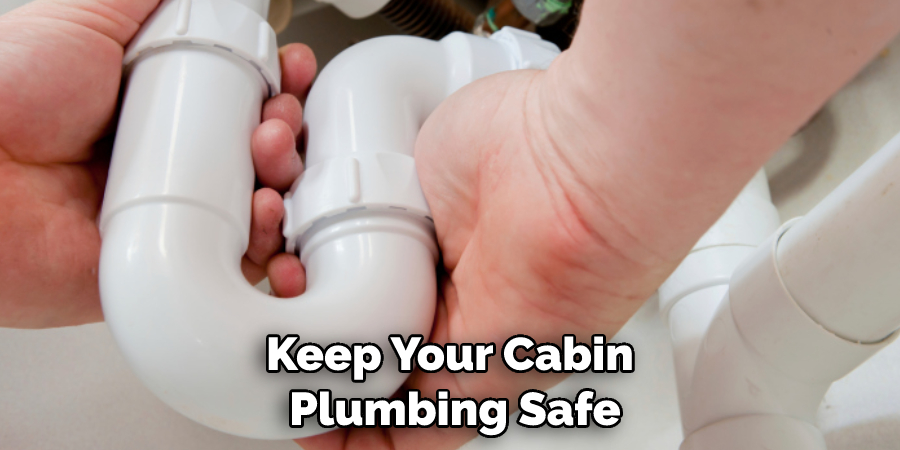
As with any plumbing project, it’s important to work carefully and safely when winterizing your cabin plumbing system. This means wearing the proper safety gear, including goggles and gloves, working in a well-ventilated area, and avoiding mistakes or injuries. Don’t be afraid to ask a professional for help if you’re unsure how to proceed, and always follow any manufacturer’s instructions carefully.
9. Maintain Your System:
To keep your cabin plumbing working all winter properly long and prevent any serious damage, it’s important to maintain your system regularly. This may include regular inspections, cleaning out drains and pipes, replacing damaged parts as needed, and more. Make sure to take these steps regularly to keep your plumbing in great shape year-round.
10. Call for Help:
If you experience any problems or issues with your cabin plumbing during the winter months, make sure to call a professional plumber immediately. Whether you suspect a frozen pipe or some other issue, having an expert take a look can help ensure that your system stays in good condition all season long. They can also provide tips and advice on keeping your plumbing in top shape for many years to come.
With the right care and maintenance, your cabin plumbing can stay in great shape through even the toughest winter weather.
You Can Check It Out To Know if You Have a Frozen Pipe
5 Additional Tips and Tricks
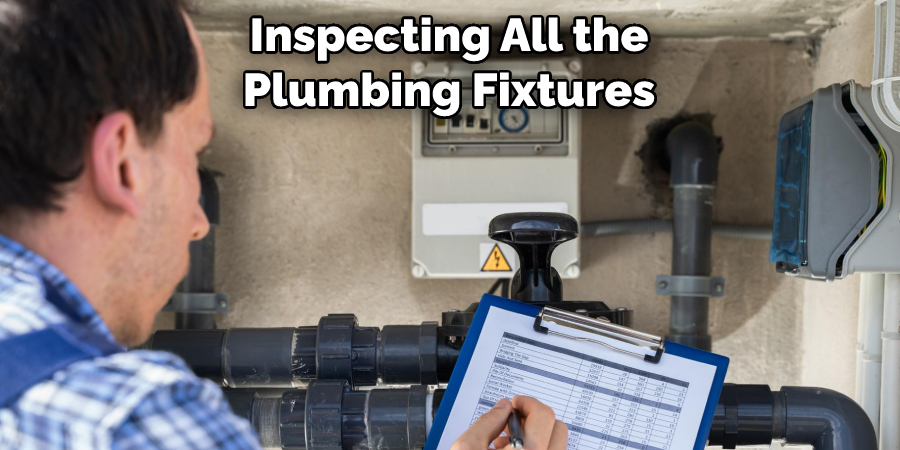
- Start by inspecting all the plumbing fixtures in your cabin, looking for any signs of damage or leaks.
- If you notice any cracks or leaks, you will need to repair these immediately using a suitable sealant or caulking.
- If you have a well on your property, ensure sufficient water pressure during winter by having your pump serviced or replaced.
- If you use an outdoor hose bib for your cabin plumbing, be sure to shut it off when you are not using it. This will help prevent a burst pipe and water damage.
- Avoid using harsh chemicals or cleaners to winterize your cabin plumbing, as these can damage pipes and fixtures over time. Instead, opt for milder alternatives that won’t be as harmful to your pipes and plumbing system.
Overall, taking the time to winterize your cabin plumbing is important in ensuring that your property remains in good condition throughout the cold winter months.
Can You Put Antifreeze in the Toilet to Keep it From Freezing?
There is no definite answer to this question, as the best course of action will depend on several different factors. In general, however, most experts recommend that you avoid putting antifreeze in your toilet, as this could damage the pipes and other components of your plumbing system.
One option is to use a specially designed toilet bowl antifreeze product. These products are typically non-toxic and safe for use around children and pets, making them a good choice if you want to prevent your toilet from freezing without introducing potentially hazardous chemicals into your home.
If you do choose to put antifreeze in your toilet, it’s important to be extremely careful and follow all manufacturer instructions closely. This will help minimize the risk of damage or injury caused by misusing or mishandling the antifreeze.
Conclusion
These are the most important steps to winterize your cabin plumbing. Make sure you follow them carefully to avoid any damage during the cold winter months.
If you follow these steps, your cabin plumbing will be properly winterized, and you won’t have to worry about any issues when you come back in the spring. However, if you’re not comfortable doing this yourself or don’t have the time, you can always hire a professional to do it for you. Winterizing your cabin plumbing is an important step to take before leaving for the season, but it doesn’t have to be complicated or difficult.
Hopefully, the article on how to winterize cabin plumbing was helpful, and you are now ready to take care of this important task. Good luck!

