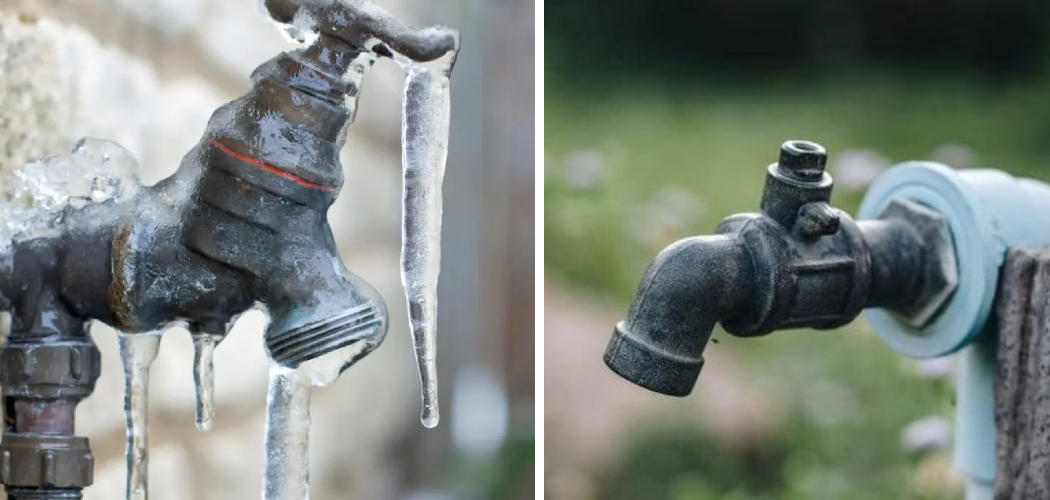
With the days getting colder and winter quickly approaching, it is important to take the necessary steps to prepare your home for fluctuations in temperature. One of the essential aspects of this preparation is ensuring that your exterior pipe fixtures, such as hose bibs and faucets, are properly winterized.
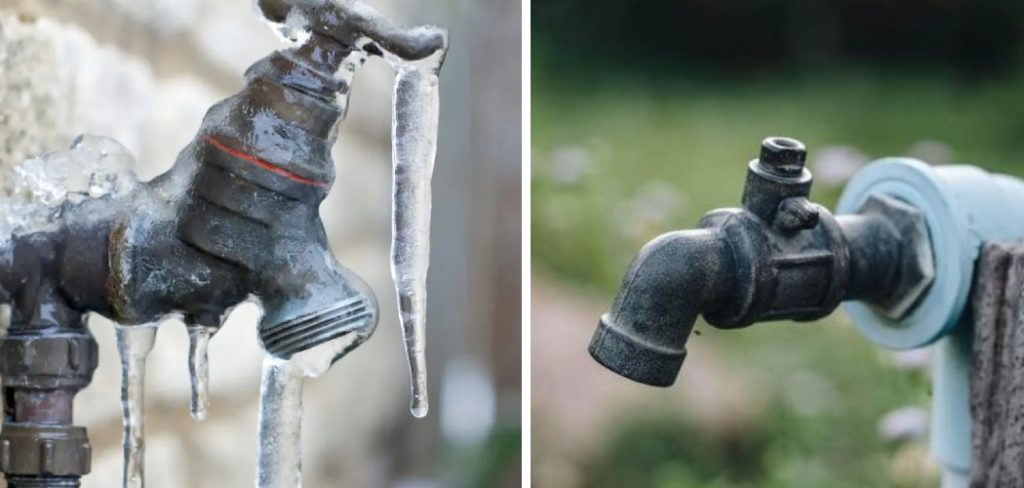
By following a simple step-by-step process, including flushing out pipes, shutting off water valves, and adding insulation around piping fixtures, you can make sure they will last throughout even the harshest winters. Keep reading to find out more about how to winterize hose bib!
Do I Leave Hose Spigot Open in Winter?
No, it is best to shut off the water supply completely to your hose bib during winter. Shutting off the valve allows you to remove and store any hoses connected to the valve and prevents cold air from entering through a connection when temperatures drop below freezing. Additionally, leaving the valve open can lead to water damage in your home or garden.
10 Methods on How to Winterize Hose Bib
1. Insulate the Hose Bib
One way to winterize a hose bib is to insulate it. This can be done by wrapping it in foam insulation or by placing a foam sleeve over it. This will help to prevent the water inside the hose bib from freezing. If the water inside freezes, it can cause the metal parts of the hose bib to expand and crack, resulting in a costly repair or replacement.
2. Use Heat Tape.
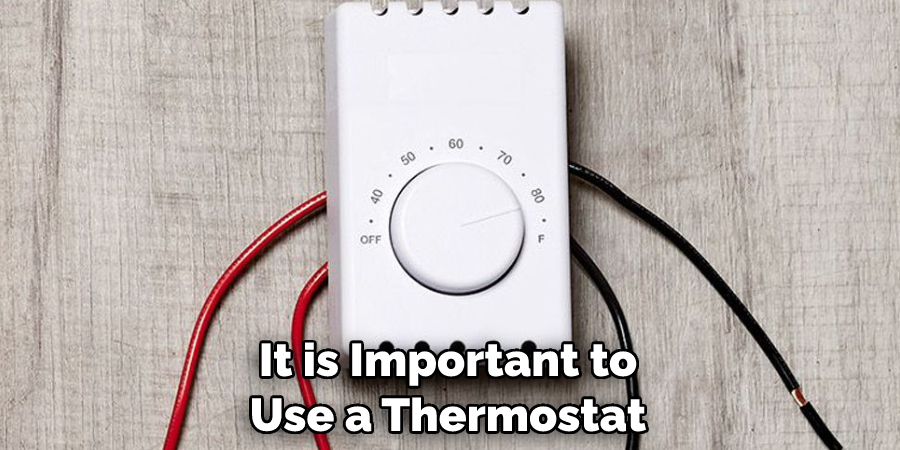
Another way to winterize a hose bib is to use heat tape. Heat tape is a type of electrical tape that is designed to generate heat. When wrapped around a hose bib, it will help to keep the water inside from freezing. If you are using this as a method of winterizing, be sure to follow all instructions carefully and turn off the power to the tape before attempting any installation.
Additionally, it is important to use a thermostat with tape to ensure that it does not get too hot and cause damage. Heat tape is an effective way to winterize a hose bib, but it is important to follow all of the necessary safety precautions when using it.
3. Install a Frost-Proof Hose Bib
A frost-proof hose bib is a type of hose bib that is designed to prevent the water inside from freezing. These are available at most hardware stores and can be relatively easy to install. Be sure to read all of the installation instructions carefully before attempting to install one yourself.
Once installed, a frost-proof hose bib will help protect your outdoor water supply from freezing in cold climates. Additionally, frost-proof hose bibs are designed to prevent the handle from sticking or leaking, which may occur with standard hose bibs.
4. Use Antifreeze in the Hoses.
One way to winterize hoses that are connected to a hose bib is to use antifreeze in them. Simply add some antifreeze to the hoses and then run some water through them until the antifreeze comes out of the other end.
This will help to prevent the water inside from freezing and expanding, which could cause the hoses to burst. It is important to remember to use a non-toxic antifreeze, as some of the harsher varieties can be hazardous if ingested.
5. Drain the Hoses After Each Use.
Another way to winterize hoses is to drain them after each use. This can be done by disconnecting them from the hose bib and then holding them up so that all of the water drains out of them. Once they are empty, they can be stored away until they are needed again. This will ensure that no water is able to freeze and expand within the hoses, thus avoiding any potential damage.
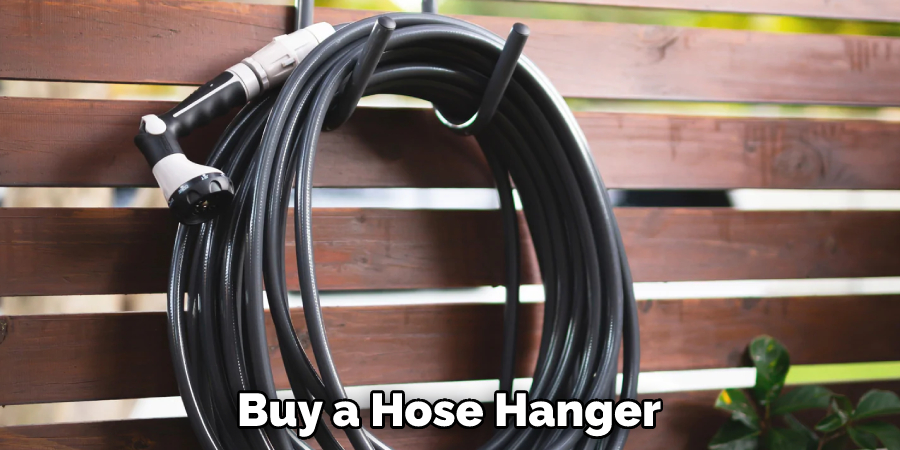
Additionally, if you can’t remember to do this each time, you can also buy a hose hanger which will make it easier to hang up the hoses after each use.
6. Store the Hoses Indoors when Not in Use.
If possible, it is best to store hoses indoors when they are not in use during the winter months. This will help to protect them from the cold weather and prevent them from freezing. Additionally, it is important to ensure that the hoses are completely dry before storing them. This will help to prevent any mold or mildew from forming due to moisture being trapped inside.
7 . Use an Outdoor Faucet Cover.
An outdoor faucet cover is a type of cover that goes over an outdoor faucet. It helps to protect the faucet from freezing weather and can be found at most hardware stores. The cover is easily installed and can help prevent frostbite from occurring in cold weather.
Additionally, it also helps to conserve energy by preventing water from escaping through the spigot. If you live in an area where winters are cold, this is a great way to keep your outdoor faucets protected.
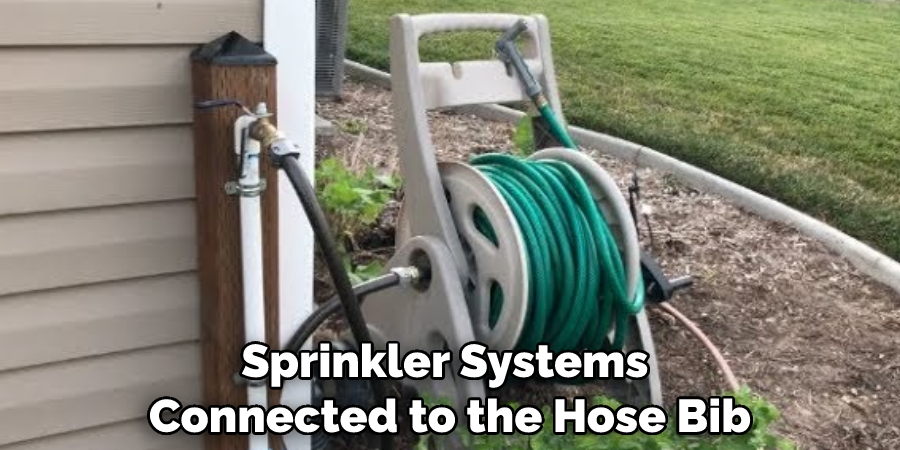
8. Disconnect and Drain Any Sprinkler Systems.
If there are any sprinkler systems connected to the hose bib, it is important to disconnect them and drain them before winter. This can be done by turning off the water supply and then opening up all of the valves so that any remaining water can drain out.
However, it’s important to note that some sprinkler systems may need professional attention, so it is best to check with a contractor first. Once the system is completely drained, cover it with a tarp to protect it from the elements.
9. Cover Any Exposed Pipes with Insulation.
Any exposed pipes should be covered with insulation in order to prevent them from freezing. This can be done with foam pipe insulation, which can be found at most hardware stores. Although the insulation may be a bit of an eyesore, it will help keep your pipes from freezing and potentially causing costly damage. Make sure to check outside for any exposed pipes that need to be insulated before the cold weather arrives.
10 . Know where Your Main Water Shut-off Valve Is Located.
In case of an emergency, it is important to know where your main water shut-off valve is located so that you can turn off the water supply quickly. The main shut-off valve is usually located near the front of your home or near the meter box.
Make sure that you and other family members know where it is and how to turn it off. It can be helpful to label the shut-off valve with a marker or even paint it so that it is easier to identify in an emergency.
By following this advice, you can be sure that your plumbing system is well-maintained and that you will have the necessary tools to handle any emergency. Don’t forget to call a professional plumber if you ever experience any issues with your plumbing system.
A qualified technician can assess the situation and take care of any repairs that may need to be done to keep your home safe. At the same time, being aware of these simple steps will help you protect against costly plumbing disasters in the future. With some basic knowledge and preparation, you can save yourself time, money, and hassle.
Things to Consider When Winterize Hose Bib
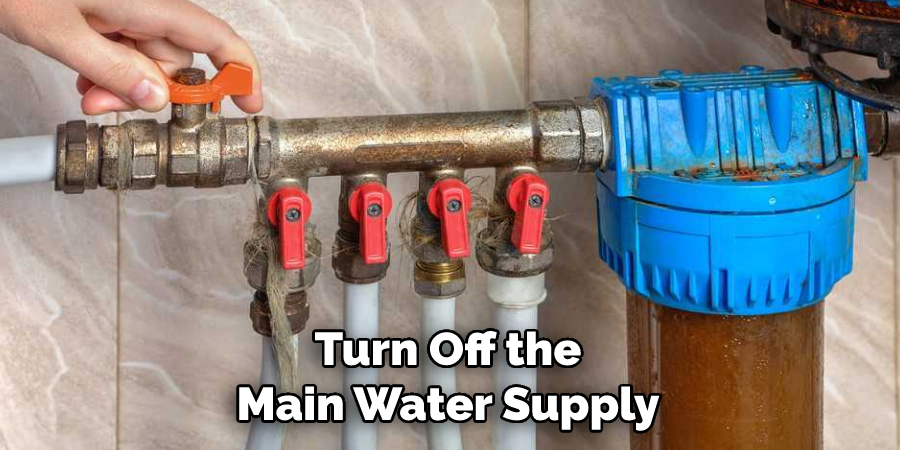
1. Shut Off the Main Water Supply:
Before you begin winterizing hose bibs, make sure to turn off the main water supply to the house. This will prevent any water from coming through the hose bibs and freezing, which can cause major damage to your home’s plumbing system.
2. Drain Existing Water:
Once the main water supply has been shut off, you should open up all outdoor spigots and drain any existing water that may have remained in the pipes after being used during warmer weather months. Make sure to use a bucket or other container to collect any remaining water.
3. Insulation:
If you live in an area that experiences cold winters, insulation is essential for protecting hose bibs from freezing temperatures. You can purchase insulating wrap specifically designed for faucet pipes or foam sleeves that slip over the pipes.
4. Cover/Protect:
Finally, you should use covers or boxes to protect outdoor spigots from the elements during winter months. This will help keep them safe from freezing temperatures, as well as any other debris that may be present in the environment. These are relatively inexpensive and can make all the difference in the winter months.
Conclusion
There are many things that need to be done in order to winterize a hose bib. Some of these steps may seem obvious, but they are all essential in making sure that your hose bib lasts through the winter.
By following these simple steps, you can ensure that your hose bib will be ready for next year’s gardening season. We hope this guide on how to winterize hose bib was helpful. Please share it with your friends on social media if you find it useful. And be sure to check back here soon for more informative guides like this one.

