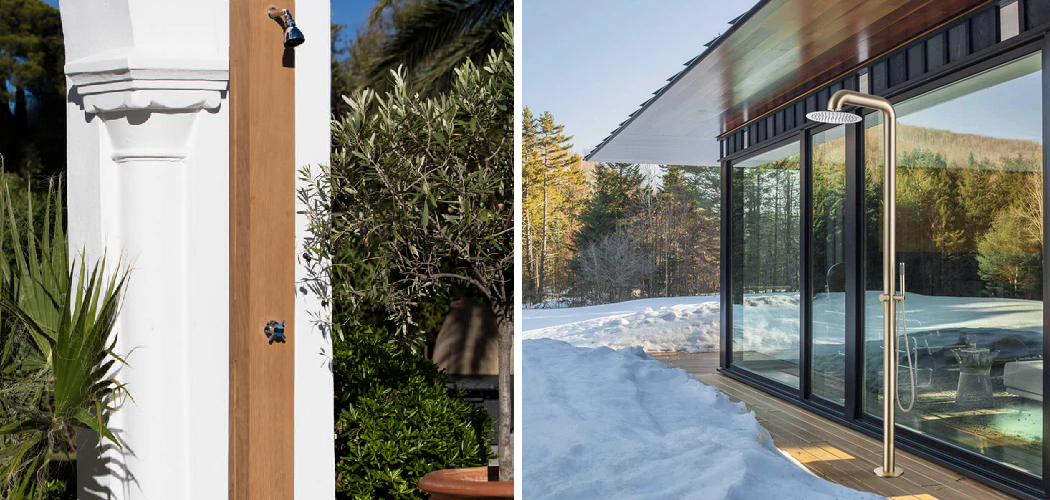
Winterizing your outdoor shower is an essential task to ensure its longevity and optimal performance during the colder months. As temperatures drop, water left in the pipes or fixtures can freeze, leading to cracks and costly repairs.

By taking a few proactive steps, you can protect your outdoor shower from winter damage and ensure it is ready for use when warmer weather returns.
This guide on how to winterize outdoor shower will walk you through the necessary steps to properly winterize your outdoor shower, keeping it in top condition and extending its lifespan.
What is Winterizing?
Winterizing refers to the process of preparing outdoor fixtures, such as showers, plumbing systems, and irrigation systems, for the colder months to prevent damage from freezing temperatures. This involves draining water from pipes and fixtures to eliminate the risk of ice formation, which can lead to cracks and leaks.
The winterizing process may also include applying insulation to exposed pipes and using antifreeze solutions where necessary. By effectively winterizing these systems, homeowners can ensure that their outdoor installations remain functional and intact when spring arrives, avoiding costly repairs and enhancing their longevity.
Why is Winterizing Important for Your Outdoor Shower?
Winterizing your outdoor shower is crucial for several reasons. Firstly, it prevents freezing water from accumulating in the pipes and fixtures, which can lead to expensive damage such as cracks or burst pipes. Secondly, proper winterization ensures that any water left inside does not stagnate, which can create unsanitary conditions and unpleasant odors.
Additionally, taking the time to winterize not only extends the lifespan of your outdoor shower but also helps maintain its efficiency and performance for future use. By prepping your shower for the winter months, you safeguard your investment and ensure a hassle-free experience when warmer weather returns.
Needed Materials
Before beginning the winterization process, gather all necessary materials. These may include:
- A Compressor or Air Tank to Blow Out Water From Pipes
- Insulation Materials Such as Foam Pipe Covers or Heat Tape
- Antifreeze Solution for Fixtures and Drains (Make Sure It is Safe for Outdoor Use)
- Wrenches or Pliers to Disconnect Hoses and Fixtures
- Bucket or Container to Catch Drained Water
8 Steps on How to Winterize Outdoor Shower
Step 1: Turn off the Water Supply
The first crucial step in winterizing your outdoor shower is to turn off the water supply. Locate the shut-off valve for your outdoor shower, which is typically found near the main water line or close to the shower itself. Once you’ve identified the correct valve, turn it clockwise to fully shut off the water flow.
This step is essential to prevent any water from entering the system while you complete the remaining winterization procedures. After turning off the water supply, ensure to open the showerhead and any other faucets connected to the system to allow any residual water to drain out.
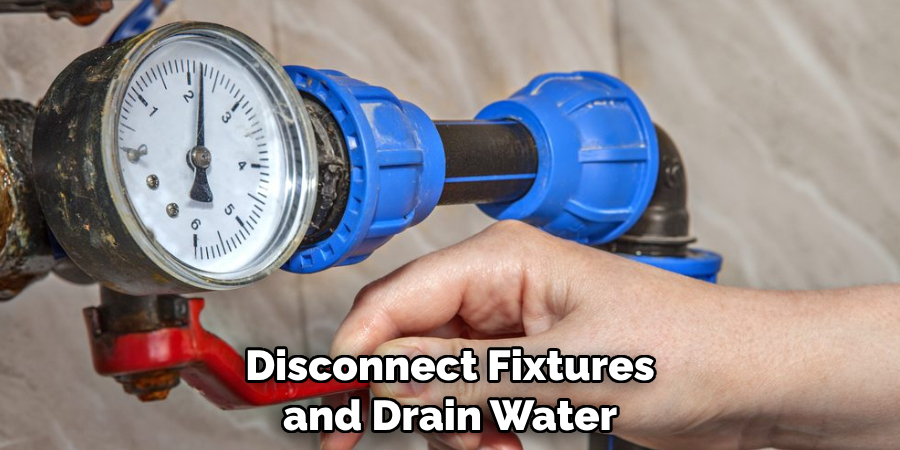
Step 2: Disconnect Fixtures and Drain Water
Once the water supply is turned off, the next step is to disconnect all fixtures attached to the outdoor shower. Use your wrenches or pliers to carefully remove the showerhead, hoses, and any other components. Place these items in a bucket or container to catch any remaining water that may still be in the system.

After disconnecting the fixtures, ensure that the water drains completely from the pipes. This might require gently shaking the hoses or using a compressor or air tank to blow out any trapped water. Properly draining the system is crucial to prevent freezing and potential damage during the winter months.
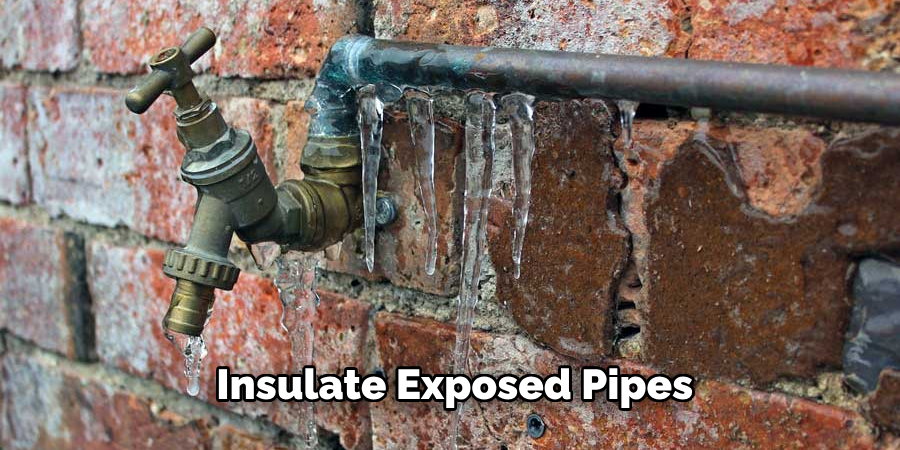
Step 3: Insulate Exposed Pipes
After ensuring that all water has been drained from the system, the next step is to insulate any exposed pipes. Insulation helps protect the pipes from freezing temperatures and prevents heat loss. Begin by wrapping foam pipe covers around the exposed sections of the pipes, ensuring a snug fit. For areas particularly vulnerable to cold, consider using heat tape in addition to the foam insulation. Secure the insulation with tape to keep it in place.
This added layer of protection will help safeguard your outdoor shower and ensure its functionality when spring arrives. Don’t forget to check for any gaps where cold air might enter and seal them with additional insulation material as needed.

Step 4: Use Antifreeze Solution
In addition to insulating exposed pipes, using an antifreeze solution is another crucial step in winterizing your outdoor shower. This will prevent any remaining water from freezing and causing damage to the fixtures or pipes. Choose an antifreeze solution that is safe for outdoor use and follow the manufacturer’s instructions carefully. Typically, you will need to pour a small amount into each fixture or drain connected to your outdoor shower.
After applying the antifreeze, ensure that all valves are closed and no water can enter the system. This will help protect against any potential backflow or contamination during the winter months.
Step 5: Clean and Dry the Showerhead
Before storing your showerhead for the winter, it’s essential to thoroughly clean it. This will help prevent any buildup of dirt or debris that could cause clogging when you use the shower again in the spring. Begin by wiping down the showerhead with a mild cleaner and water, then rinse thoroughly and dry with a towel. Make sure to remove any remaining water from the fixture before storing it away for the season.
It’s also essential to clean and dry any other fixtures or attachments, such as hoses or soap dishes, before storing them away for the winter.

Step 6: Store Components in a Dry Place
After cleaning and drying all the fixtures associated with your outdoor shower, it’s time to store them properly. Place the showerhead, hoses, and any other components in a dry and temperature-controlled location, such as a garage or shed. Ensure that the storage area is free from humidity and moisture, as this can lead to mold or rusting of the fixtures.
Consider using a sturdy container or bag to keep everything organized and protected from dust and dirt. By taking these precautions, you can extend the life of your components and ensure they are in excellent condition for easy reassembly come springtime.
Step 7: Inspect and Repair
While winterizing your outdoor shower, take the opportunity to inspect for any potential damage or issues that may require repairs. Check for cracks, leaks, or corrosion on pipes and fixtures. Make note of any necessary repairs needed before using the shower again in the spring. This step will help prevent further damage and ensure your outdoor shower is ready to use when warmer weather returns.
The off-season is also an ideal time to make any upgrades or improvements to your outdoor shower, such as replacing worn-out fixtures or adding new features.
Step 8: Cover and Protect
To further protect your outdoor shower during the winter months, consider covering it with a tarp or other protective material. This will help shield it from harsh weather elements and prevent any potential damage from debris or falling objects. Additionally, make sure to turn off any electricity connected to your outdoor shower and cover exposed wires or outlets for added safety.
Following these steps on how to winterize outdoor shower to winterize your outdoor shower will help ensure its functionality and longevity for many seasons to come. By properly shutting off the water supply, draining all remaining water, insulating pipes, using antifreeze solution, cleaning and storing components, inspecting for damage and covering the shower, you can protect it from potential freeze damage and be ready to enjoy it again when warmer weather returns. Happy winterizing!

Frequently Asked Questions
Q: Can I Leave the Water Turned on and Heated During the Winter to Prevent Freezing?
A: No, it is not recommended to keep the water turned on and heated during the winter as this can lead to high energy costs and potential damage if there is a power outage. It is best to properly winterize your outdoor shower to prevent any issues.
Q: How Often Should I Inspect and Maintain My Outdoor Shower?
A: It is recommended to inspect and maintain your outdoor shower at least once a year, preferably before the winter season. This will help identify any potential issues and ensure its functionality for the upcoming warmer months.
Q: Can I Use Regular Foam Pipe Covers for Insulation?
A: Yes, regular foam pipe covers are suitable for insulation. However, for areas with extreme cold temperatures, it may be beneficial to use heat tape in addition to insulation for added protection. Remember to secure the insulation with tape to keep it in place.
Q: Do I Need to Cover the Showerhead During Winter?
A: Yes, it is recommended to cover the showerhead during winter to protect it from harsh weather elements and potential damage. Make sure to clean and dry the showerhead before covering it for storage.
By following these steps and taking necessary precautions, you can ensure your outdoor shower stays in excellent condition all year round. If you have any further questions or concerns about winterizing your outdoor shower, consult a professional plumber for expert advice.
Conclusion
By following these 8 steps on how to winterize outdoor shower, you can ensure that it remains in excellent condition throughout the colder months and ready for use when the weather warms up. Properly maintaining your outdoor shower will not only prolong its lifespan but also save you time and money in potential repairs or replacements.
So, before the winter arrives, take the necessary steps to protect your outdoor shower and enjoy it again next season. Whether you’re a homeowner or own a vacation rental with an outdoor shower, these tips are essential for ensuring its functionality and longevity. So don’t wait until it’s too late – start winterizing your outdoor shower today!

