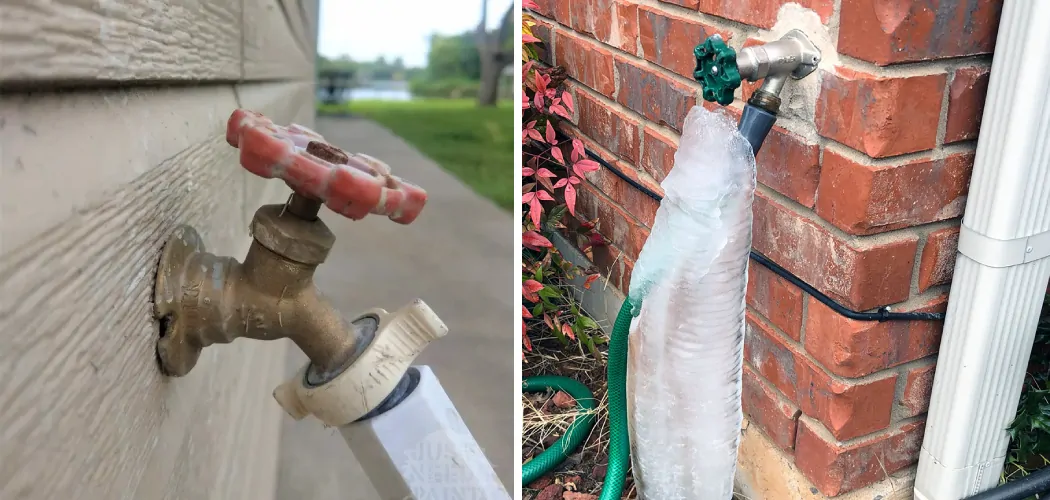
As the seasons shift and colder temperatures loom, it becomes crucial to protect your outdoor spigots from freezing and potential damage. Winterizing outdoor spigots is a vital task that can prevent costly repairs and ensure the longevity of your plumbing system. Frozen pipes and burst spigots can lead to extensive water damage, making it essential to take proactive measures.
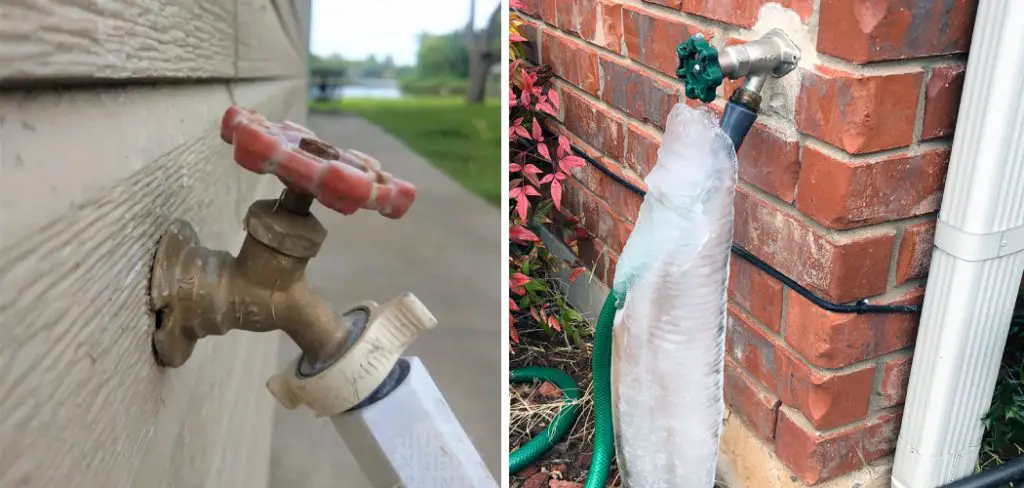
In this guide, we’ll delve into the key steps for effectively winterizing your outdoor spigots. From draining the water supply lines to insulating and covering the spigots, these precautions will shield your plumbing from the harsh winter elements. By following these instructions on how to winterize outdoor spigots, you can safeguard your property and plumbing, ensuring a smooth transition through the colder months and setting the stage for worry-free spring reactivation.
Importance of Protecting Outdoor Spigots in Cold Climates
Winterizing outdoor spigots is an important part of home maintenance in colder climates. When water freezes, it expands and can cause the plumbing inside a wall to burst. This can lead to serious damage to your home that could require costly repairs. Preventing this from happening by winterizing your outdoor spigots is essential if you live in a climate where temperatures drop below freezing.
Fortunately, winterizing an outdoor spigot only takes a few minutes and is relatively easy to do. The first step is to turn off the water supply to your outside spigots. Generally located along the side of your house, this should be easily identifiable by its bright blue handle or knob.
After turning it off, open each outdoor faucet one at a time and let the water drain. This will help get rid of any remaining water that could freeze and cause damage.
Potential Risks of Not Winterizing Outdoor Spigots
Outdoor spigots are particularly vulnerable to weather-related damage during the winter months. If left unprotected from extreme temperatures, outdoor spigots can freeze and burst, resulting in costly water damage to your home.
In addition to property damage, a broken spigot can result in significant water loss. By taking the time to winterize your outdoor spigots, you can avoid significant property damage and unnecessary water waste.
To winterize an outdoor spigot, begin by turning off the water supply to the spigot. Then, disconnect any garden hoses from the spigot and drain them thoroughly. Once both of these steps are complete, use insulation or a foam sleeve to insulate the spigot. Make sure that the insulation covers the entire length of the spigot to ensure maximum protection against cold temperatures. Finally, attach a cover over the spigot for added protection and insulation.
10 Steps How to Winterize Outdoor Spigots
Step 1: Gather the Necessary Supplies
Before you begin, gather the tools and materials you’ll need for the winterizing process. This may include a hose, a hose bib cover, insulation materials (such as foam pipe covers or towels), plumber’s tape, a wrench, and a bucket.
Step 2: Shut Off the Water Supply
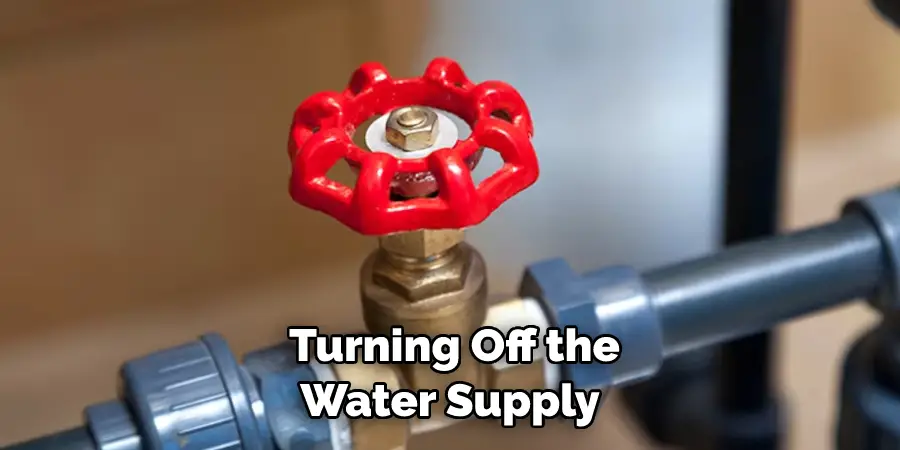
The first step in winterizing outdoor spigots is to turn off the water supply to the spigot. Locate the shut-off valve inside your home that controls the water flow to the spigot. Turn the valve to the off position.
Step 3: Drain the Hose
Disconnect any hoses attached to the spigot. Hold the hose upright and walk along its length to allow water to drain out completely. Coil the hose neatly for storage.
Step 4: Drain the Spigot
To ensure there’s no trapped water in the spigot, turn it on and allow any remaining water to drain out. This step is crucial to prevent freezing and damage.
Step 5: Install a Hose Bib Cover
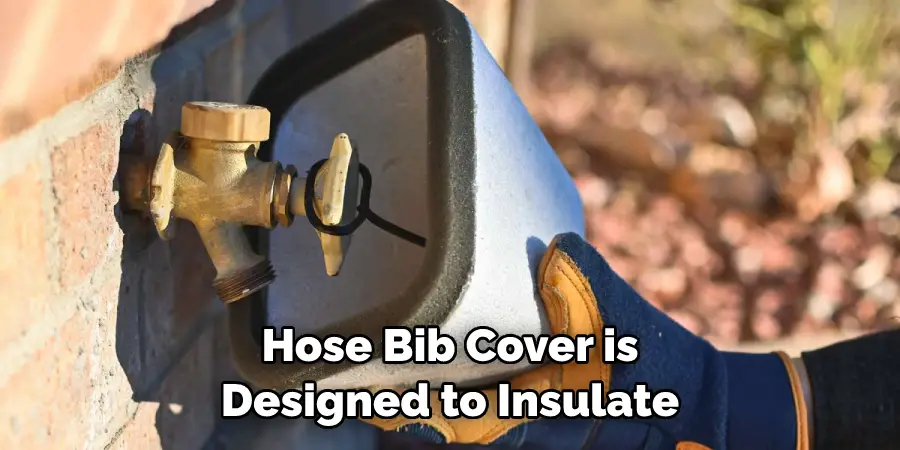
A hose bib cover is designed to insulate and protect the spigot from cold temperatures. Attach the cover over the spigot and secure it snugly, ensuring it covers the entire spigot and extends over the connecting pipes.
Step 6: Insulate Exposed Pipes
If your spigot has exposed pipes leading to it, such as in crawl spaces or basements, insulate these pipes using foam pipe covers or towels. This extra layer of insulation helps prevent freezing.
Step 7: Apply Plumber’s Tape
Use plumber’s tape to wrap the threads of the spigot’s connections. This tape provides an additional layer of protection against cold air and prevents potential leaks.
Step 8: Turn Off the External Shut-Off Valve
If your outdoor spigot has an external shut-off valve, turn it off and drain any residual water from the valve. This further prevents water from reaching the spigot and freezing.
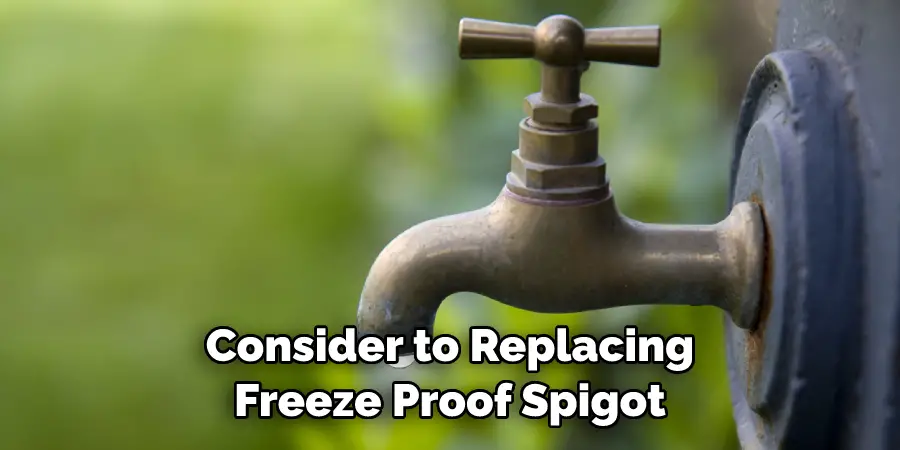
Step 9: Consider a Frost-Free Spigot
If you’re concerned about freezing temperatures, consider replacing your traditional spigot with a frost-free or freeze-proof spigot. These are designed to prevent water from remaining in the spigot, reducing the risk of freezing.
Step 10: Monitor Regularly
Throughout the winter season, periodically check the insulation, cover, and condition of your outdoor spigot. If you notice any damage or wear, take immediate action to repair or replace the necessary components.
Things to Consider When Winterizing Outdoor Spigots
Winterizing outdoor spigots is an important seasonal task for anyone living in cold climates. It’s important to make sure that the outside shut-off valve and the spigot itself are properly prepared for freezing temperatures so you don’t have any leaks or damage when winter arrives. Here are a few things to consider when winterizing your outdoor spigots:
- Make sure the outside shut-off valve is completely off. Turn it clockwise until it stops and won’t turn any further. This will ensure that no water can get to the spigot, preventing freezing damage or flooding from occurring.
- If you have a frost-proof spigot, make sure the handle is turned fully downward as far as it can go. This will prevent freezing temperatures from entering and damaging the spigot.
- Remove any hoses or attachments from the spigot and store them indoors during cold weather. This will ensure that no water can be left in the hose, which could freeze and cause damage to your outdoor spigot.
- Cover the outdoor spigot with a foam insulation sleeve. This will help to keep cold air from entering the spigot and freezing any water inside it.
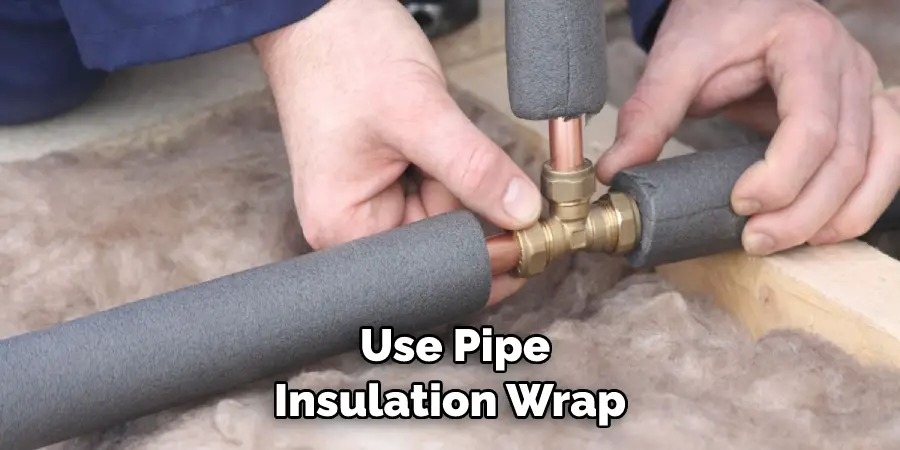
- Make sure your outdoor pipes are properly insulated. Uninsulated pipes can easily freeze and burst in cold weather, leading to costly repairs or replacements. Use pipe insulation wrap, fiberglass building insulation, or other types of insulation to ensure your pipes are properly protected.
Taking the time to winterize your outdoor spigots and pipes can help you avoid costly repairs or replacements due to freezing temperatures. By following these simple steps, you can be sure that your outdoor spigot is ready for the cold weather ahead!
Some Common Mistakes When Winterize Outdoor Spigots
As you prepare for the winter months, it is important to winterize your outdoor spigots and faucets to prevent them from freezing. It is essential that any remaining water in these fixtures be completely drained out before the cold season sets in. If this step isn’t taken, then a frozen spigot could potentially damage your plumbing pipes or cause water to leak into your home. Here are some common mistakes to avoid when winterizing your outdoor spigot:
- Not Turning Off the Water Shutoff Valve – Before beginning any kind of maintenance on an outdoor spigot, you should always turn off the main water shutoff valve for that fixture. If you don’t do this first, then you could be in for a nasty surprise if water sprays out of the fixture as you are taking care of it.
- Not Completely Draining Out All Water – It is essential to make sure that all remaining water has been drained from the spigot and any attached hoses before winterizing. If even a small amount of liquid gets left inside, then it can freeze and cause damage to the fixture itself or your plumbing system.
- Not Removing the Hose from the Spigot – If you are leaving a hose attached to your spigot, then you should remove both the end of the hose and any accessory fittings that may be connected. This will ensure that all remaining liquid is completely emptied out of the spigot and that no water is left inside of any connected components.
By following these tips, you can help ensure that your outdoor spigots are properly winterized and protected from freezing. Doing so will help avoid potential damage to both your spigots and your plumbing system during the cold months. Additionally, don’t forget to take the necessary steps to winterize your garden hoses as well.
Conclusion
In conclusion, winterizing your outdoor spigots is essential if you live in an area with cold temperatures all year round. Taking the time to do it now will save you from dealing with a frozen and cracked pipe in the future. Whether you decide to do it yourself or enlist a professional contractor’s help, this simple task will ensure your spigot will be ready for use in spring.
There’s no good reason not to take this necessary step and it’ll give you peace of mind knowing that there’s one less thing to worry about through the coming chilly months. Don’t let another winter pass by without tackling how to winterize outdoor spigots; get started today and enjoy a winter free of water-related worries!

