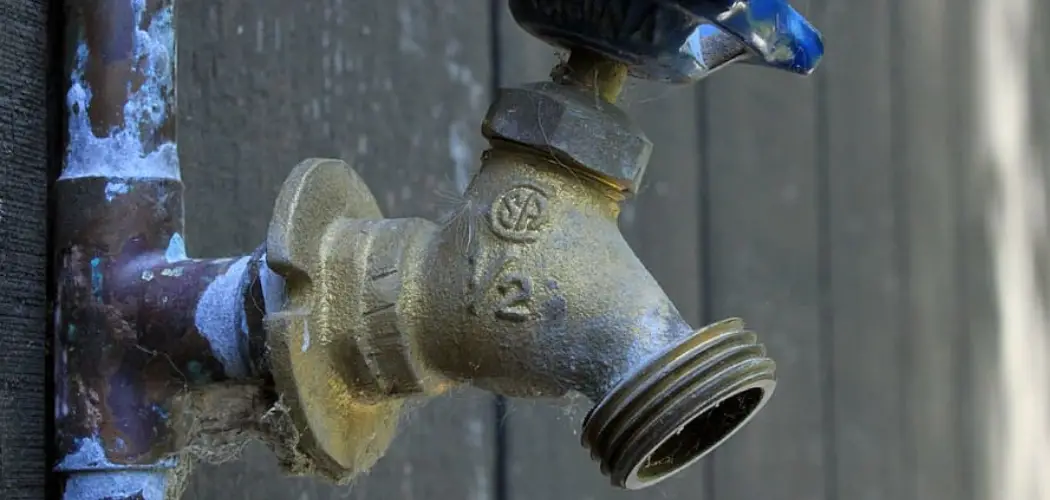
Winterizing your outside faucets is an important task that needs to be done each fall before freezing temperatures arrive. When done correctly, it can help protect your pipes from bursting due to the cold weather and save you costly repairs down the line.
Yet many people don’t know how to properly winterize their outside water sources, which is why we’ve put together this helpful guide on how to effectively do so! Read on for our step-by-step instructions on how to winterize outside faucets.
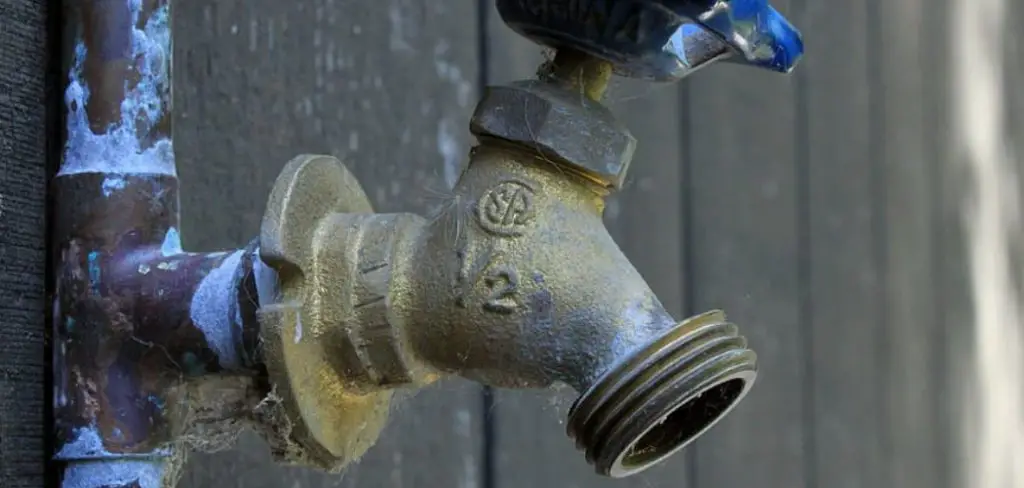
It’s that time of year again! Preparing for the colder seasons can be stressful, but winterizing your outdoor faucets is an essential task you can’t overlook.
Taking the time to properly weatherize any outside water outlets will protect them from extreme temperatures as well as ensure that they don’t burst and cause costly damage over the course of winter. We know this may sound daunting, so we’ve put together a guide showing you how easy it is!
Why is It Important to Winterize Outside Faucets?
1 . To Avoid Freezing
By winterizing your outside faucets you are protecting them from freezing temperatures. When water freezes, it expands and can cause major damage to the inner parts of a faucet or other plumbing system. The cost of repairing the damaged fixtures can be quite expensive, so taking the steps to winterize them now will save time and money in the long run.
2 . To Prevent Water Leaks
Frost and freezing temperatures can also cause your pipes to crack or become brittle, leading to water leaks. This can be a huge hassle to repair and it is always better to prevent this from happening in the first place by winterizing your faucets now so that they are better protected from harsh weather.
3 . To Maintain the Life of Your Faucets
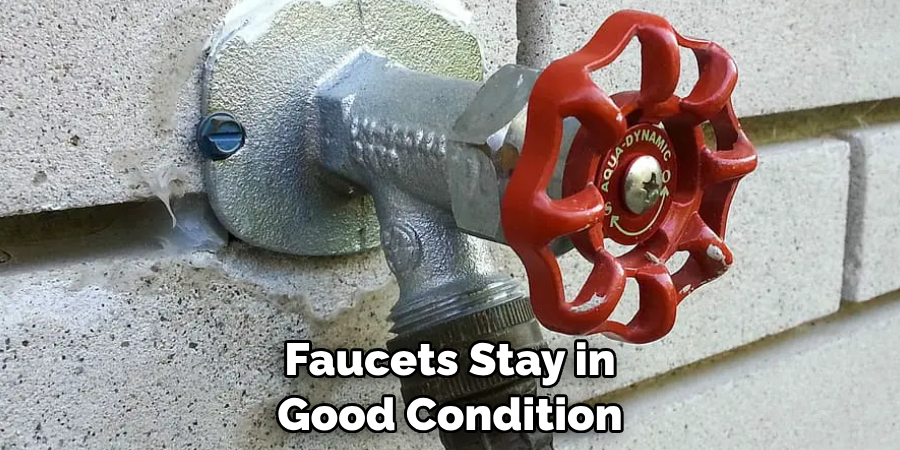
Cold temperatures can also take a toll on the metal or plastic components of your faucet, so by winterizing them now you are helping to extend their life and maintain their performance for longer. Taking these precautionary steps will ensure that your outside faucets stay in good condition and will be ready to use when the warmer months arrive.
4 . To Make Sure Your Faucets Work Properly
If you don’t take the time to winterize your faucets now, it is likely that they won’t function properly when the cold weather ends. This could lead to problems with water flow and could cause other problems with your plumbing system. By winterizing them now, you are making sure that everything will function the way it should when it’s time to use them again.
So, if you want to make sure that your outside faucets are ready for the colder months ahead, it is important to take the steps necessary to winterize them now. Doing so will ensure that your faucets stay in good condition and are ready to work when the weather gets warmer again.
How to Winterize Outside Faucets in 5 Easy Steps
Step 1: Turn Off the Main Water Supply
First and foremost, turn off the main water supply to prevent any accidental leaks or damages. This is usually located in the basement or utility room of your home.
Step 2: Drain Faucets and Pipes
Next, you’ll need to drain all faucets connected to outdoor plumbing. Begin by turning on each outside faucet, one at a time, to drain out any remaining water in the pipes.
Step 3: Cover Faucets & Pipes with Insulation
Once you’ve drained out all the water, you’ll need to cover the outside faucets and pipes with insulation. This will help protect them from freezing temperatures. The type and thickness of insulation you’ll need depends on the local climate.
Step 4: Use an Antifreeze Compound
Before you put the insulation in place, it’s a good idea to use an antifreeze compound on all pipes connected to outside faucets. This will create an extra layer of protection from extreme cold weather.
Step 5: Re-open the Main Water Supply
Once you’ve followed all these steps, it’s time to re-open the main water supply. Make sure everything is properly sealed and there are no potential leaks before doing so.
Some Tips to Winterize Outside Faucets
1 . Clean the Faucet
Before taking any action to winterize your outside faucets, you need to make sure that they are clean. This is especially important if you have been using them for a while and haven’t regularly cleaned them. If dirt and debris is left on or around the faucet, it could cause problems in the future when trying to turn the faucet on.
2 . Remove Garden Hoses and Drain them
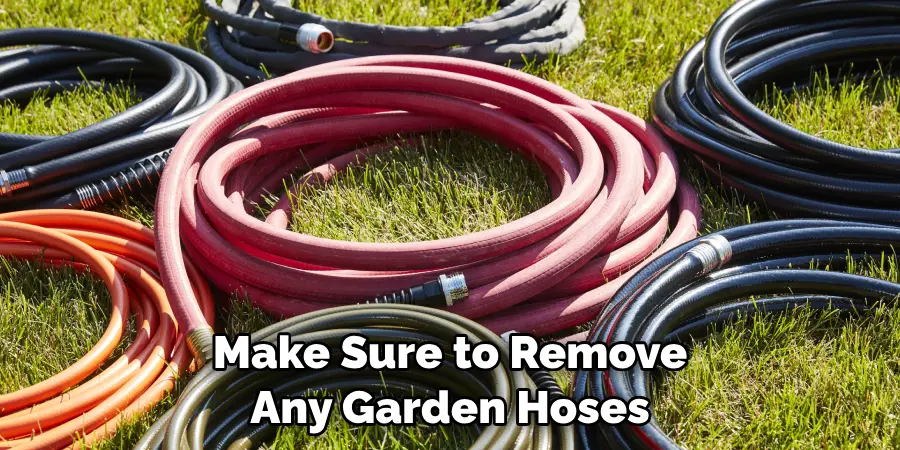
Garden hoses are an essential part of outdoor faucets, but if you don’t remove them before winterizing your outside faucets, they can cause damage or blockages in freezing temperatures. So make sure to remove any garden hoses that you may have connected to your faucet and drain them thoroughly.
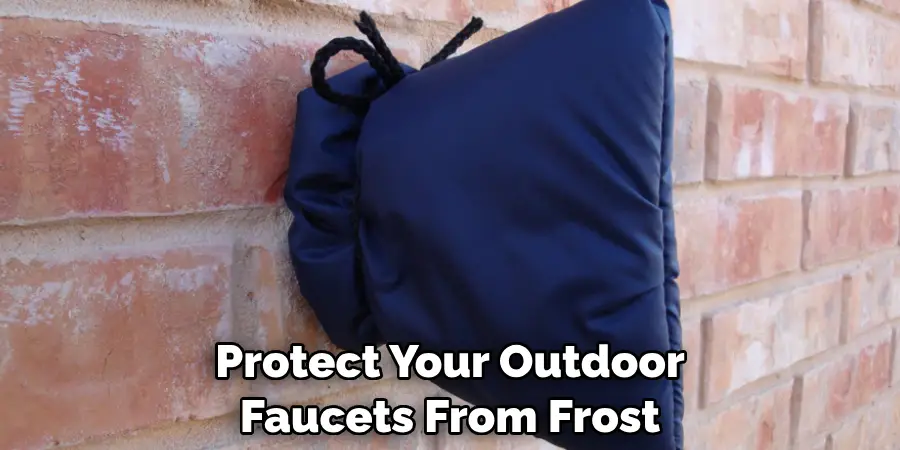
3 . Cover the Faucet with a Foam Insulation Sleeve
Once the hoses have been removed, it’s time to winterize your outside faucets. To do this, use foam sleeve insulation to cover the entire surface area of the faucet. This will help to reduce any potential frost damage and also keep air from getting in or out through the faucet.
4 . Seal Openings Around the Faucet
Once you’ve covered the outside of your faucet with a foam sleeve, it’s important to seal around all of the openings. This will help keep out drafts and prevent any water from getting inside the faucet during cold winter temperatures. Use a quality caulk or sealant to ensure that all openings are securely sealed.
5 . Turn off the Water Supply
The last step in winterizing your outside faucets is to turn off the water supply leading to them. Turning off the water supply will help to prevent any potential damage from freezing temperatures and also make sure that no water is leaking out.
6 . Lubricate the Faucet Connections
Before putting your outdoor faucets away for the winter, it’s important to lubricate all of the connections. This will help prevent any rust or corrosion on the connections while the faucets are not in use. Use a quality lubricant and make sure to cover all of the connections with it, including any screws or bolts that may be on the faucet.
7 . Monitor your Faucets Throughout Winter
Even if you’ve taken all the necessary steps to winterize your outside faucets, it’s still important to monitor them throughout the winter. This means checking periodically to make sure that there are no issues with the faucet or its connections and making sure that all of the seals and insulation are still intact.
Taking this extra step will help ensure that your outside faucets stay in good condition until spring arrives.
By following these simple steps, you can ensure that your outside faucets are properly winterized and ready for the cold months ahead. With a little bit of time and effort, you can protect your outdoor faucets from frost damage and make sure that they last for many years to come.
Frequently Asked Questions
What Precautions Should I Take When Winterizing My Faucets?
When winterizing your outdoor faucets, it is important to take the necessary steps to prevent damage or injury. First, make sure you shut off the water supply that feeds into the faucet. This will be located either at the main plumbing valve in your house or outside near the faucet itself.
Next, you should disconnect any hoses from the faucet. If possible, hang them up or store them in a cool dry place so that they do not freeze and crack during the winter months. Once you have disconnected any hoses, you can now unscrew and remove the outdoor faucet handle.
This will give you access to the valve stem and help you make sure it is completely sealed. Finally, apply some plumber’s tape to the valve stem threads and reattach the handle. Doing this will ensure that no water can enter or exit the faucet during the cold winter months.
What Should I Do to Prepare My Faucets for Spring?
When spring arrives, it is important to make sure your outdoor faucets are ready for use. Begin by checking the plumber’s tape on the valve stem threads and making sure it is still in place and providing a tight seal. Inspect the faucet handle, hose bibs, and other connections for any signs of wear or damage.
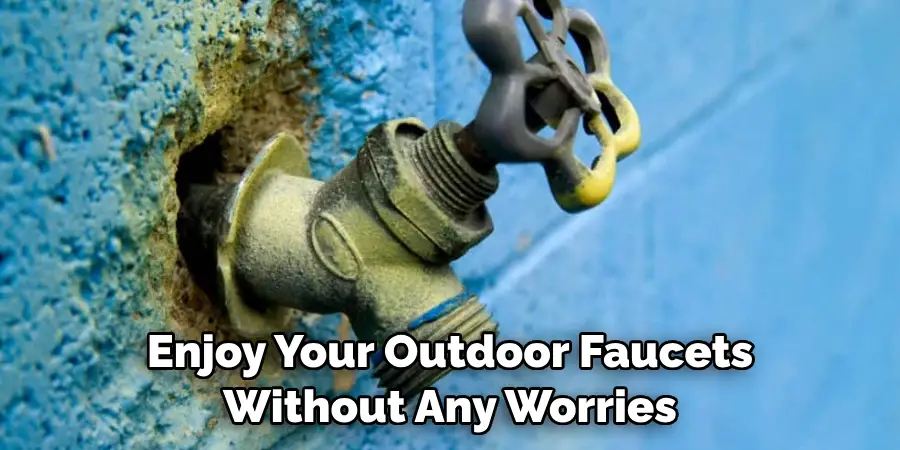
If you notice any malfunctions, contact a plumbing professional to help you make any repairs or replacements. Finally, attach the hoses, turn on the water supply, and check for proper operation. You should now be able to enjoy your outdoor faucets without any worries!
Conclusion
Winterizing your outdoor faucets is an important step to protect your home and prevent pipes from freezing and bursting. The entire process of winterizing is fairly simple, requiring nothing more than a garden hose and an adjustable wrench or a pipe insulation sleeve designed specifically for outside faucets.
If you’ve never done this task before, it might be best to call in the pros to make sure it gets done correctly. They have all the necessary tools for the job that you may not have laying around at home.
To ensure safety, always remember to use correct winterization procedures so that your plumbing remains in optimal shape and functioning properly year-round! Don’t wait until the cold sets in – get it done now to avoid costly repairs later on down the road.
With these tips on how to winterize outside faucets, your outdoor faucets will be winterized completely and ready for whatever Mother Nature throws it’s way this season!

