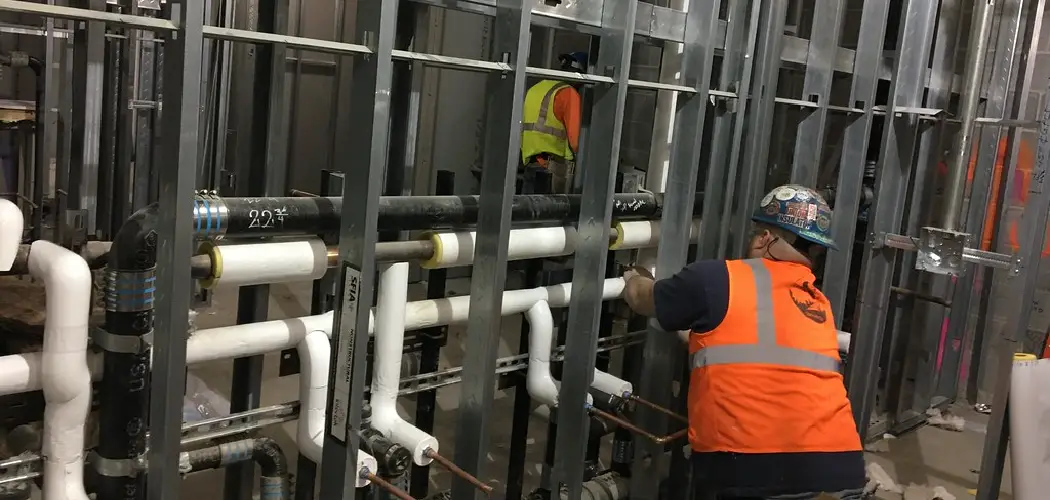
Winterizing plumbing in a vacant house is a crucial step to prevent potential damage caused by freezing temperatures. As temperatures drop, the risk of pipes freezing and bursting increases significantly, which can lead to costly repairs and extensive water damage.
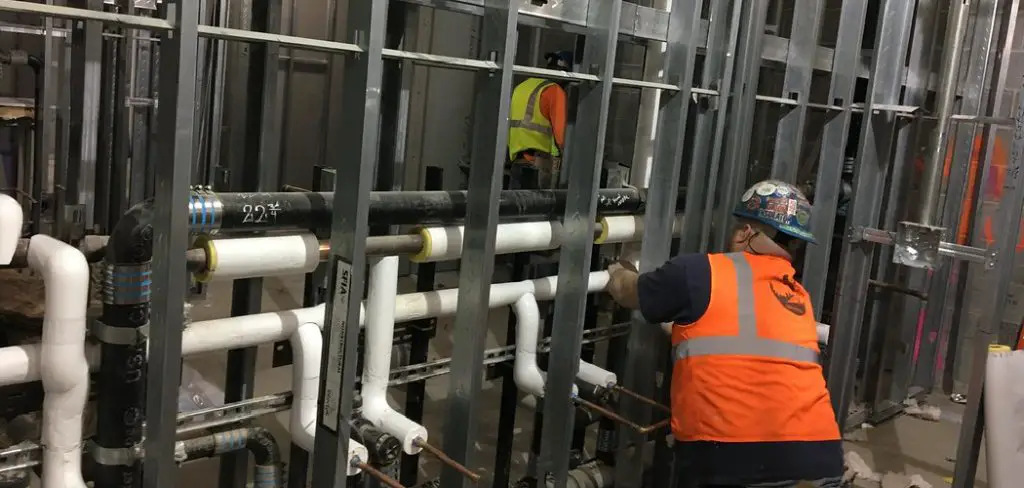
This guide on how to winterize plumbing in a vacant house provides a comprehensive overview of the essential steps needed to properly winterize plumbing systems, ensuring that your vacant property remains safe and secure during the cold months.
By taking these preventive measures, homeowners can avoid the hassles and expenses often associated with winter plumbing issues.
What is Winterizing Plumbing?
Winterizing plumbing refers to the process of preparing a home’s plumbing system for winter conditions to prevent damage from freezing temperatures. This involves several key actions, including draining pipes, adding antifreeze to fixtures, and insulating vulnerable areas.
By ensuring that all water is removed from the pipes and that preventative measures are taken, homeowners can safeguard their plumbing systems from the adverse effects of extreme cold. Proper winterization helps to avert costly repairs, maintain the integrity of the property, and provide peace of mind during the harsh winter months.
Why is it Important to Winterize Plumbing in a Vacant House?
Winterizing plumbing in a vacant house is essential for several reasons. Firstly, preventing pipes from freezing can save homeowners from the significant costs associated with repairs and water damage caused by burst pipes. When a property is unoccupied, there is often no one to detect leaks or issues until significant damage has occurred.
Additionally, maintaining the plumbing system in a vacant house ensures that the integrity of the property is upheld. This is particularly important if the house will be on the market or if it is part of an estate; potential buyers or tenants will be more attracted to a well-maintained property. Ultimately, taking the time to winterize plumbing provides peace of mind, knowing that the property is protected against the harsh winter conditions.
Needed Materials
Pipe Insulation Materials Such as Foam, Rubber, or Fiberglass:
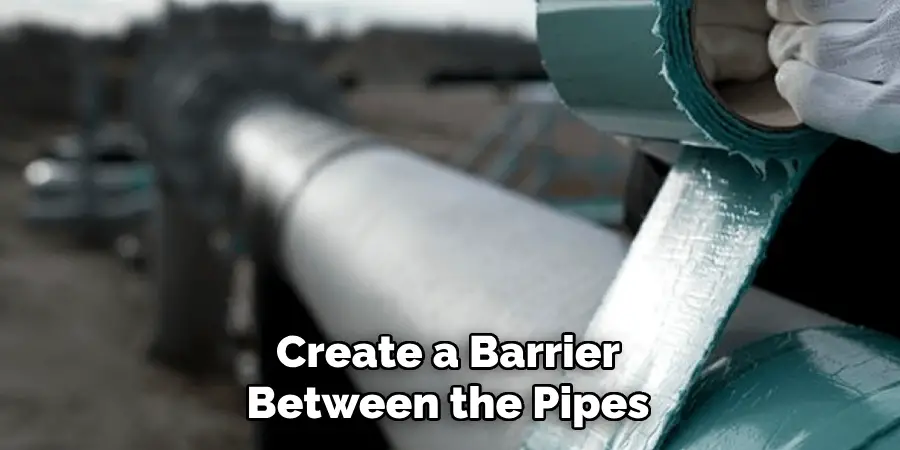
Pipe insulation is an essential material needed to winterize plumbing. It can be purchased in various forms, including foam, rubber, and fiberglass. These materials help create a barrier between the pipes and outside temperatures, reducing the risk of freezing.
Antifreeze:
Antifreeze is another crucial material necessary for winterizing plumbing in a vacant house. It helps to prevent water from freezing within pipes and fixtures by lowering its freezing point. However, it should be noted that antifreeze is toxic and must be used with caution.
Drainage Tools:
Drainage tools such as a sump pump or air compressor are necessary for removing all water from the plumbing system before winterization. These tools help to clear out any remaining water, reducing the risk of frozen pipes.
Caulking and Weatherstripping:
Caulking and weatherstripping are used to seal any gaps or cracks around doors, windows, and other vulnerable areas where cold air can enter. This helps to maintain a consistent temperature within the house and prevent freezing temperatures from affecting the plumbing.
8 Step-by-step Guides on How to Winterize Plumbing in a Vacant House
Step 1: Shut off the Water Supply
The first step in winterizing plumbing in a vacant house is to shut off the main water supply. Locate the main water shut-off valve, typically found near the water meter or where the water line enters the home. Turn the valve clockwise to close it completely. This action prevents any water from entering the plumbing system, reducing the risk of freezing and subsequent damage.
Once the water supply is shut off, it is important to inform any other relevant parties, such as property managers or caretakers, to ensure there are no further water inflows while the house is vacant.
Step 2: Drain All Water From the Plumbing System
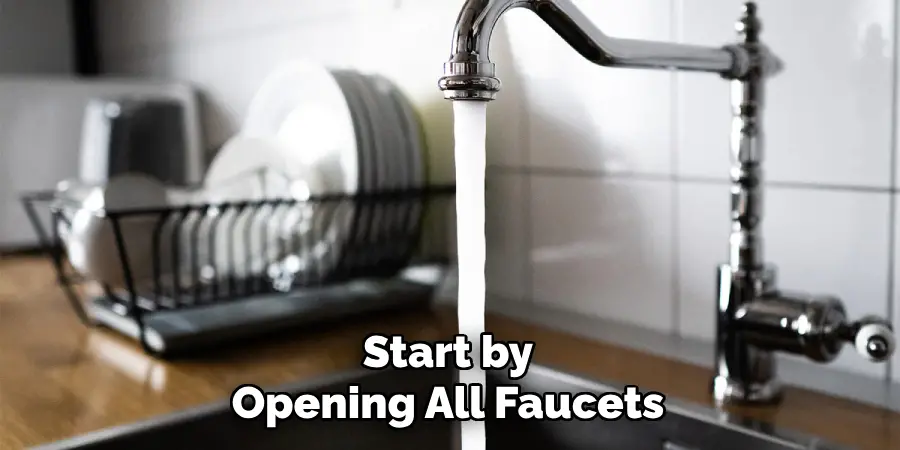
Once the water supply has been shut off, the next crucial step is to drain all water from the plumbing system. Start by opening all faucets throughout the house, including sinks, tubs, and showers, to allow air to enter the pipes and facilitate drainage. Work your way through each fixture systematically, ensuring that any remaining water flows out completely.
Next, flush all toilets to empty their tanks and bowls, and don’t forget to remove any remaining water with a sponge if necessary. Additionally, drain the water heater by locating the drain valve at the bottom. Connect a garden hose to the valve and redirect the water to a suitable area, allowing the tank to empty. After this process, check any outdoor spigots, and open them to ensure they drain fully as well.
Step 3: Add Antifreeze to Fixtures
After successfully draining all water from the plumbing system, the next step is to add antifreeze to the fixtures. Begin by selecting a non-toxic antifreeze specifically designed for plumbing use, as this will be safe for any future plumbing in the home. Pour the antifreeze into each sink, tub, and shower drain, using approximately one cup per fixture.
Additionally, remember to add antifreeze to the toilet bowls to prevent any water that remains from freezing; pour a few cups into each bowl, ensuring it covers the bottom. Lastly, flush the toilet to mix the antifreeze with any residual water in the tank. This step is vital as it protects all traps in the plumbing system from freezing and cracking during the winter months, securing the plumbing against potential damage.
Step 4: Insulate Pipes and Vulnerable Areas
After adding antifreeze to the fixtures, the next step is to insulate any exposed pipes and vulnerable areas within the plumbing system. Start by wrapping all pipes in foam or rubber insulation and cutting the insulation to fit precisely around each pipe. Pay particular attention to any outdoor pipes, as these are more susceptible to freezing temperatures. Securely fasten the insulation with duct tape or cable ties if necessary.
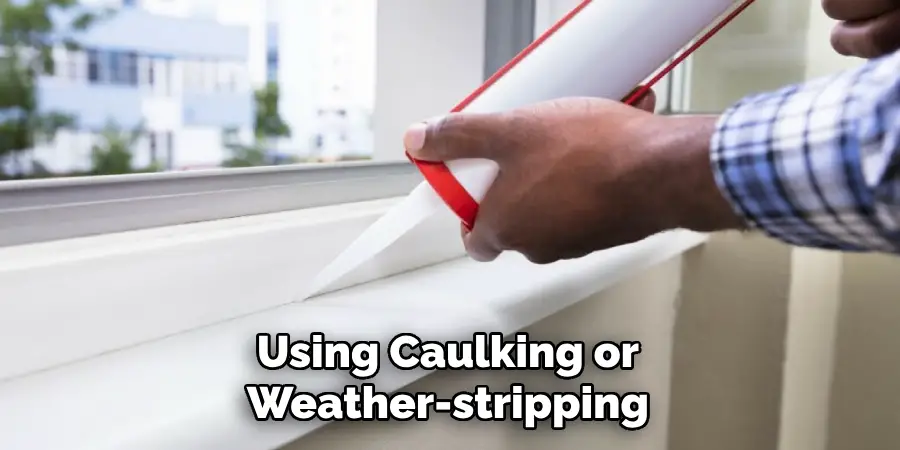
Next, inspect and seal any gaps or cracks around doors, windows, and other vulnerable areas using caulking or weatherstripping. This helps maintain a consistent temperature inside the house and prevents cold air from seeping into the plumbing system.
Step 5: Cover Outdoor Faucets with Insulation
Outdoor faucets are at an increased risk of freezing, so it is crucial to cover them with insulation to protect them from damage. Start by purchasing faucet covers specifically designed for this purpose; these can be found at most hardware stores.
Place the cover over the faucet and secure it tightly with a bungee cord or rope. This extra layer of protection will help shield the faucet from extreme temperatures and prevent any water left inside from freezing and causing damage.
Step 6: Winterize the Water Heater
The water heater is another essential part of the plumbing system that needs special attention during winterization. Begin by turning off the power or gas supply to the water heater. Next, locate the pressure relief valve and turn it off as well.
Afterward, connect a garden hose to the drain valve at the bottom of the tank and direct it to a suitable area for drainage. Open the drain valve and allow all remaining water to empty from the tank. Once drained, close the valve and disconnect the hose. Ensure all power or gas supplies are turned off before leaving.
Step 7: Check on Plumbing Regularly
It is essential to check on your plumbing regularly throughout winterization, especially during periods of extreme cold weather. This will help you catch any potential issues early on and prevent further damage from occurring. If possible, have a trusted person check on the house periodically to ensure everything remains in good condition.
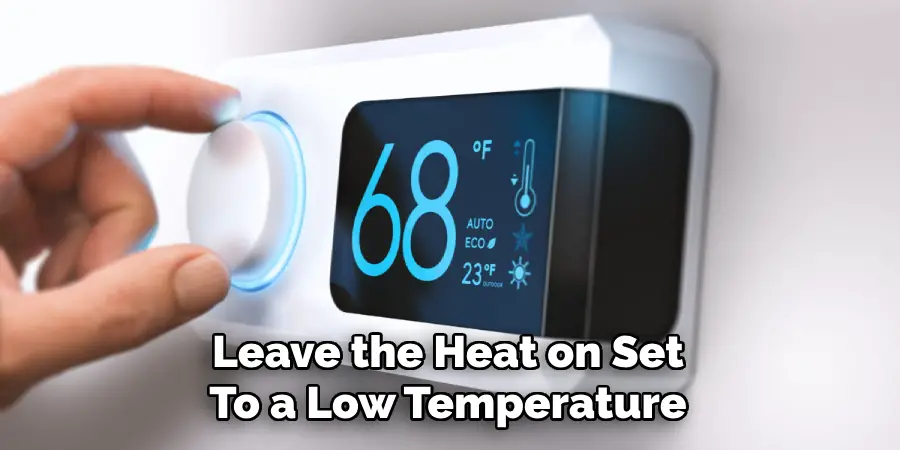
It is also a good idea to leave the heat on set to a low temperature to help prevent pipes from freezing. This can be especially helpful for homes in areas with particularly harsh winters.
Step 8: Re-open and Flush the Plumbing System
Once the winter season has passed, it is time to reopen and flush the plumbing system. Begin by reconnecting the main water supply and opening all faucets throughout the house to allow air back into the pipes. Once water starts flowing freely, close each faucet one by one.
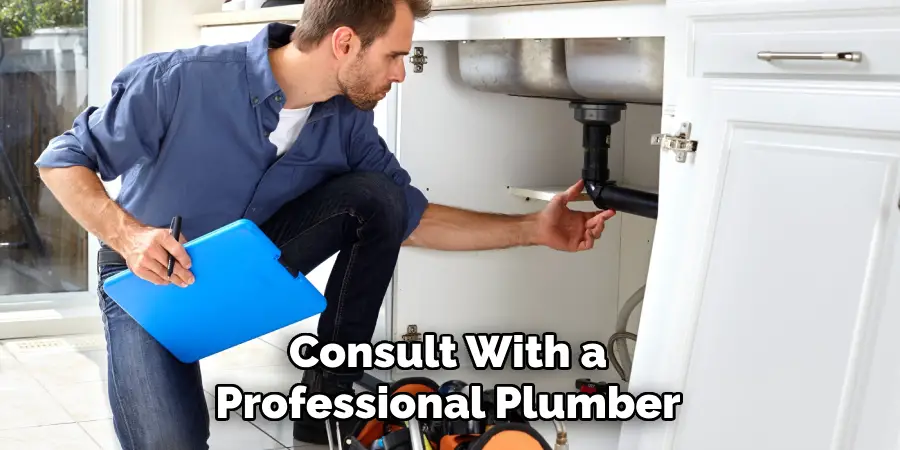
Next, turn on the water heater and let it refill completely before lighting or turning back on any gas or power supplies. Lastly, check all fixtures, including toilets, to ensure they are functioning correctly. If any issues arise, contact a professional plumber for assistance.
Following these winterization steps on how to winterize plumbing in a vacant house can help protect your plumbing system and prevent costly damage during the harsh winter months. By taking the time to properly prepare your home for winter, you can ensure that your plumbing remains in good condition and ready for use when warmer weather arrives. So don’t wait, start winterizing your home today. Stay warm and worry-free this winter season!
Frequently Asked Questions
Q: Can I Use Regular Antifreeze in My Plumbing?
A: No, it is important to use a non-toxic antifreeze specifically designed for plumbing use. It is also essential to carefully read and follow the instructions on the antifreeze bottle.
Q: How Often Should I Check on My Empty House During Winterization?
A: It is recommended to have someone check on your house at least once a week, especially during periods of extreme cold weather.
Q: Can I Turn Off the Heat Completely in a Vacant House During Winter?
A: No, it is important to keep the heat set at a low temperature to prevent pipes from freezing. Consult with a professional plumber for the ideal temperature setting for your specific plumbing system.
Q: Do I Need to Drain My Water Heater Before Leaving for Winter?
A: Yes, draining the water heater is an important step in winterizing your plumbing system. This will prevent any remaining water from freezing and causing damage to the tank. It is recommended to have a professional plumber assist with this process.
Conclusion
In conclusion, proper winterization of plumbing in a vacant house is crucial to prevent damage caused by freezing temperatures. By following the outlined steps on how to winterize plumbing in a vacant house—such as adding antifreeze, insulating pipes, covering outdoor faucets, and checking the plumbing system regularly—you can effectively safeguard your plumbing from the harsh winter conditions.
Taking these proactive measures ensures that your home remains protected and that your plumbing is ready for use when spring arrives. A little effort during the winter months can save you from costly repairs and inconveniences, allowing you to enjoy a worry-free winter season.

