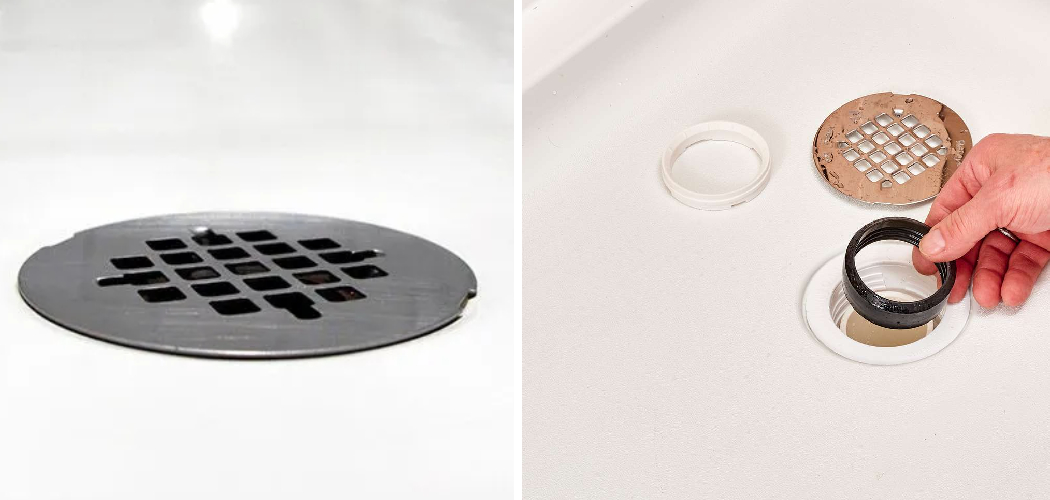
Are you looking for an easy, cost-effective way to install a drain in your shower or bathtub? Installing an Oatey Shower Drain is the ideal solution. It is relatively simple to do, but it also adds value to your bathroom and can even help ensure safe drainage away from your home.
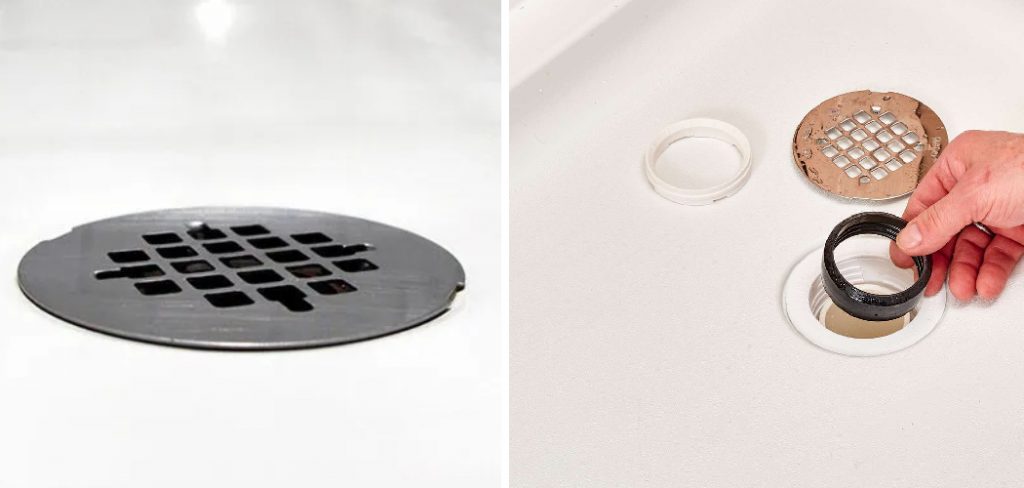
In this post, we will provide step-by-step instructions on how to install Oatey Shower Drain so that you can enjoy having beautiful bathrooms with efficient drainage systems. Read on for our informative guide!
Tools and Materials You Will Need to Install Oatey Shower Drain
- Oatey Shower Drain
- Utility knife
- Silicone caulk
- Putty knife
- Drilling machine/auger bit
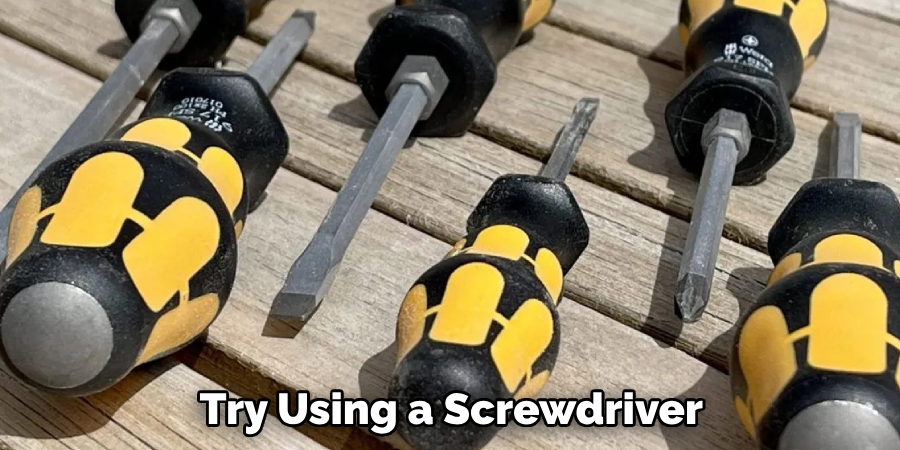
- Screwdriver
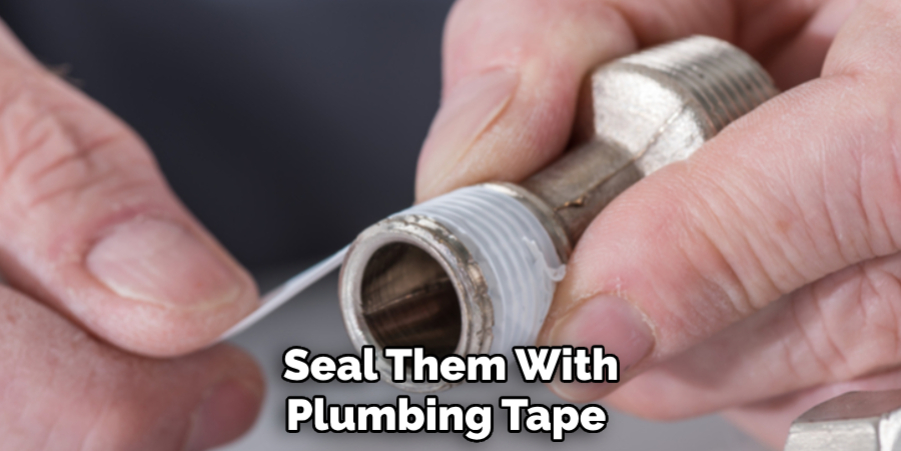
- Plumber’s tape
- Pipe wrench
- PVC pipe or rubber gasket (depending on your drain type)
- Masking tape
- Level
- Tape measure
Step-by-Step Guidelines on How to Install Oatey Shower Drain
Step 1: Measure and Mark the Drain Location
The first step is to measure the area where you would like to install the Oatey Shower Drainwheni. Carefully measure the diameter of the drain and mark it with a pencil. Make sure that your measurements are accurate so that you can get a perfect fit when installing the drain. Measuring twice is always a good idea!
Step 2: Cut the Hole
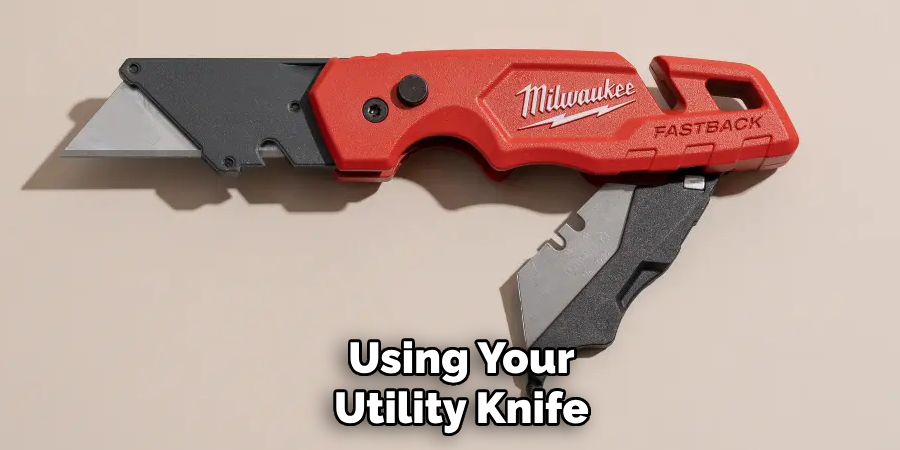
Using your utility knife, carefully cut out a hole in the line you marked earlier. You may need to use a drilling machine or an auger bit if necessary. Be careful not to damage any of the surrounding flooring or tiles while cutting. While cutting the hole, make sure that you keep the edges as neat and smooth as possible.
Step 3: Install the Pipe
Once you have cut out the hole for the drain to fit into, it is time to install your PVC pipe or rubber gasket (depending on your drain type). Place a generous amount of plumber’s tape around the pipe before inserting it into the hole. Tighten it up with a pipe wrench to ensure that it is secure. Make sure that the gasket is snugly fitted inside the hole.
Step 4: Caulk Around the Drain
With your silicone caulk, apply a generous amount around the drain and in between any gaps or joints. Use your putty knife to smooth out the material and make sure that all edges are properly sealed. Allow the caulk to set for 24 hours and then apply a grout sealer (optional) to protect it from water damage.
Step 5: Attach the Oatey Shower Drain
Attach your Oatey Shower Drain by placing it over the drain opening and securing it in place with screws. Make sure that all connections are secure before you move on. While attaching the drain, use a level to ensure that it is fitted properly. Sometimes, a plunger may be needed to help secure the drain in place.
Step 6: Test and Clean Up
Once the drain has been installed, it is time to test it out! Run some water through the shower or bathtub and make sure that it flows properly through the drain without any leaks. Clean up the area once you’re satisfied with the results. This step will make sure that there’s no mess or grime left behind.
And there you have it – a complete guide on how to install Oatey Shower Drain! With these easy-to-follow instructions, you should be able to add value to your bathroom and ensure safe drainage away from your home in no time. Best of luck with your project!
Additional Tips and Tricks to Install Oatey Shower Drain
1. Make sure the drain is installed at a level that’s slightly lower than the shower floor to ensure proper drainage and prevent water from pooling around the drain.
2. Use a chisel or saw to cut into your existing drain pipe if it doesn’t fit with your Oatey shower drain properly. This will help you get an even fit.
3. Use a putty knife to apply the plumber’s putty around the drain flange before you install it on your shower floor. This helps provide a watertight seal and ensures that no water will get between the drain and the floor, which can create problems for you down the line.
4. Use silicone caulk around the outside of the drain flange once it’s in place. This helps to provide an extra layer of protection against water damage and leaks.
5. If you’re having difficulty lining up the screws with the holes on your Oatey shower drain, try using a screwdriver bit that’s slightly larger than the screws. This will give you some extra wiggle room so you can get the screws in place.
6. To make sure that your drain is properly sealed and secure, test it by slowly pouring a few gallons of water into the shower or bathtub. If you don’t see any leaks or pooling around the drain, then your installation was successful!
7. Once the drain is installed, it’s a good idea to cover it with a shower or bathtub drain stopper. This helps to keep debris and hair from clogging up your drain pipe.
Following these tips and tricks will help ensure that you have a successful installation of your Oatey shower drain. With the right tools and know-how, you can easily install a quality Oatey shower drain in your home. Good luck!
Things You Should Consider to Install Oatey Shower Drain
1. Familiarize Yourself With the Product Before Starting Installation:
Before you begin installing your Oatey shower drain, it is important to familiarize yourself with the product and understand how it works. Read through the instructions carefully and make sure that all of the parts are there and in good condition. This will ensure a successful installation and proper functioning of the drain.
2. Select an Appropriate Location for Installation:
The location you choose to install your Oatey shower drain will affect its performance and reliability. Make sure that the area you choose is free from obstacles such as pipes, wiring, or other obstructions that could impede proper drainage or pose safety risks. If you are unsure of the best place to install it, consult a professional for guidance.
3. Prepare the Area for Installation:
Before installing your Oatey shower drain, make sure to clear away any debris or obstacles from the area where you will be working. This will help ensure that the installation process goes as smoothly as possible and will reduce the risk of damaging the drain or any other parts that need to be installed.
4. Assemble the Drain:
Once you have chosen a suitable area for installation and cleared away any obstacles, it is time to assemble your Oatey shower drain. Follow the instructions carefully and make sure all of the necessary parts are in place before continuing with the installation. While assembling the drain, make sure to use a silicone-based sealant around all of the joints and connections to ensure a watertight seal.
5. Connect Your Drain to the Plumbing System:
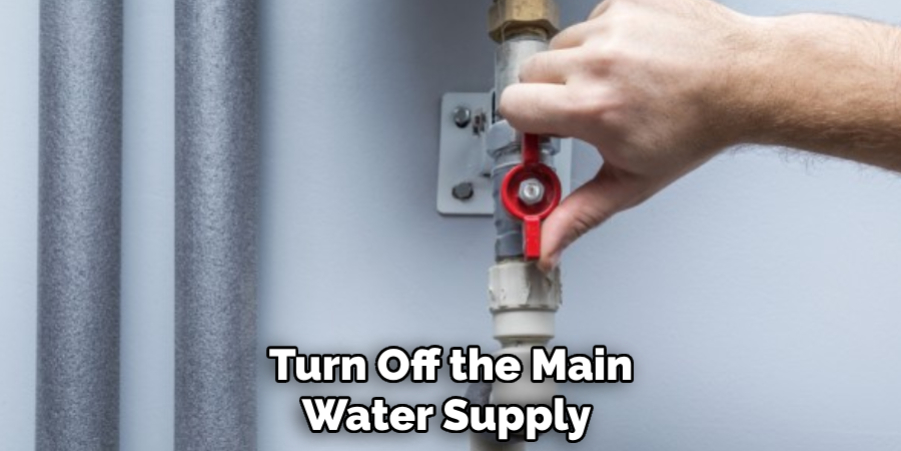
Once your Oatey shower drain is assembled, it must be connected to your home’s plumbing system. Before doing this, turn off the main water supply to avoid flooding or any other potential accidents. If you are not familiar with plumbing systems, it is best to consult a professional for assistance.
6. Test the Drain:
Once your Oatey shower drain is connected to the plumbing system, you can now test it out and make sure that everything is functioning properly. Turn on the main water supply and let it run for a few minutes to make sure that everything is working properly. It should be draining all of the water and not overflowing. If you have any issues, consult a professional plumber for assistance.
By following these considerations and steps, you can successfully install your Oatey shower drain. Remember to read through the instructions carefully, choose a suitable location for installation, prepare the area, assemble the parts correctly with a silicone-based sealant, connect it to your plumbing system, and test it before using it. Doing so will ensure that everything is functioning properly and safely.
Precautions Need to Follow for Installing Oatey Shower Drain
- Before starting the installation process, make sure that you have all of the necessary tools and materials (e.g., plumbing tape, caulking gun, hacksaw).
- Carefully read the instructions provided in your Oatey Shower Drain kit.
- Make sure to wear protective eyewear while performing any cutting or drilling activities.
- Make sure to measure twice and cut once to ensure that you get the correct fit for your drain.
- If necessary, use a hacksaw to make any adjustments in order to get the desired size and shape of your drain opening.
- After making any necessary cuts or holes, seal them with plumbing tape before attaching the drain flange.
- Make sure to secure the flange with screws and apply a generous bead of caulk around the rim in order to create a watertight seal.
- Finally, test your drain for any leaks before completely securing it in place.
Following these precautions will help ensure that your Oatey Shower Drain is properly installed and functioning. Make sure to follow the instructions provided in your drain kit carefully, take safety precautions, and double-check all connections for any potential leaks before completely securing the drain in place. Doing so will help prevent any future problems with your shower drain.
Common Mistakes in Installing Oatey Shower Drain:
1. Not Forming a Tight Seal :
A properly installed shower drain should form a tight seal that keeps water from leaking at the connection points. If the drain is not correctly sealed, then it will cause water to leak down into the subfloor or through the walls behind the shower. If you are having difficulty forming a tight seal, try using a plumber’s putty or silicone caulk to help form the seal.
2. Not Using the Correct Materials:
Oatey shower drains require specific materials for installation such as PVC piping and fittings, rubber washers, and Teflon tape. If these materials are not used correctly or are of the wrong type, then it may cause water to leak. Make sure to double-check that you are using the correct materials before installing the drain.
3. Not Leveling Properly:
The shower drain must be installed level with the floor or else water will not properly flow through and could cause pooling in an area around the drain. If the drain is not level, then it should be adjusted until it is even with the floor. Leveling the drain will also help to ensure a proper seal.
4. Not Testing for Leaks:
After the shower drain has been installed, it is important to test it for leaks before using it. This can be done by running water into the drain and checking around the connection points for any leakage. If any leaks are present, they should be addressed immediately.
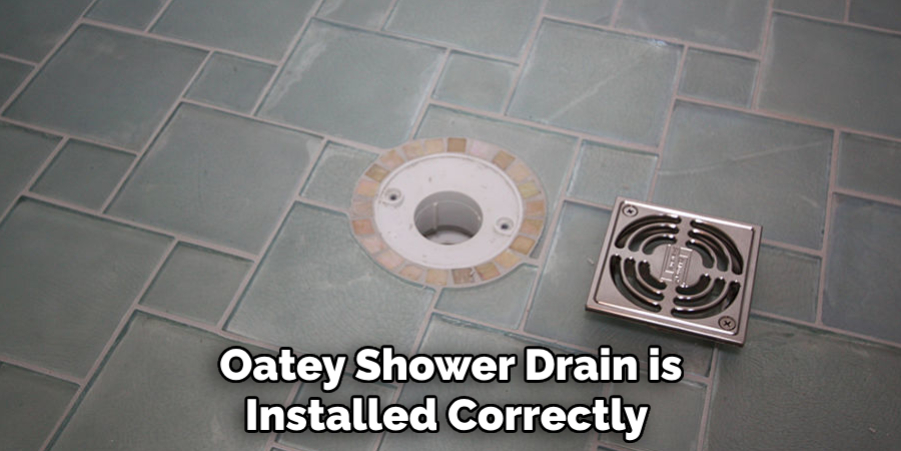
By avoiding these common mistakes, you can make sure that your Oatey shower drain is installed correctly and will work properly for many years to come. It is important to take the time to ensure that it is done right so that you don’t have to worry about water leaking or causing any other problems in the future.
If you are having difficulty with the installation, it is always best to consult a professional plumber for help. They can make sure that everything is done correctly and give you peace of mind that your home is safe and secure from water leaks. Good luck!
Conclusion
Knowing how to install oatey shower drain is a relatively straightforward process. By following the steps outlined in this guide, you can easily install your shower drain and ensure that it functions properly. Take special care to ensure that all the components are correctly connected, as even a small mistake could cause major problems down the line.
Also, be sure to use proper safety precautions throughout the installation process, such as wearing protective gloves and eyewear. With the right tools and careful attention to detail, you can successfully install your oatey shower drain in no time!

