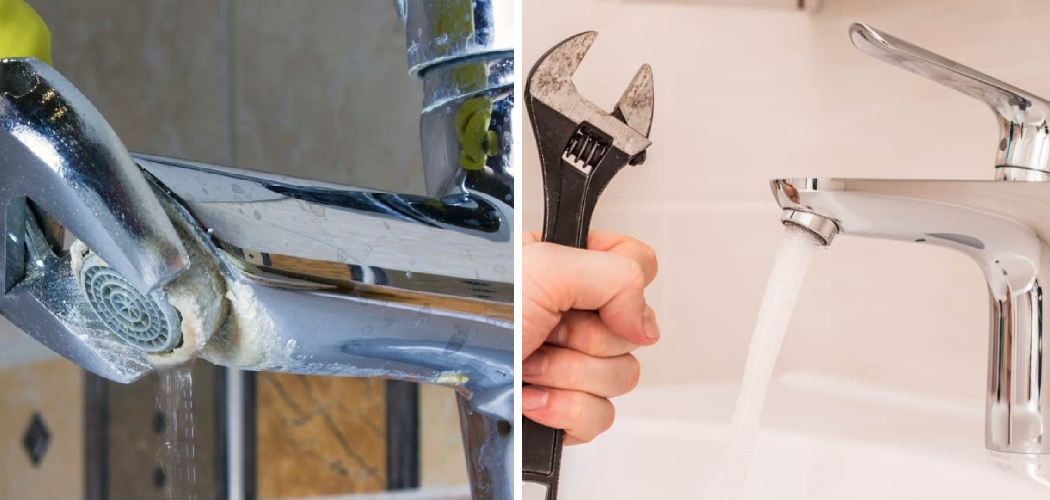
Updating your kitchen often involves replacing old fixtures, and one common task is removing a Moen kitchen faucet with a sprayer. Whether you’re upgrading to a new model or need to address maintenance issues, knowing how to properly remove the faucet is essential to the process.
Moen faucets are known for their quality and durability, but like any fixture, they eventually require replacement. In this guide, we’ll walk you through the step-by-step process of how to remove a moen kitchen faucet with sprayer.
By following these instructions, you can successfully disassemble the faucet, disconnect the water supply, and pave the way for your kitchen upgrade or repair project.
Importance of Knowing the Removal Process
Removing a Moen kitchen faucet with sprayer can be a daunting task, especially if you don’t have experience doing this kind of work. But knowing how to remove the faucet is important. It allows you to replace parts that are damaged or worn out, and it ensures that the faucet functions correctly and safely in your kitchen.
This guide will walk you through the process of safely removing a Moen kitchen faucet with sprayer. However, if you are unsure or have any concerns about this process, it is always recommended that you consult a qualified plumber.
Tools and Supplies You’ll Need
Before starting the removal process, you should make sure that you have all the necessary tools and supplies on hand. Here’s what you need:
- Adjustable wrench
- Pliers
- Basin wrench
- Pipe sealant or plumber’s tape
- Replacement parts (if any)
Understanding Moen Kitchen Faucets with Sprayers
Moen kitchen faucets with sprayers are known for their quality and reliability. They are designed to provide both hot and cold water, as well as a sprayer for added convenience. The sprayer is typically attached to the faucet with a hose, allowing for easy maneuverability around the sink.
Moen kitchen faucets with sprayers consist of several components, including the faucet body, handles, sprayer, and hose. The faucet body is the main part of the faucet that is mounted to the sink or countertop.
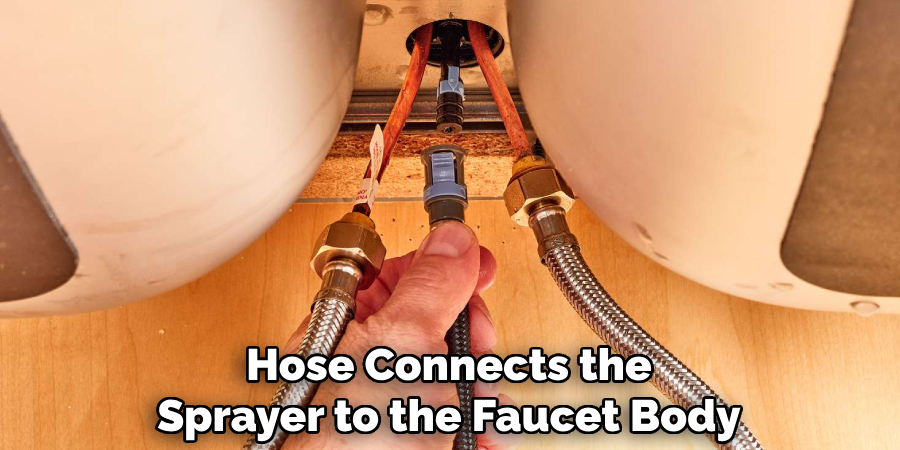
The handles control the flow and temperature of the water, while the sprayer allows for targeted cleaning or rinsing. The hose connects the sprayer to the faucet body, allowing for flexibility and ease of use.
10 Steps How to Remove a Moen Kitchen Faucet with Sprayer
Step 1: Gather the Necessary Tools and Materials
Before you begin, ensure you have all the tools and materials you’ll need for a smooth removal process. These may include an adjustable wrench, pliers, a basin wrench, a screwdriver set, a bucket, plumber’s tape, and a cloth.
Step 2: Shut Off the Water Supply
Safety first. Locate the shut-off valves beneath your sink and turn them clockwise to shut off the water supply. Then, turn on the faucet to release any residual water pressure.
Step 3: Disconnect the Supply Lines
Using an adjustable wrench and pliers, gently disconnect the supply lines from both the hot and cold water valves. Have a bucket and cloth handy to catch any water that may spill during this step.
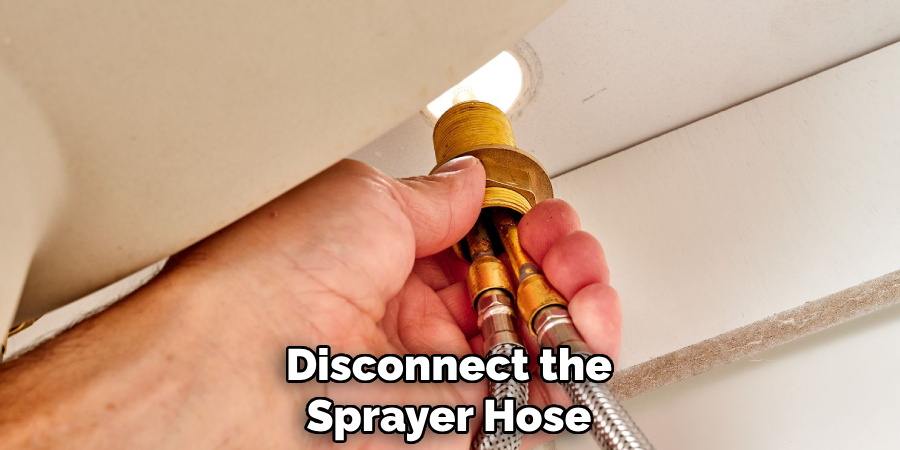
Step 4: Remove the Sprayer Hose
If your Moen kitchen faucet has a sprayer attachment, carefully disconnect the sprayer hose from the main faucet body. This can usually be done by hand, but pliers might be necessary if it’s too tight.
Step 5: Remove the Faucet Handle
Many Moen faucets have a single handle that controls both the temperature and flow. To remove it, locate the set screw usually concealed beneath a decorative cap or cover. Loosen and remove the screw, then gently slide the handle off.
Step 6: Loosen the Faucet Nut
Using a basin wrench, reach up under the sink and locate the large nut securing the faucet to the countertop. Loosen this nut by turning it counterclockwise. If the nut is stuck, penetrating oil can help loosen it.
Step 7: Detach the Faucet
Once the faucet nut is loose, gently lift the faucet and sprayer assembly out of the mounting hole on the countertop. This may require a bit of wiggling to free it from any adhesive or sealant.
Step 8: Clean the Area
With the faucet removed, clean the mounting hole and surrounding area thoroughly. Remove any debris, old putty, or adhesive to ensure a clean surface for installing the new faucet.
Step 9: Prepare for Installation
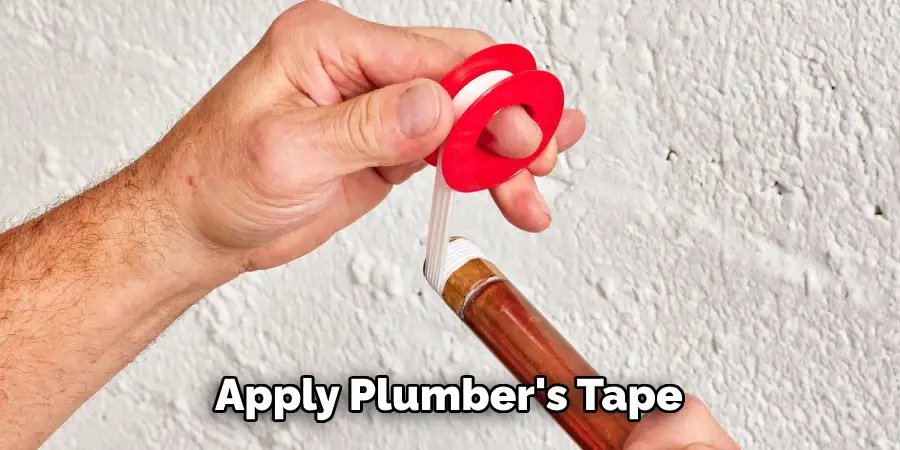
If you’re replacing the faucet, ensure that the new one is ready for installation. Apply plumber’s tape to the threads of the water supply lines to prevent leaks and ensure a secure connection.
Step 10: Dispose of the Old Faucet
If your old faucet is beyond repair, check local recycling or disposal guidelines for proper disposal. Many communities have designated drop-off points for electronic and metal waste.
Tips for Removing a Stuck Moen Kitchen Faucet
Sometimes, a Moen kitchen faucet may be stuck and difficult to remove. This can be due to mineral deposits or corrosion that has built up over time. Here are some tips for dealing with a stubborn faucet:
1. Use Penetrating Oil: If the faucet is still stuck after applying the penetrating oil, try using a wrench or pliers to gently turn the faucet. Be careful not to apply too much force as this could damage the faucet or plumbing. If the faucet is still not budging, it may be necessary to call a professional plumber for assistance.
2. Apply Heat: When dealing with a stubborn faucet that won’t budge, applying heat can be a useful technique to loosen it up. The heat causes the metal to expand, which can break the bond between the faucet and the fixture it’s attached to. To apply heat, you can use a hairdryer or heat gun, being careful not to overheat the metal or any surrounding materials.
3. Use a Wrench or Pliers: When attempting to loosen a stubborn faucet, it’s important to exercise caution and avoid using excessive force. Applying too much pressure can cause damage to the faucet or sink, which can be costly to repair. Before resorting to using a wrench or pliers, try using a lubricant such as WD-40 to help loosen the faucet.
By following these tips, you can increase your chances of successfully removing a stuck Moen kitchen faucet.
How to Disconnect the Sprayer from a Moen Kitchen Faucet
If you are experiencing issues with your Moen kitchen faucet sprayer, it may be necessary to disconnect it in order to inspect or replace it. To do so, you will need to turn off the water supply by locating the shut-off valves under the sink and turning them clockwise.
Once the water supply is turned off, use an adjustable wrench to unscrew the sprayer hose from the bottom of the faucet. It is important to have a bucket or towel handy to catch any water that may leak out during this process. Once the sprayer hose is disconnected, inspect it for any damage or wear.
If necessary, replace the hose with a new one before reattaching it to the faucet. To reconnect the sprayer hose, screw it back onto the bottom of the faucet using an adjustable wrench. By following these simple steps, you can easily disconnect and reconnect the sprayer from your Moen kitchen faucet.
Cleaning and Maintaining a Moen Kitchen Faucet
Your Moen kitchen faucet is an essential part of your kitchen, and it is important to keep it in good condition to prevent issues from arising. Regular cleaning and maintenance are key to ensuring that your faucet stays in top shape. One of the most important things you can do is to clean the faucet regularly using a mild soap and warm water.
This will help to remove any dirt or grime that may have accumulated on the surface. Avoid using abrasive cleaners or scrub brushes, as these can scratch the finish and damage the faucet. Another important step in maintaining your Moen kitchen faucet is to remove mineral deposits.
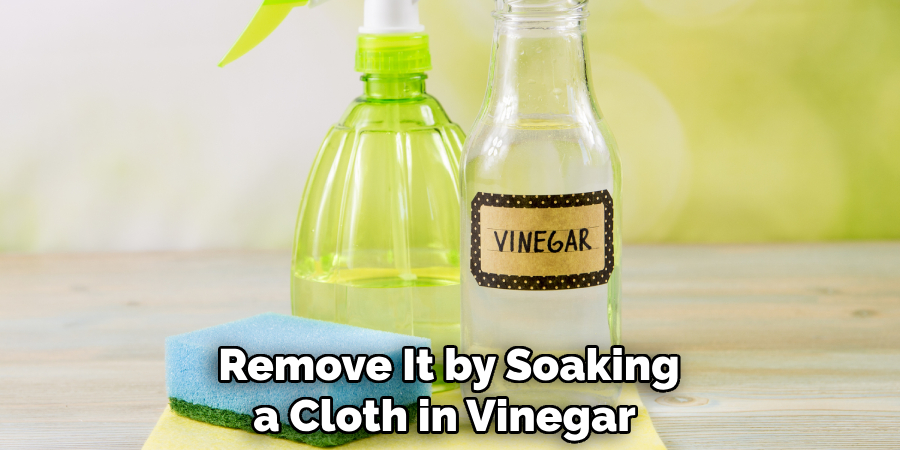
If you notice any mineral buildup on your faucet, you can remove it by soaking a cloth in vinegar and wrapping it around the faucet. Allow it to sit for a few hours, then scrub away the deposits with a soft brush. It is also important to regularly check for leaks or drips in your Moen kitchen faucet.
Replacing a Moen Kitchen Faucet with a New One
If you have decided to replace your Moen kitchen faucet with a new one, follow these instructions:
Replacing a Moen kitchen faucet can be a simple process if you follow the right steps. The first step is to turn off the water supply by locating the shut-off valves under the sink and turning them clockwise. This will prevent any water from flowing while you work on the faucet. Next, use an adjustable wrench to loosen and disconnect the supply lines from the faucet.
It’s important to place a bucket or towel underneath to catch any water that may leak out. If your Moen kitchen faucet has a sprayer, disconnect the sprayer hose from the faucet body by unscrewing it with an adjustable wrench.
Then, use an adjustable wrench to loosen and remove the mounting nuts that hold the faucet in place. These are typically located underneath the sink or countertop. Once the mounting nuts are removed, carefully lift the old faucet out of the sink or countertop.
Troubleshooting Common Moen Kitchen Faucet Issues
Even with regular maintenance, Moen kitchen faucets may encounter common issues. Here are some troubleshooting tips for addressing these problems:
1. Leaking Faucet: If your Moen kitchen faucet is leaking, check the connections and tighten them if necessary. If the leak persists, you may need to replace worn-out parts such as O-rings or cartridges.
2. Low Water Pressure: If you are experiencing low water pressure, check for any clogs or debris in the aerator. Remove the aerator and clean it thoroughly before reattaching it to the faucet.
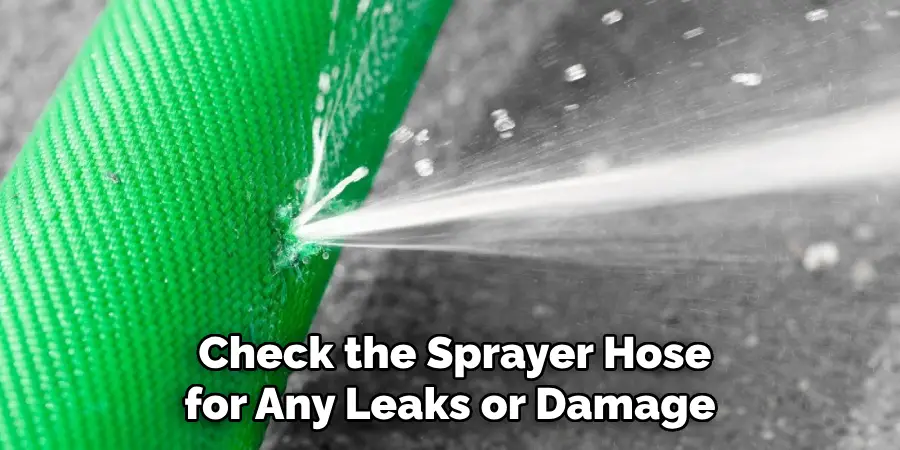
3. Dripping Sprayer: If your Moen kitchen faucet sprayer is dripping, check the sprayer hose for any leaks or damage. Replace the hose if necessary, or tighten any loose connections.
4. Stiff Handles: If the handles of your Moen kitchen faucet are stiff or difficult to turn, try lubricating the moving parts with a silicone-based lubricant. If the problem persists, you may need to replace the cartridges.
By troubleshooting these common issues, you can often resolve them without the need for professional assistance.
Conclusion
In conclusion, replacing or removing a Moen kitchen faucet with sprayer is easy and can be done without having to call in a plumber. With a few simple steps and the right tools, anyone can complete this task quickly and easily.
As always, it’s best practice to read all instructions twice before starting any DIY project around your home. Taking your time now will save you from costly repairs later on down the road.
Should you want more information on how to remove a Moen kitchen faucet with sprayer, there are plenty of videos available online for reference. Ensure that you find one suitable for the model and style of the faucet in your own kitchen so that instructions are accurate and your project can be completed successfully.

