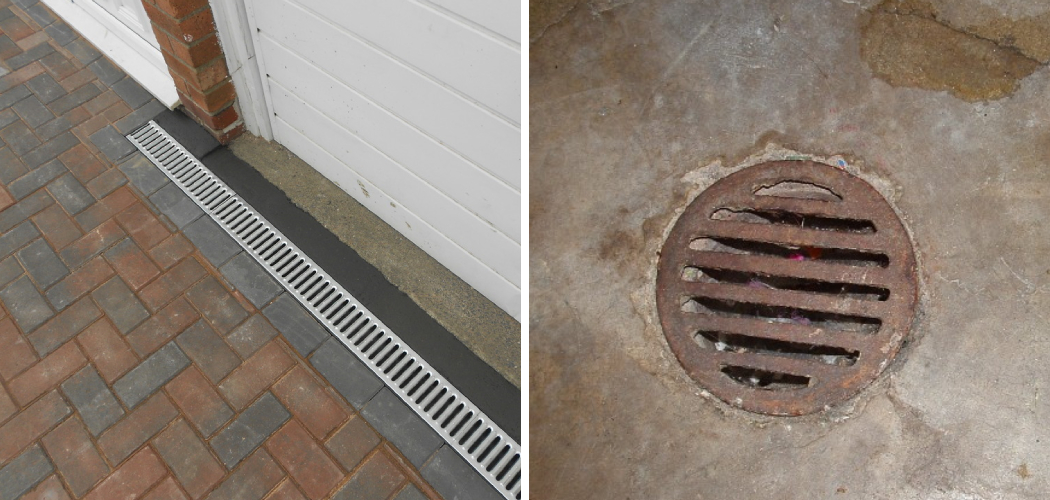
Are you looking for a cost-effective and efficient way to manage water runoff in your existing garage? Installing a floor drain is the answer! A floor drain is an important element for keeping your garage dry and preventing flooding. Not only does it provide drainage, but it also keeps potential hazards like standing water or blockages from occurring.
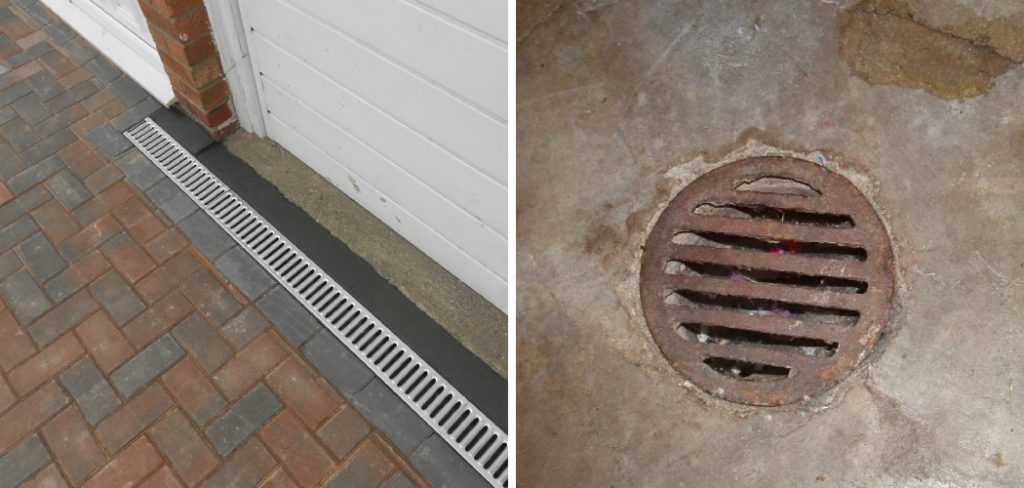
While installing a floor drain may seem daunting at first, it’s actually quite easy with the right instructions. This blog post will walk you through how to install a floor drain in an existing garage step by step so that you can confidently tackle this project on your own!
Floor drains can be the perfect addition to any existing garage, providing an effective way to direct water away from your property and protect it from damage.
Installing a floor drain into your garage does not need to be complicated or expensive – with some basic materials and our comprehensive guide, you’re sure to get the job done quickly and efficiently. Read on for everything you need to know about how to install a floor drain in an existing garage!
Why May You Want to Install a Floor Drain in an Existing Garage?
1. Provides an Effective Way to Direct Water Away From Your Property
One of the benefits of having a floor drain in your garage is that it helps you to effectively direct water away from your property. This is especially important if there are areas of the garage that are prone to flooding or where rainwater can easily enter. By directing the water elsewhere, you will be able to protect your belongings and keep your garage dry.
2. Keeps Your Garage Smelling Fresh
No one likes the smell of a damp garage. Having a floor drain installed in your existing garage will help to keep it smelling fresh and clean by quickly draining any water that has accumulated there. This is especially helpful if you tend to store items that are prone to moisture damage, such as sporting equipment or gardening tools.
3. Helps to Prevent any Long-Term Damage
As well as keeping your garage smelling fresh, installing a floor drain in an existing garage can also help to prevent any long-term damage from occurring. Water that pools and sits for long periods of time can begin to eat away at the structure of your garage, leading to costly repairs or even destruction.
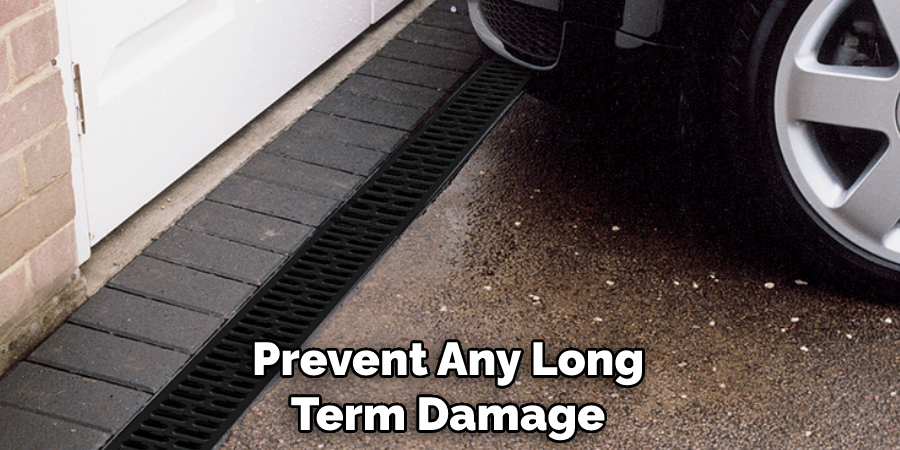
A floor drain can help to quickly get rid of any water that has accumulated, thus preventing long-term damage.
5. Cost-Effective and Easily Installed
Floor drains can be very cost-effective and easy to install in an existing garage. Many are simply connected to a nearby drain line, meaning you will only need basic tools for the installation process. Some models even come with a pre-made base that is already set into the floor, making it even easier to install.
Installing a floor drain in an existing garage can be a great way to protect your property and keep it smelling fresh. With the right tools and knowledge, you can easily install one yourself.
These are just a few reasons why you may want to consider installing a floor drain in your existing garage. By adding this extra feature, you will be able to keep your property dry and protect it from potential water damage. A floor drain can also help to keep your garage smelling fresh and prevent any long-term damage from occurring.
With the right tools and knowledge, you can easily install one yourself, making it a cost-effective solution for protecting your property.
How to Install a Floor Drain in an Existing Garage in 6 Easy Steps
Step 1: Gather All The Materials
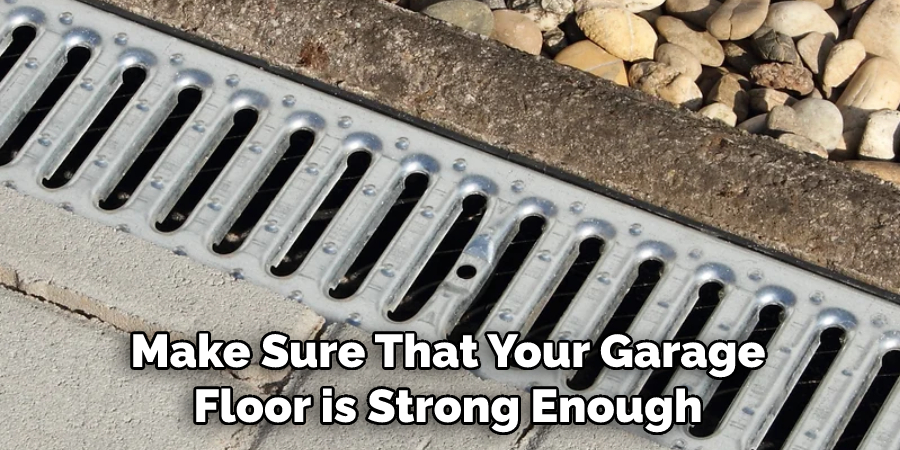
The very first step is to gather all the materials required for the installation. You will need a floor drain, PVC pipe, caulk, sealant, and an adjustable wrench. Also, you have to make sure that your garage floor is strong enough to support the weight of the drain.
Step 2: Dig Out The Area For The Drain
Once you have gathered all the materials, begin by digging out a hole in the area where you plan on installing the floor drain. Ensure that it’s deep enough for both the pipe and drain to fit in.
Step 3: Place The Drain In The Hole
Once the hole has been dug, insert the PVC pipe into the hole and then place the floor drain over it. Make sure that all the connections are secured properly to prevent any water from leaking out.
Also, use some sealant to waterproof the area around the drain.
Step 4: Connect The Drain To The Sewer Line
Next, connect the drain to your sewer line using a PVC pipe. Make sure that the connections are tight and secure so that there are no leaks in your plumbing system. Thia will ensure that all the wastewater is properly drained away.
Step 5: Check For Leaks
Once everything is connected, check for any leaks in the drainage system by running a bit of water through the drain. If there are any leaks, make sure to fix them by tightening or replacing the pipes and sealants.
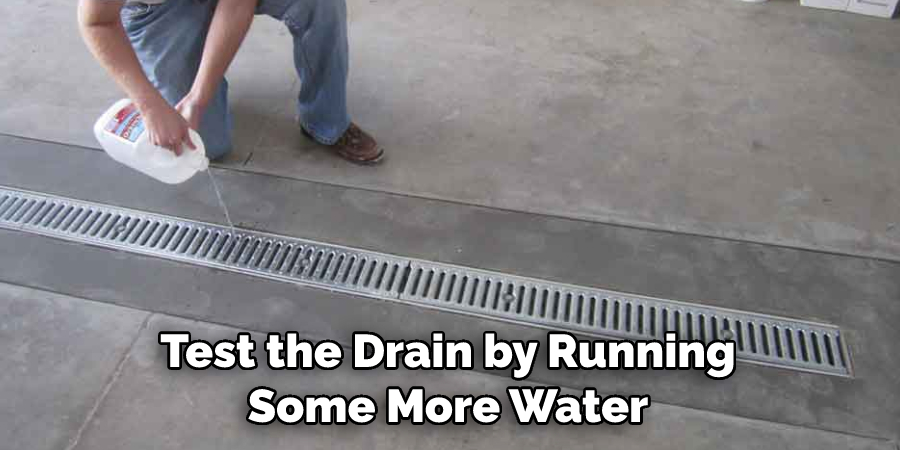
Step 6: Test The Drain
Finally, test the drain by running some more water through it. This will ensure that everything is working properly and your floor drain is ready for use.
And that’s it! You now have successfully installed a floor drain in an existing garage. With these simple steps, you can quickly and easily install a floor drain in your garage. So go ahead, get to work, and enjoy a properly functioning floor drain in no time!
Some Additional Tips to Install a Floor Drain in an Existing Garage
1. Do Not Use Cement Mortar for the Floor Drain
Cement mortar does not allow water to pass through it, which will cause water to pool up in front of the drain. Therefore, it is important to use a material that provides adequate drainage such as sand and gravel.
2. Install a Perimeter Drain
A perimeter drain around the floor drain can be used to collect and divert water away from the garage. The perimeter drain should be installed several inches below the floor in order to prevent any flooding or pooling of water.
3. Determine Where to Place the Floor Drain
When installing a floor drain, it is important to determine where the drain will be placed. It should be installed away from any doors and windows, as this will ensure that water will not soak through the walls or ceiling. Additionally, it should also be placed near the garage’s low point to ensure proper drainage.
4. Check for Obstacles
Before installing a floor drain, it is important to check for any obstacles that may prevent the drain from being properly installed. This includes checking for any plumbing pipes, electrical wiring, or even furniture that may block the way of the drain pipe.
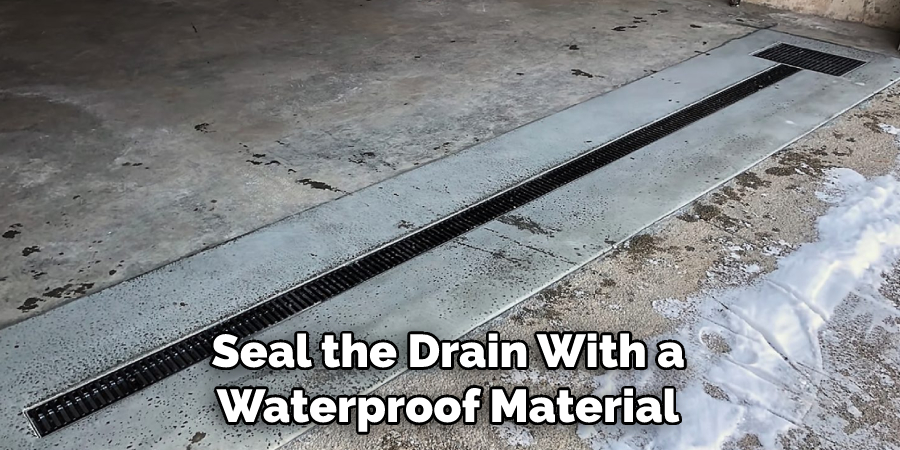
5. Seal the Drain
Once everything is in place, it is important to seal the drain with a waterproof material such as caulk or silicone. This will help prevent water from seeping into any cracks or holes and causing further damage. Additionally, it will also help keep bugs and pests from entering the garage.
In conclusion, installing a floor drain in an existing garage is not a difficult task but does require some attention to detail. It is important to use the right material for the job, install a perimeter drain, determine where the drain should be placed, check for any obstacles, and seal the drain. Following these steps will help ensure that your floor drain is properly installed and functioning correctly.
Frequently Asked Questions
What Precautions Should I Take Before Installing a Floor Drain in an Existing Garage?
Before installing a floor drain in an existing garage, make sure the area you are working on is properly prepared. It’s important to check for any potential obstructions that may be present such as underground utility lines or water pipes, and if needed, dig down far enough to avoid any potential problems.
Additionally, make sure the area is free of debris and that the ground is level. Finally, double-check all measurements to ensure the drain will fit correctly.
What Tools Will I Need to Install a Floor Drain?
The tools needed for installing a floor drain in an existing garage depend on what type of drain you are using and how many connections it requires. Generally, however, you will need a few basic tools such as a drill, a level, an adjustable wrench or pliers, and a hammer. You may also need additional items depending on the configuration of your drain and the materials you are using for installation.
What Should I Do After Installing a Floor Drain?
After installing a floor drain, it is important to properly seal the drain using an appropriate material such as silicone caulk or a plumber’s putty. Doing this will prevent any water from leaking and causing damage in the area. Additionally, you should test the drain by pouring a small amount of water into it to ensure it’s working properly.
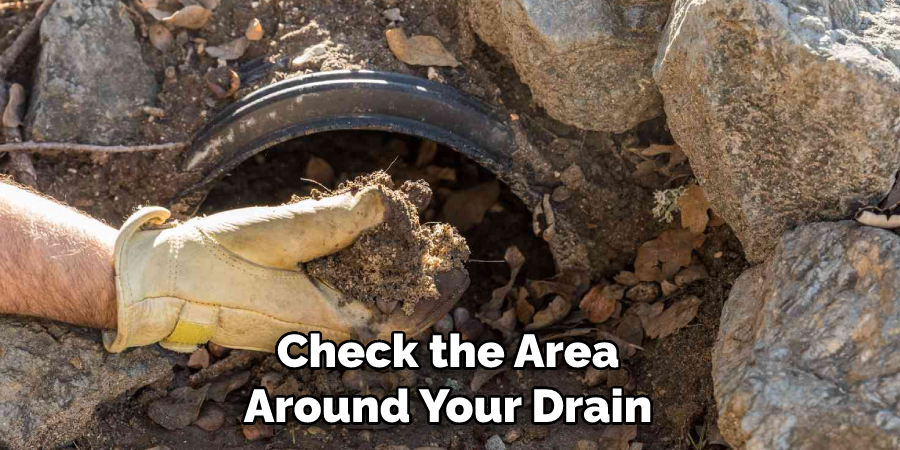
Finally, you should check the area around your drain regularly for any signs of water seepage or damage. If problems arise, contact a professional plumber and they will be able to provide further assistance.
How Much Does Installing a Floor Drain Cost?
The cost of installing a floor drain will vary depending on the type of drain you are using, the complexity of your installation, and any additional services that may be required such as excavation or plumbing work.
Generally, however, you can expect to spend between $50-300 for the supplies and materials needed. Also, if you are hiring a professional to do the job, they may charge an hourly rate or a flat fee depending on the scope of work.
Can I Install a Floor Drain Myself?
Yes, it is possible to install a floor drain yourself as long as you have the right tools and skills. However, if you are unfamiliar with plumbing work or if the installation is complex, it’s best to leave the job to a professional. This will ensure that your drain is installed correctly and that you are protected from any potential problems.
Can I Install a Floor Drain in an Unfinished Garage?
Yes, it is possible to install a floor drain in an unfinished garage. However, you will need to take additional steps such as ensuring there are no obstructions and properly sealing the drain with silicone caulk or plumber’s putty.
Additionally, make sure that your drain is well-supported and level so it is not at risk of shifting or cracking due to any movement in the ground. Also, be sure to check local building codes and regulations before starting your project.
Do I Need a Professional to Install a Floor Drain?
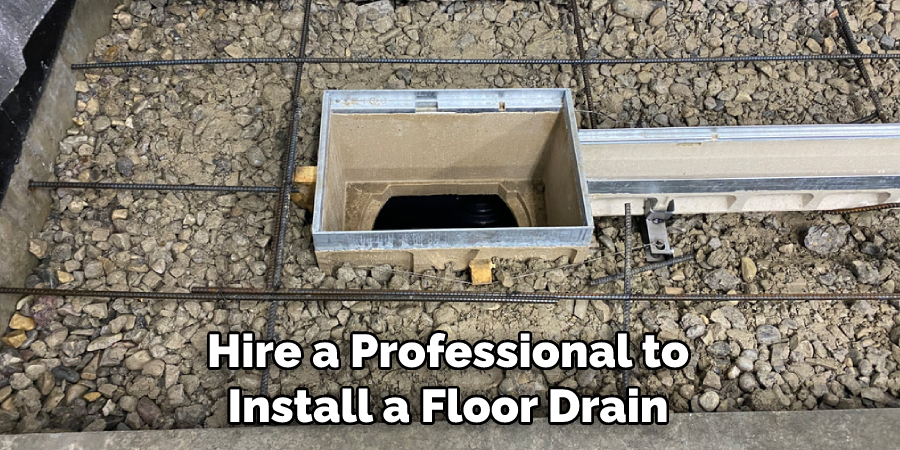
In most cases, it is best to hire a professional to install a floor drain in an existing garage. This will ensure that the job is done correctly and within any applicable building codes and regulations. Additionally, a professional plumber will have the right tools and expertise to get the job done quickly and safely.
Conclusion
In conclusion, installing a floor drain in an existing garage is not a difficult task and can be completed in just a few hours. Once you have the necessary supplies, cut away any existing insulation or paper that you need to create enough space for the drain. If you want extra protection from water damage, make sure to use waterproof filler or sealer around the drain prior to installation.
With this knowledge, you should now be more confident tackling this project yourself! Don’t be afraid to ask for help if you’re feeling unsure about your abilities – it’s often best to get another perspective and make sure everything is done properly.
Plus, if installed correctly, the floor drain will add great value and convenience to your garage. We hope this guide on how to install a floor drain in an existing garage has helped you. Thank you for reading.

