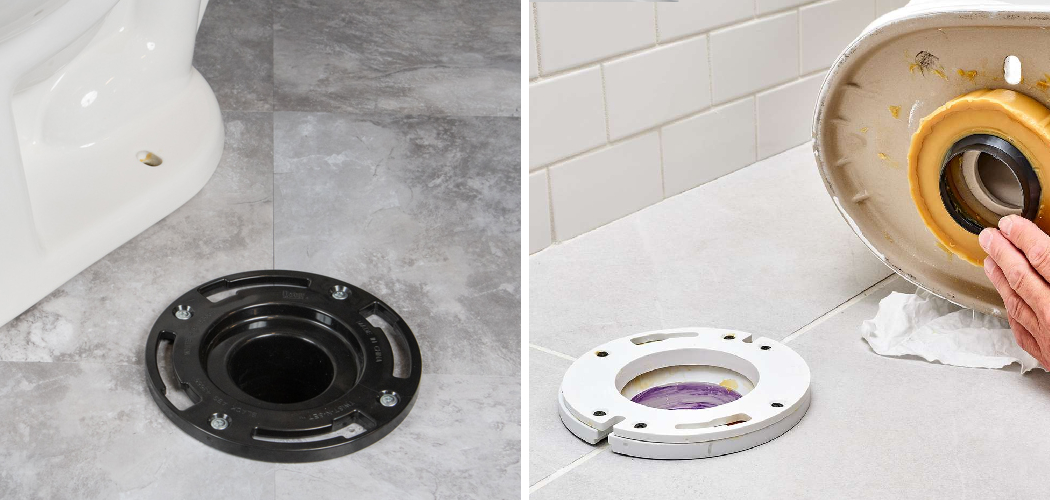
Do you have an old, corroded, or cracked toilet flange in your bathroom that needs replacing? If so, then you’re lucky! Replacing a toilet flange is actually not a complicated task and can be done with just simple tools.
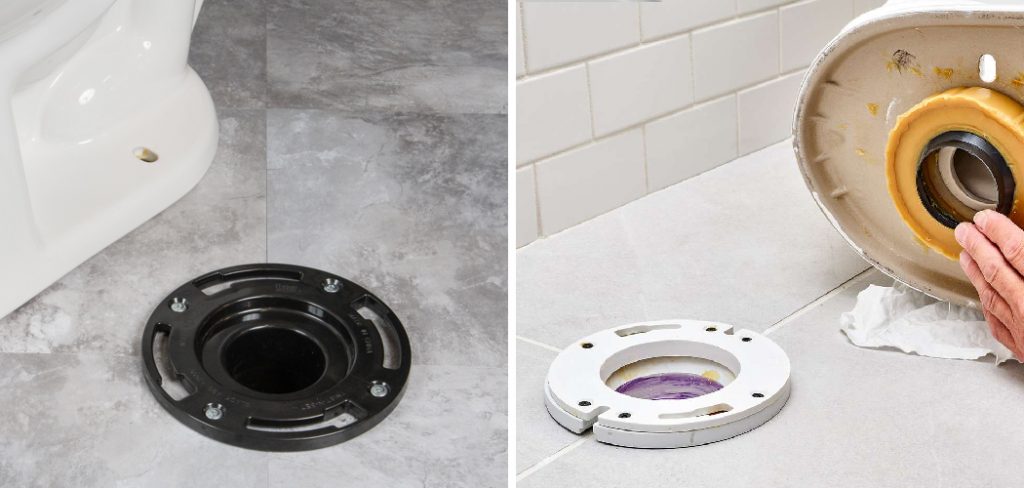
In this blog post, we’ll share step-by-step instructions on how to install twist and set toilet flange properly and safely. This procedure may seem intimidating at first but trust us when we say it’s easy enough for even novice DIYers to get the job done right. Keep reading to learn all about installing a toilet flange using twist-and-set technology.
Tools and Materials You Will Need to Install Twist and Set Toilet Flange
- Toilet flange (twist and set type)
- Screwdriver
- Drill with a bit size that matches the screws in the toilet flange kit
- Masking tape or painter’s tape
- Safety glasses
Step by Step Guidelines on How to Install Twist and Set Toilet Flange
Step 1: Turn Off the Water Supply.
For safety reasons, it is absolutely necessary to turn off the water supply before beginning any plumbing work. Locate the shut-off valve near your toilet and turn it clockwise until it is completely closed. If you don’t turn off the water supply before starting, you may end up flooding your bathroom!
Step 2: Remove the Old Toilet Flange.
Using a screwdriver, carefully remove any screws that are holding down the old toilet flange. Once all screws have been removed, lift them away and discard them in an appropriate manner. While removing the old toilet flange, make sure to pull up any debris or wax ring pieces that were left behind.
Step 3: Prepare the Area for the New Toilet Flange.
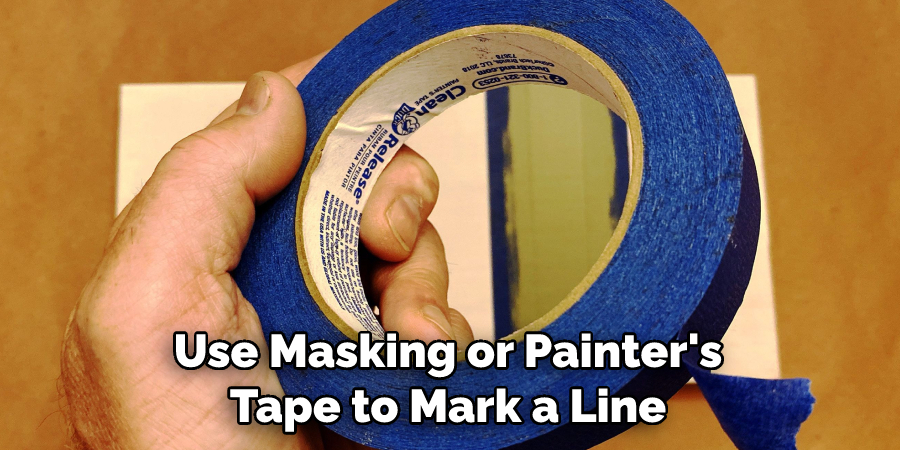
Once you’ve removed the old toilet flange, use masking or painter’s tape to mark a line around the perimeter of where you will be installing the new flange. This will help you to ensure that the flange is installed in the correct spot. It’s important to be precise when measuring the area, as any mistakes will cause the flange to not fit properly.
Step 4: Install the New Toilet Flange.
Now it’s time for you to install your new twist and set toilet flange! Start by placing the flange onto the floor with the twist-and-set anchor points facing outward. Then, use a drill to secure the flange into place with the screws provided in the kit.
Step 5: Clean Up and Test.
Once you’ve installed your new toilet flange, it’s time to clean up any mess that was made during installation. Make sure to dispose of any debris or old wax rings properly. Finally, turn the water supply back on and flush the toilet a few times to ensure that everything is working correctly.
We hope you found these instructions helpful for successfully installing twist and set toilet flange in your bathroom. Although it may seem intimidating at first, trust us when we say that it’s actually quite easy if you take your time and follow the steps above. Good luck!
Additional Tips and Tricks to Install Twist and Set Toilet Flange
1. Before installing the toilet, be sure to inspect the area for levelness and make any necessary adjustments with a shim or self-leveling compound prior to laying down the flange.
2. It is important to wear eye protection when cutting a hole in the floor for the toilet flange. Use a jigsaw to make a slightly larger opening than the flange itself, so that it can fit snugly.
3. When using the Twist and Set toilet flange, it is important to apply an even amount of pressure when tightening the bolts. If any side feels too tight, adjust accordingly by making sure all sides are firmly secured with equal pressure.
4. Use a silicone sealant around the base of the flange to create an additional water-tight seal that will help prevent seepage or leakage from occurring.
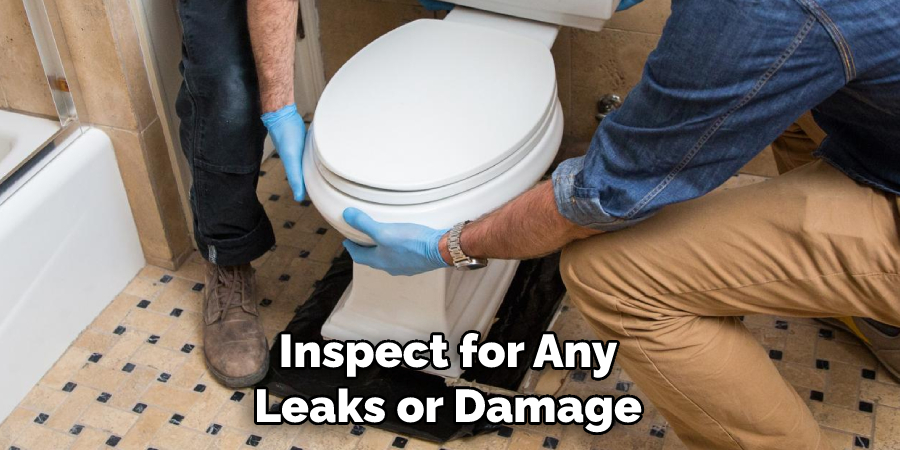
5. Once the toilet has been installed and tested for proper operation, inspect for any leaks or damage before covering up the area with tile, carpet, or other flooring material. If there are any issues, ensure that they are fixed before continuing with the project.
6. Finally, if the toilet is connected to a septic tank, make sure to check for occasional maintenance and pump-outs to keep it running efficiently. Also, consider adding bacteria supplements periodically to help break down organic waste and keep the tank from clogging.
With these tips, you will be sure to properly install your Twist and Set toilet flange in no time. Remember, always use caution when using power tools and chemicals for installation projects. With the proper care and maintenance, your new fixture should provide many years of efficient use. Good luck!
Things You Should Consider While Installing Twist and Set Toilet Flange
1. Floor Type:
Installing a twist and set toilet flange is possible on almost any type of floor, but some floors may require special consideration. For example, when installing over concrete you will need to drill into the floor with either a hammer drill or an impact driver depending on its thickness. On a wooden subfloor, you may have to use a special jigsaw blade.
2. Drilling the Hole:
The hole used to install the twist and set toilet flange must be drilled at an angle so that it is in line with the incoming water supply pipe. The size of the hole should also be large enough to accommodate the flange as well as any caulking material you may use to seal it.
3. Connecting the Drainpipe:
The final step of installing a twist and set toilet flange is to connect the drainpipe. To do this, you will need to remove the existing pipe and replace it with a new one that has been cut at an angle so that it fits the flange. Once it is in place, you can use caulk to seal any potential leaks.
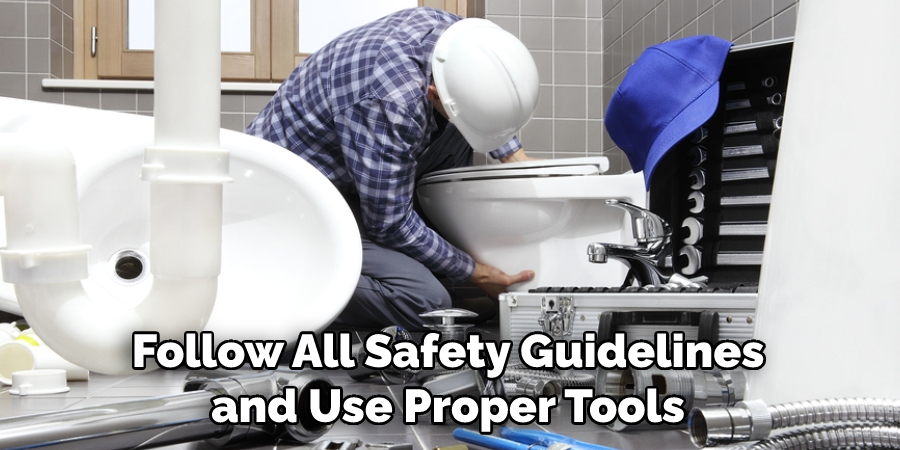
With these considerations in mind, you can now start the process of installing a twist and set toilet flange. Be sure to follow all safety guidelines and use proper tools when doing so! Once it is installed correctly, you will be able to enjoy a better-functioning bathroom for years to come.
Precautions Need to Follow for Installing Twist and Set Toilet Flange
- Make sure the area around the toilet is clear and free from any obstructions that could get in your way during installation.
- Wear protective clothing such as goggles, gloves, and a dust mask to minimize exposure to airborne particles or debris which may be released during installation.
- Before installing the twist and set toilet flange, make sure to check that the floor is level. If it’s not, you may need to use a spacer or shim to level the area where you’ll be placing the new flange.
- After installing the twist and set toilet flange, test it out by flushing the toilet and making sure that it properly drains.
- When tightening screws, be careful not to overtighten them as this could cause the flange to crack or bend.
- Make sure that all connections are secure and properly sealed with caulk before using the toilet again.
- Before using the toilet, check for any leaks or other issues that may have been caused by the installation.
Following these precautions will help ensure a successful installation and provide you with a safe and secure toilet flange. It’s important to always use caution when installing home plumbing fixtures, as improper installation can cause serious damage to your home.
Frequently Asked Questions
Is It Necessary to Use a Level When Setting the Toilet Flange?
Yes. It is important to ensure that the flange is correctly positioned, so using a level can help you adjust it until it is level with your bathroom floor. This will give you a more secure installation and prevent any future problems.
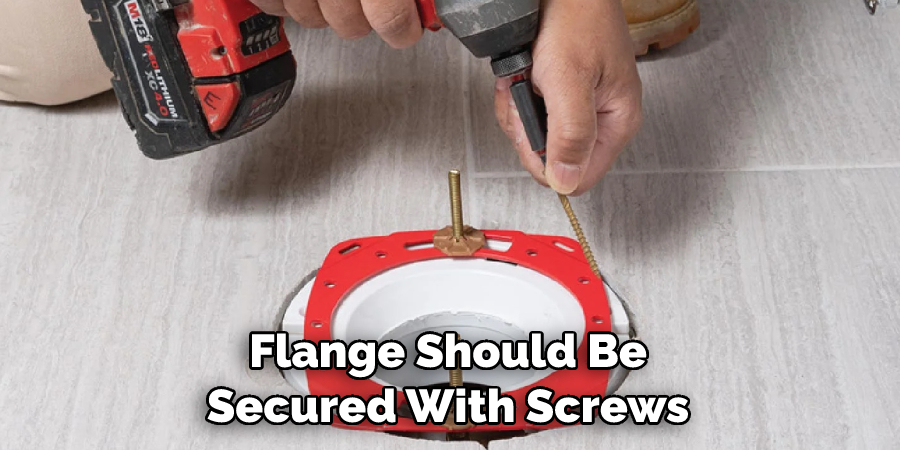
Do You Have to Secure the Flange With Screws?
Yes. The flange should be secured with screws or other fasteners in order to ensure that it is properly attached and will not become loose over time. Make sure to use the appropriate type of screw for the material you are working with.
Can I Use Twist and Set Toilet Flanges on Any Type of Flooring?
Yes. The twist and set design are compatible with any type of flooring, including wood, tile, concrete, laminate, and more. Just make sure that you properly measure the area where the flange will be installed before beginning the installation process.
Conclusion
Knowing how to install twist and set toilet flange is an important skill to have in order to ensure that your toilet is securely installed. By using a level, securing the flange with screws, and making sure it is compatible with any type of flooring, you can make sure that your installation goes smoothly and lasts for years to come.
Now that you know how to properly install twist and set toilet flanges, you can complete your bathroom projects with confidence. Good luck!

