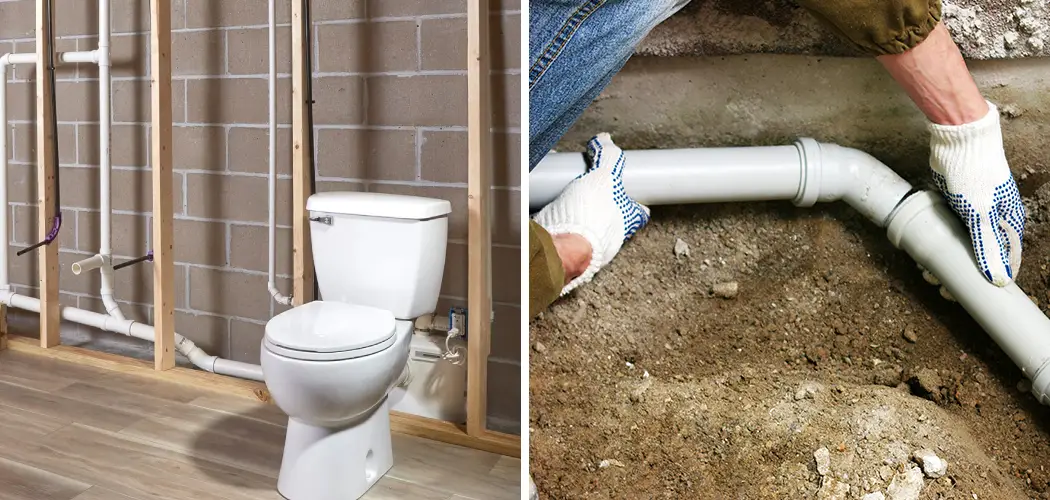
Are you looking to add a bathroom to your home but have a slab foundation? While it may seem daunting, adding a bathroom on a slab is not impossible.
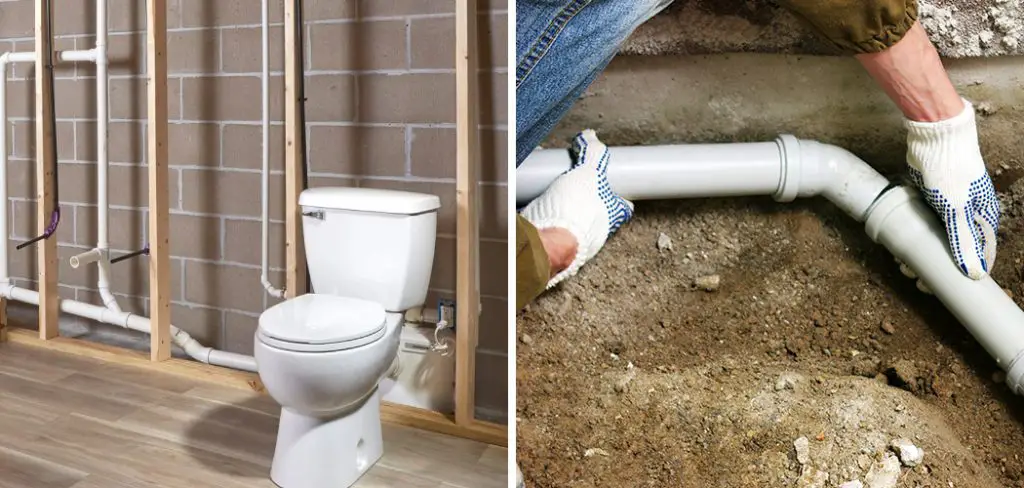
How to add a bathroom on a slab can be an excellent way to increase the functionality and value of your home, particularly if you’re looking to accommodate a growing family or enhance your property for potential resale. The process involves careful planning, as it requires an understanding of plumbing layouts, electrical systems, and local building codes. Whether you’re converting an existing space or starting from scratch, laying the groundwork for a successful bathroom addition can seem daunting but is definitely achievable with the right approach and tools.
In this guide, we’ll explore the essential steps to ensure your new bathroom is both stylish and seamlessly integrated into your home’s design.
What Will You Need?
Before you begin, gathering all the necessary tools and materials for your bathroom addition on a slab is essential. This list may vary based on your specific project, but some general items are needed in most cases:
- A Plumbing Plan: Creating a detailed plumbing plan is crucial when adding a bathroom to a slab. You’ll need to determine the location of existing pipes and drains and decide how to connect them to your new bathroom fixtures.
- Electrical Plan: Similar to the plumbing plan, an electrical plan will help you understand where existing wiring is located and how to run new lines for lighting, outlets, and other necessary electrical features.
- Basic Tools: Having tools such as hammers, screwdrivers, and wrenches on hand will make the installation much smoother.
- Building Materials: To construct your new bathroom walls, floors, and ceilings, you’ll need building materials such as cement, wood, tiles, and drywall.
Once you have all the necessary tools and materials, you can start your bathroom addition project.
10 Easy Steps on How to Add a Bathroom on a Slab
Step 1: Design Your Layout
Begin by sketching a layout for your new bathroom. Consider the placement of fixtures such as the toilet, sink, and shower or bathtub to ensure functionality and comfort. Ensure to account for plumbing access and comply with local building codes by keeping minimum distances between fixtures. It’s also wise to think about ventilation and how natural light can be incorporated into the space. Proper planning at this stage will set a solid foundation for the entire project.

Step 2: Obtain Necessary Permits
Before proceeding with any construction work, checking local regulations and obtaining the necessary permits for your bathroom addition is vital. Building codes can vary significantly by location, and ensuring compliance will help avoid potential fines or issues down the line. Contact your local building department to understand the specific permits required for plumbing, electrical, and structural work. Having the appropriate permits also guarantees that your project meets safety and quality standards, ultimately protecting your investment and ensuring a smoother inspection process once the work is completed.
Step 3: Prepare the Site
Once you have your permits, it’s time to prepare the site for construction. Start by clearing the area where the new bathroom will be added, removing any obstacles such as furniture or debris. If you are converting an existing space, you may need to demolish walls or fixtures that are in the way. It’s essential to protect existing floors and surfaces from damage during this process.
After clearing the area, mark the layout on the slab using chalk or paint to ensure all measurements are accurate for the plumbing and electrical installations. Proper site preparation will create a clean working environment and help streamline the following steps.
Step 4: Install Plumbing Lines
With the site prepared and layout marked, the next step is to install the plumbing lines. Begin by carefully trenching the slab in the areas where the plumbing will be routed. This process involves cutting into the concrete to create channels for pipes, ensuring that you position them according to your plumbing plan. Install the waste lines for the toilet and shower or bathtub first, ensuring they slope correctly to facilitate proper drainage.
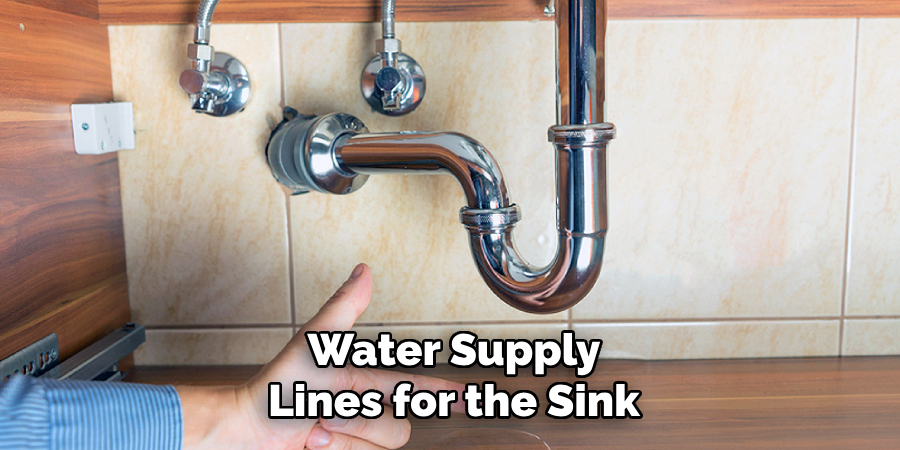
Next, water supply lines for the sink and other fixtures are laid out. Once the pipes are in place, testing them for leaks before sealing them is crucial, as addressing any issues later will be much more complex. After confirming the plumbing lines are secure, backfill the channels with concrete to restore the slab’s integrity.
Step 5: Lay Electrical Wiring
After the plumbing installation is completed and secured, the next step involves laying out the electrical wiring. Based on your earlier layout design, begin by determining the location of electrical outlets, switches, and lighting fixtures. Ensure that the electrical plan resonates with building codes and safety standards. Cut through the slab to run conduit or wiring for the electrical connections.
Use appropriate gauge wire for the circuits, considering the load requirements of your fixtures. Once the wiring is in place, install junction boxes and secure them according to code. It’s important to double-check all connections for safety, as any mistakes can lead to severe hazards down the line.
Step 6: Insulate and Frame Walls
With electrical work underway, it’s time to insulate and frame the walls of your new bathroom. Start by installing insulation in the cavities of the framed walls to improve energy efficiency and soundproofing. Ordinary fiberglass or foam board insulation can be used to ensure it meets local building codes. Next, construct the wall frames using 2×4 or 2×6 lumber.
Ensure that the framing is securely anchored to the slab and that everything is aligned perfectly according to your layout. This framing will serve as the skeleton for your bathroom, so take the time to ensure it is level and square. Once completed, inspect for any adjustments needed before adding drywall.
Step 7: Install Drywall
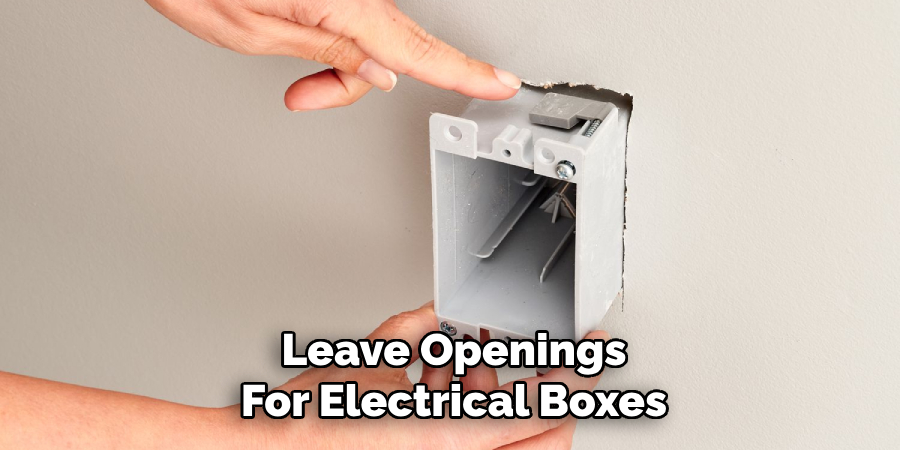
After the walls are framed, the next task is to install the drywall. Use moisture-resistant drywall, also known as green board, particularly in areas where it will be exposed to higher humidity levels, such as around sinks or bathtubs. Cut the drywall sheets to fit around the framed walls, ensuring to leave openings for electrical boxes, outlets, and other fixtures. Secure the drywall to the framing using drywall screws, making sure each sheet is tightly fitted to avoid gaps. After installation, tape the seams and apply joint compound to create a smooth appearance.
Step 8: Flooring Installation
Once the walls are complete and prepped, focus on installing flooring. Remove any existing flooring in the bathroom area and ensure the slab is clean and free of debris. Depending on your design choices, you can opt for tile, vinyl, or other flooring materials. If using tile, lay down a cement backer board for better adhesion and moisture resistance. When applying tiles, use a thin-set mortar and ensure proper spacing with tile spacers for a uniform grout line. Follow the manufacturer’s instructions for setting time, grout the tiles once the mortar has cured, and complete the installation with a sealant to enhance durability and water resistance.
Step 9: Install Fixtures and Finishes
With the flooring complete, you can now install bathroom fixtures and finishes. Begin by positioning the toilet, ensuring it is securely bolted to the floor and connected to the waste line. Next, install the sink and countertop, adhering to your plumbing plan and checking for leaks during the connections. Follow this by fitting the shower or bathtub, ensuring proper watertight seals are applied to prevent leaks. Additionally, install cabinetry and mirrors, bringing together the aesthetics of your space. Don’t forget to connect faucets and ensure all fixtures are operational and functioning as intended.
Step 10: Final Inspection and Finishing Touches
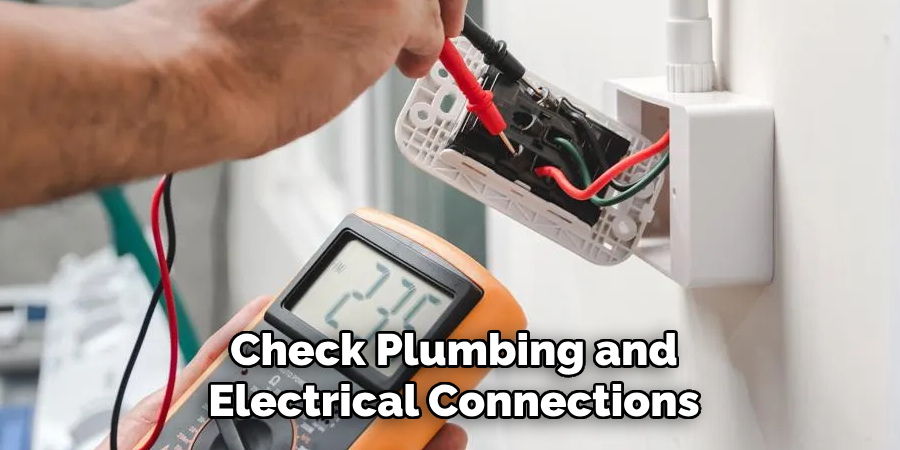
Once all installations are complete, conducting a final inspection of your new bathroom is crucial. Check plumbing and electrical connections for functionality, ensuring no leaks or open wires. Verify that all fixtures are installed correctly and that the bathroom design aligns with your initial vision. After completing the inspection, focus on the finishing touches: paint walls, hang curtains, and accessorize the space to make it feel like home. With careful attention to detail, your bathroom addition on a slab will now be a beautiful and functional space.
By following these steps, you can successfully add a bathroom on a slab foundation. It may seem like a daunting task, but with proper planning and execution, the result will be well worth it.
Conclusion
How to add a bathroom on a slab can be a rewarding project that enhances both the functionality and value of your home.
By meticulously following each step—from planning and plumbing to flooring and fixture installation—you can ensure a successful outcome that meets your design and practical needs. Adhere to local building codes and safety standards throughout the process, leveraging professional help when necessary.
With the right preparation and attention to detail, your newly constructed bathroom will combine comfort and utility, creating an inviting atmosphere for family and guests alike. As you enjoy the fruits of your labor, remember that this is more than just an addition; it’s a new space for relaxation, rejuvenation, and shared moments.

