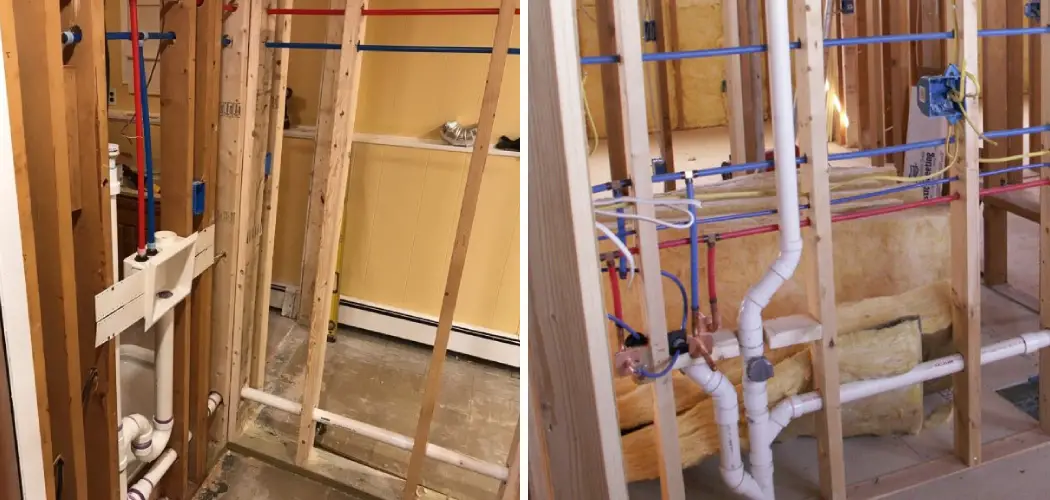
Embarking on a bathroom renovation project requires meticulous planning and attention to detail, with one of the critical phases being the installation of the plumbing rough-in.
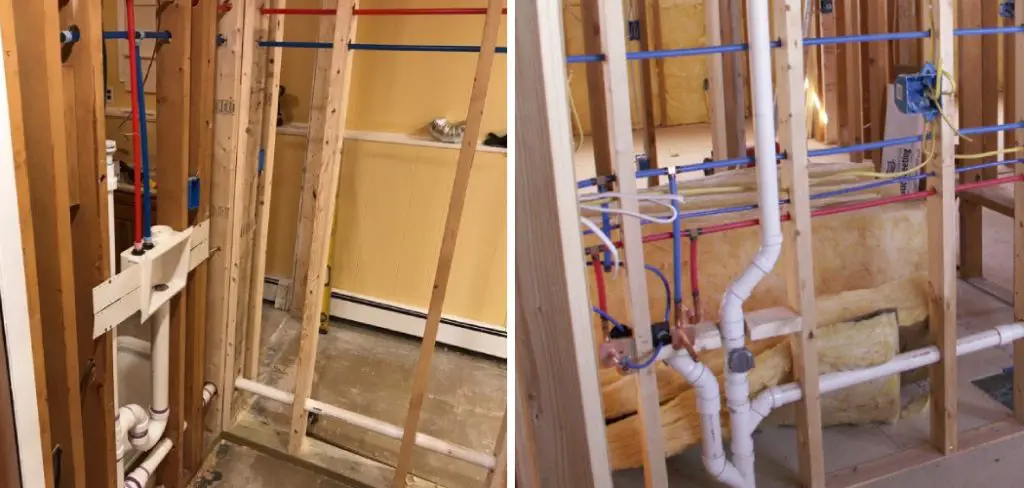
This foundational step lays the groundwork for the entire bathroom plumbing system, influencing the efficiency and functionality of the space. From positioning drains to configuring water supply lines, mastering the art of bathroom plumbing rough-in is essential for ensuring a seamless and problem-free installation process.
This article delves into how to install bathroom plumbing rough in, offering insights into the strategic placement of pipes, fixtures, and vents. Whether you’re a seasoned DIY enthusiast or a homeowner considering a professional remodel, understanding the nuances of bathroom plumbing rough-in is key to creating a space that not only meets your aesthetic preferences but also stands the test of time in terms of durability and optimal performance.
Importance of a Well-Planned Bathroom Plumbing Rough-in
A well-planned bathroom plumbing rough-in is essential for any home, as it serves as the foundation for all future plumbing work in your bathroom. It involves strategically installing pipes and fixtures in a way that ensures proper flow of water and waste to and from your bathroom.
A properly installed rough-in can save you time, money, and headaches down the line. Without a proper rough-in, you may encounter issues with clogged or leaking pipes, improper water pressure, and even potential damage to your home’s structure. In addition, a well-planned rough-in can also increase the overall efficiency and functionality of your bathroom.
Here are some key reasons why investing in a well-planned bathroom plumbing rough-in is crucial:
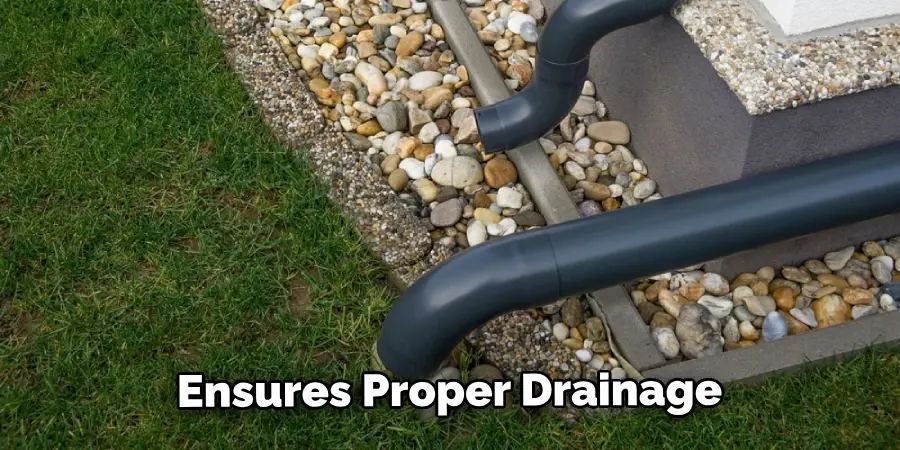
- Ensures Proper Drainage and Ventilation: One of the main purposes of a rough-in is to ensure proper drainage and ventilation in your bathroom. This involves installing the correct size and type of pipes, as well as strategically placing vents to allow for proper air flow. Without these elements in place, you may experience issues with water backup or foul odors in your bathroom.
- Prevents Future Plumbing Problems: By carefully planning and installing your rough-in, you can avoid many potential plumbing issues in the future. This includes preventing clogs, leaks, and costly repairs that may arise due to improper installation.
- Allows for Easy Upgrades and Renovations: A well-planned rough-in also allows for easy upgrades and renovations in the future. If you decide to add a new fixture or change the layout of your bathroom, having a proper rough-in will make the process much smoother and less disruptive to your home.
- Increases Home Value: A well-planned rough-in can also increase the value of your home. Potential buyers will appreciate knowing that the plumbing in their future bathroom is properly installed and functioning efficiently, giving them peace of mind and potentially increasing the value of your home.
10 Methods How to Install Bathroom Plumbing Rough in
1. Measure the Wall Studs
The first step in installing bathroom plumbing rough-in is to measure the wall studs to ensure that the pipes will fit properly. Make sure to measure both the depth and width of the wall studs, as this will help you determine which type of pipe to use for your project. Additionally, be sure to mark where each stud is located so that you can easily locate them when it’s time to start drilling holes in the walls.
2. Cut the Pipes
Once you have measured and marked the wall studs, it’s time to cut the pipes according to your measurements. Be sure to use a hacksaw or other cutting tool specifically designed for cutting metal pipes, as this will help ensure that you get a clean cut without damaging any of the pipes. Additionally, make sure that all of your cuts are straight and so that they will fit together properly when connecting them later on in the process.
3. Connect Pipes Together
Once all of your pipes have been cut, it’s time to connect them together using fittings and couplers. When connecting pipes together, be sure not to overtighten them as this could lead to leaks or other issues down the line. Additionally, make sure that all connections are secure before moving on with the installation process.

4. Install Plumbing Fixtures
Once all of your pipes are connected together, it’s time to install plumbing fixtures such as sinks, toilets, and showers into their respective locations within your bathroom walls. Be sure that all fixtures are securely attached before continuing with the installation process, as any loose connections could lead to leaks or other issues down the line. Additionally, make sure that all fixtures are level so that they function properly once installed into place.
5. Drill Holes for Pipes
After ensuring that all fixtures are securely attached and level in their respective locations within your bathroom walls, it’s time to drill holes for each pipe connection point along with any necessary venting points for drainage systems; when drilling these holes, be sure not to over drill as this could cause damage or weaken existing structures within your walls which could lead to further problems down the line.
6. Install Shutoff Valves
The next step in installing bathroom plumbing rough-in is installing shutoff valves at each connection point, along with any necessary venting points for drainage systems. Shutoff valves allow you to control water flow in case of an emergency or if repairs need to be made at a later date without having shut off the water supply throughout the entire home. Be sure, when installing shutoff valves, to double-check measurements from previous steps so they fit properly into place.
7. Secure Pipes In Place
Once shutoff valves have been installed, it’s time secure pipes in place by running screws through each pipe connection point into wall studs. This will help ensure a more secure connection between the pipe and wall structure while also helping prevent any potential leaking due to movement over time.
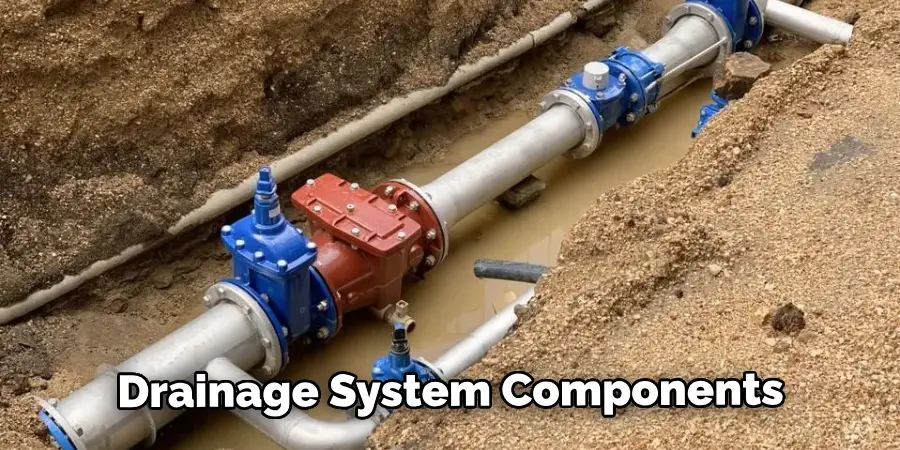
8. Connect Drainage System Components
After securing pipes in place, it’s time to connect drainage system components such as sink traps, vents, drain lines, etc. Make sure double check measurements from previous steps before connecting pieces together so everything fits properly into place. Also, be aware some components may require additional support, such as straps or hangers depending on the size and weight of the piece being installed.
9. Connect Water Supply Lines
Now it’s time to connect water supply lines from the main house line to each fixture location. Before doing this double-check measurements from previous steps again, so everything fits properly into place without having to interfere with other components already installed within walls. Also, remember to turn off the water supply before making any connections just in case something goes wrong during the installation process.
10. Final Inspection & Testing
Finally, after completing the installation process do a final inspection & testing to make sure everything is functioning correctly without having a leak anywhere else system has been set correctly according to safety standards set by local codes & regulations. If anything doesn’t seem right, then go back through the steps above and make the corrections needed until satisfied results meet expectations and the desired outcome has been achieved.
Things to Consider When Installing Bathroom Plumbing Rough In
When it comes to installing bathroom plumbing rough in, there are a few key factors to keep in mind. From planning and preparation to the actual installation process, here are some important things to consider.
1. Layout and Design
Before beginning any bathroom plumbing rough in work, it’s crucial to have a clear layout and design plan in place. This includes determining the location of fixtures such as sinks, toilets, and showers. It’s also important to consider the placement of pipes and drains to ensure optimal functionality and efficiency.
2. Building Codes
Another crucial aspect to keep in mind is adhering to building codes and regulations. Each state or municipality may have different requirements for bathroom plumbing rough in, so it’s important to research and follow these guidelines to ensure a safe and legal installation.
3. Material Selection
Choosing the right materials for your plumbing rough in is also important. Copper, PEX, and PVC are all commonly used materials for water supply lines, while PVC is typically used for drain lines. It’s important to select high-quality materials that will withstand frequent use and potential wear and tear.

Conclusion
Finishing the installation of your bathroom plumbing rough in is an important task to ensure that it meets the building code and local regulations. Taking all the steps outlined and following proper procedure can save you from costly mistakes, as well as headaches down the road. Once you have completed this procedure, you will have the satisfaction of a job well done. Hopefully, this article has shown you how to install bathroom plumbing rough in correctly and efficiently.
But remember, if your position requires more complex tasks or permissions for specialized tools than feel free to hire a certified plumber or contractor to do it for you. After all, when it comes to plumbing installations it’s always better to be safe than sorry! If you’re looking for help installing your own bathroom plumbing rough in then take action now and contact a specialist who can support and guide you through the process.

