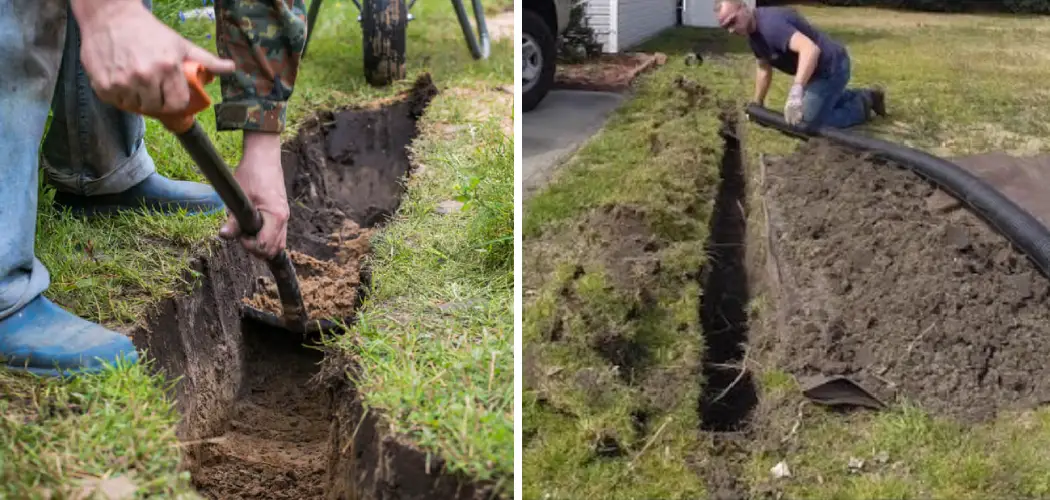
Whether you are putting up a fence, burying utility lines or managing water drainage around your property, one of the first steps is digging a trench. Digging trenches can seem like an intimidating project, but with a few basic tips and tools, you can master the skills necessary to create a safe and effective trench system for whatever purpose you might need.
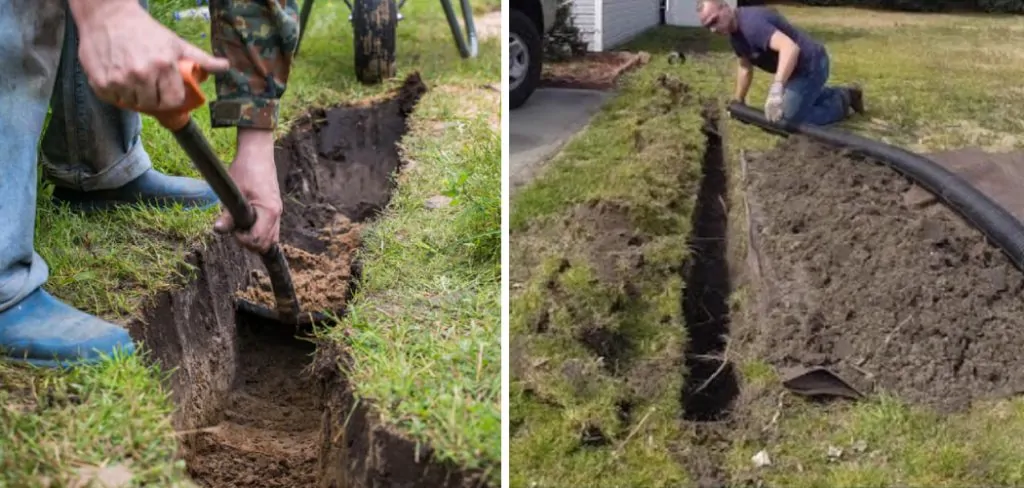
In this blog post on how to dig a trench for drainage, we will explore everything from pre-trench planning considerations to safety standards when working in a trench so that you are best equipped to make this handyman task successful!
Necessary Materials
Given below are the necessary materials you will need in order to dig a trench for drainage.
Shovel
This is the most essential tool for digging a trench. You can also use a long-handled spade or even a small backhoe, depending on the size of the job.
Level
A level is a great tool to have handy when measuring and ensuring your trench is straight and level.
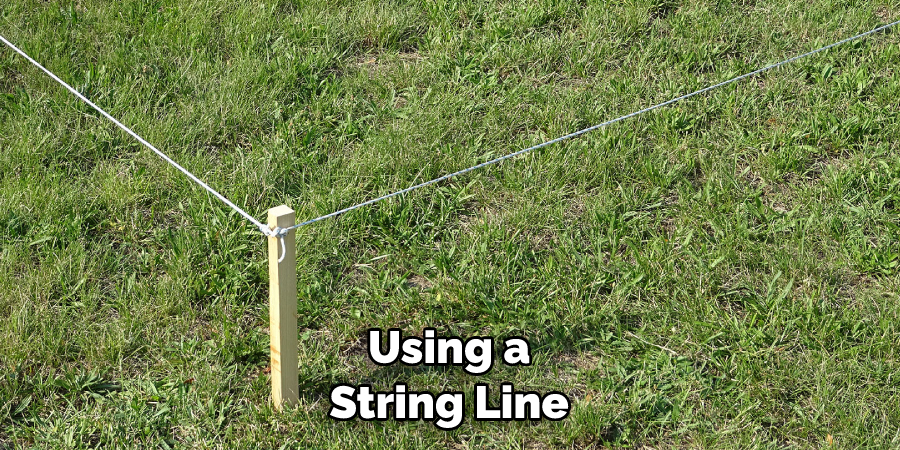
String Line
Using string lines will ensure
11 Step-by-step Guidelines on How to Dig a Trench for Drainage
Step 1: Preparing the Area
Before beginning your trench, you’ll want to make sure the area is prepped and ready to go. Clear any vegetation or debris from the area that will be affected by your trench. This will help with visibility and ease of use when digging. Make sure to mark out where you plan on digging so everything remains organized throughout the process.
Step 2: Measuring and Marking
Once the area is clear, you’ll need to measure and mark where your trench will begin and end. Be sure to double check all measurements before proceeding with the next step. If using a string line, attach one end to each side of the trench and tighten lightly. The string will help keep the edges of your trench straight and level.
Step 3: Digging the Trench
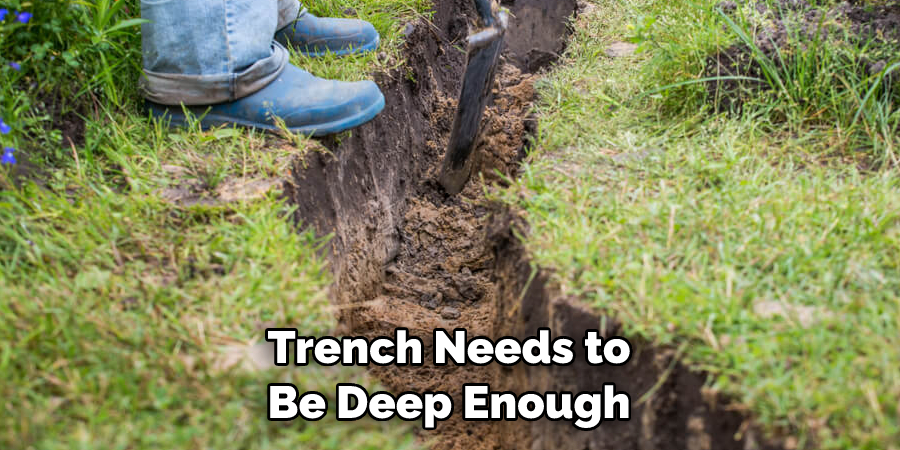
Now that you’ve marked where your trench will be, it’s time to dig! Start by digging a shallow ditch in the marked area using a shovel or other digging tool. As you dig, make sure to remove any vegetation or debris from the bottom of the ditch so that water can properly flow through. It is also important to make sure the sides of the trench are vertical and straight.
Step 4: Checking for Levelness
Using a level, check that your trench is straight and level as you are digging it. This will help prevent any problems later on if the trench is not dug properly. It is also important to check for any underground utilities that could be affected by the trench. But if you’re not sure, it is best to call the local utility company and let them know about your project.
Step 5: Placing a String Line
Using a string line can help you keep your trench as straight and level as possible. Place the string at one end of where your trench will be and have someone hold it in place while you dig from the other end, keeping an eye on the line to ensure it remains straight. It may be helpful to place sticks or other markers along the string line to make it more visible. This will also allow you to double check that the trench remains straight as you are digging.
Step 6: Measuring Depth
Don’t forget that a trench needs to be deep enough for proper drainage. Measure and mark how deep you plan for your trench to go before continuing with the digging process. This will help ensure you dig a trench that is wide enough and deep enough to meet your needs. If you are burying pipes or other materials for your drainage system, make sure to measure and mark the depth of those items as well.
Step 7: Sloping Walls of Trench
Once you have reached your desired depth, you will need to make sure the walls of your trench are sloped at an angle. This will ensure that the water can flow properly down and away from where it needs to go. However, make sure that the walls are not too steep or it can lead to problems with erosion over time. If unsure, consult a professional. It ’s better to be safe than sorry.
Step 8: Filling in Areas Around Trench
As you finish up digging your trench, fill in any areas around it with soil or gravel for stability and so that it looks like part of the terrain. But make sure that the bottom of your trench remains open and free for water to flow through. This is also a good time to check the levelness and depth of your trench again, just to make sure it’s up to code. Otherwise, you may have to redo it.
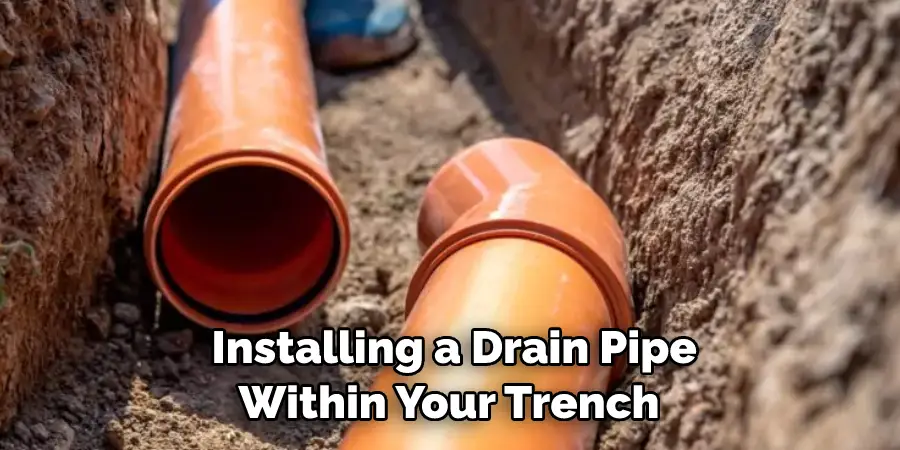
Step 9: Installing a Drain Pipe (Optional)
If you plan on installing a drain pipe within your trench, be sure to take special care as not to damage the pipe while you’re digging. Once installed, cover the pipe with soil or gravel before moving on to Step 10. But make sure that the bottom of your trench remains open and free for water to flow through. Otherwise, it defeats the purpose. This is also a good time to check the levelness and depth of your trench again, just to make sure it’s up to code.
Step 10: Backfilling the Trench
Once your trench is finished, use the extra soil or gravel that you’ve dug up to backfill it. This will help ensure that the trench stays in place and water can properly flow through it without any issues. Always make sure that the bottom of your trench is still open and free for water to flow through, otherwise, you will need to do it all over again. And there you have it! You’ve successfully dug a trench for drainage. Congratulations!
Step 11: Cleaning Up and Leveling Area
The last step in successfully digging a trench for drainage is to make sure the area around your trench looks as neat and level as possible. Use a rake or shovel to spread out soil evenly, so that you have an even surface surrounding your newly dug trench.
It may also be necessary to use a leveler or spirit level to make sure that the ground is as even and level as possible. Always make sure that the bottom of your trench is still open and free for water to flow through, otherwise you may have to redo it. And with that, you’ve completed digging a trench for drainage!
By following these 11 steps on how to dig a trench for drainage, you should now be prepared with necessary materials, tools and knowledge for the job. With patience and caution, your drainage trench should be dug successfully!
Do You Need to Use Professionals?
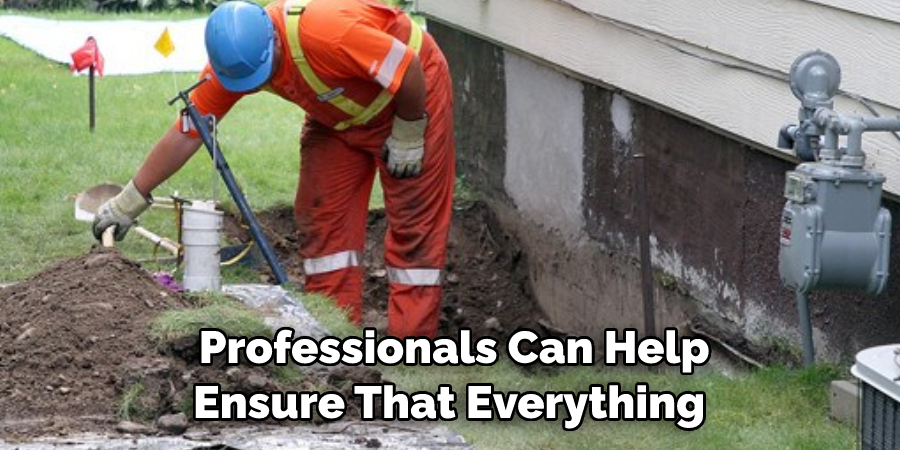
Although it’s possible to dig a trench for drainage on your own, you may need to hire professionals if the job is more extensive than anticipated. Professionals can help ensure that everything is done properly and efficiently, so be sure to consider all of your options before continuing. It’s always better to be safe than sorry!
Frequently Asked Questions
Q: How Deep Should My Trench Be?
A: The depth of the trench will depend on your specific needs and situation. Generally, a drainage trench should be at least 6 inches (15 cm) deep, but may need to go deeper depending on the size of the pipe you plan to install.
Q: What Materials Are Needed for a Drainage Trench?
A: Common materials needed for a drainage trench include shovels or other digging tools, string line, level, soil or gravel for backfilling, and any necessary drain pipes. Make sure you have everything you need before starting the job!
Q: How Can I Ensure That Water Flows Properly Through My Trench?
A: One way to make sure water flows properly through your trench is to make sure the walls are sloped at an angle. This will help ensure that the water can flow down and away from where it needs to go. You may also need to install a drain pipe for further assistance with drainage.
Conclusion
Despite the back-breaking work, digging a trench for drainage can be an incredibly rewarding activity. Not only does it allow you to properly take care of any drainage issues your property may have, but it also grants you the satisfaction of having completed the project all on your own.
Furthermore, with the right tools and techniques, anyone can successfully and safely tackle trench digging. Whether it’s a shallow pipe to control spa overflow or a deeper upgrade of an entire lawn system, by following this guide’s step-by-step instructions on how to dig a trench for drainage and safety guidelines, you are sure to have perfect results in no time.
So grab those shovels and get to work – before long you’ll have a beautiful landscape already envisioned come to life!

