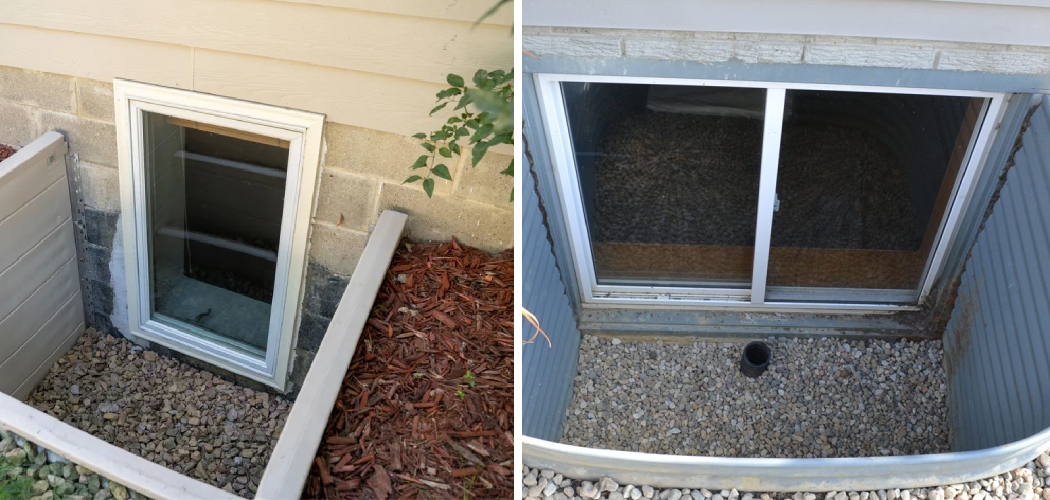
Are you looking for a way to maximize your outdoor living and entertaining space? Installing an egress window well can be the perfect solution for adding both additional light and a usable outdoor area to your home. By creating a space beneath the ground level, an egress window well provides better drainage and ventilation while also giving homeowners something to landscape around.
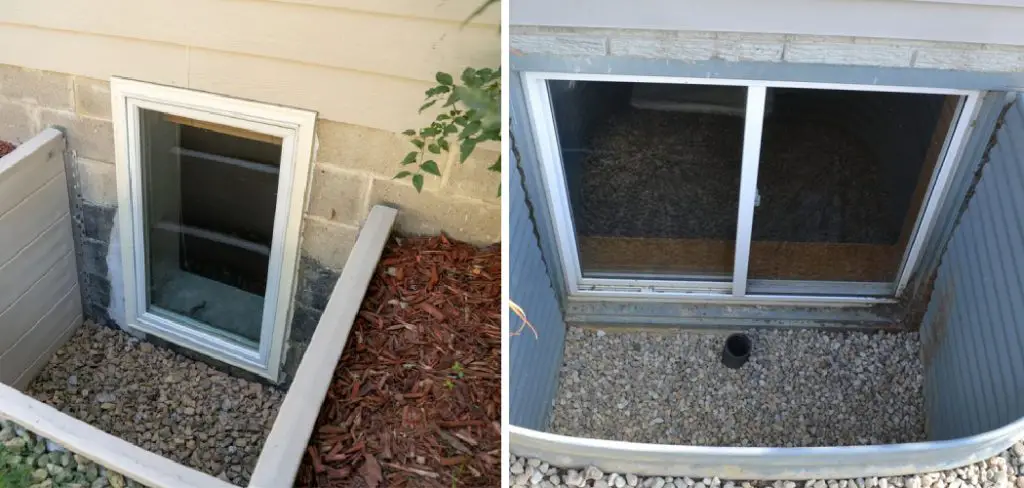
But before you begin installing an egress window well, it’s important that you learn how to properly drain it so that water doesn’t cause possible damage or flooding issues. In this blog post, we’ll provide guidance on how to drain egress window well is draining correctly every time!
What is Egress Window?
Egress windows are windows that provide an escape route in the event of a fire or emergency, as well as being large enough to allow a person to crawl through. They are typically installed at basement levels and can be made from any material, but must meet specific size requirements. This is especially important in areas where flooding can be a problem.
Why is It Important to Drain an Egress Window Well?
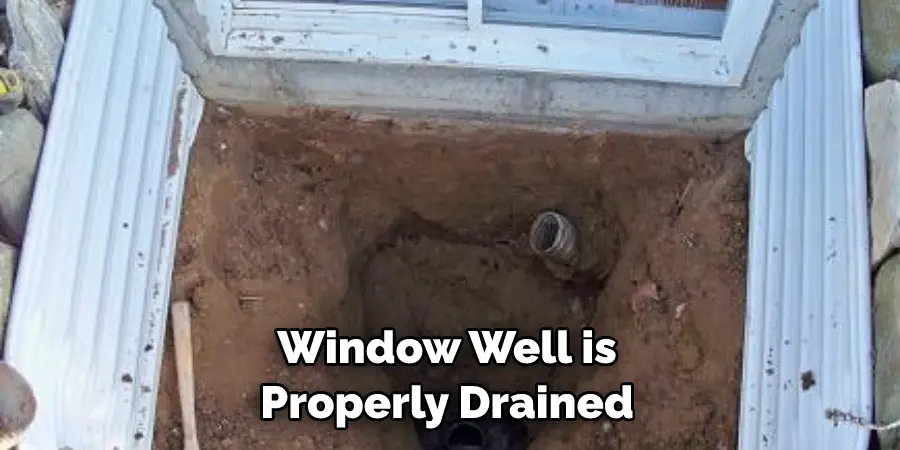
The main reason for draining an egress window well is to prevent flooding and water damage. Without proper drainage, the window well can fill up with rainwater or melting snow, which can cause water intrusion into your basement. If the basement has furniture or other items stored in it, this could lead to costly repairs. As such, it is important to ensure that the window well is properly drained before installation.
Step-by-step Guidelines on How to Drain Egress Window Well
Step 1: Choose the Right Location
Select a spot that is away from downspouts and has an adequate slope to ensure water can easily flow away from the window well. Make sure there is no standing water or signs of flooding in the area. Otherwise, you should be good to go. If the location you have chosen is not suitable, try to plan another spot that will work better. This may involve digging or leveling the area.
Step 2: Digging Up the Soil
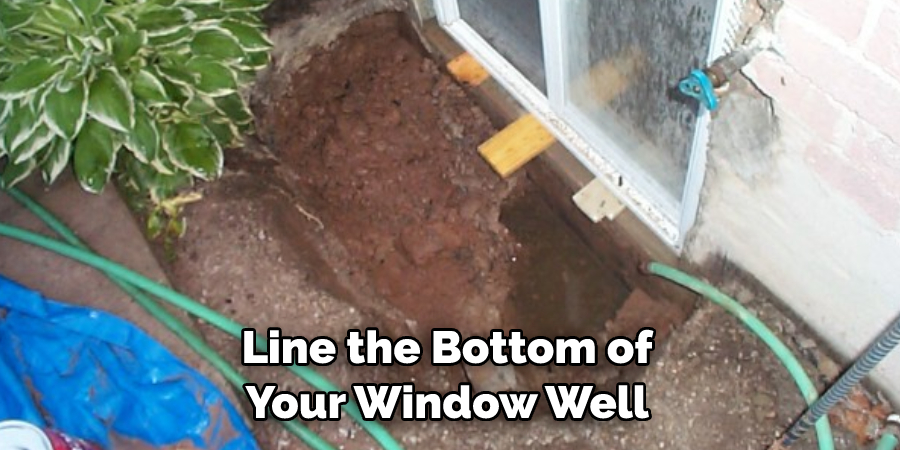
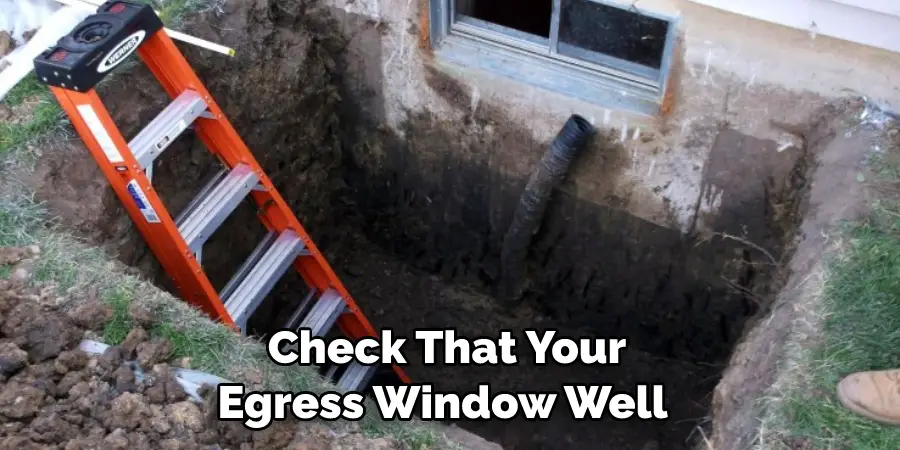
Using a shovel, remove about six to eight inches of soil around the perimeter of the window well and from underneath it. It might be necessary to dig even deeper if the ground is sloped or uneven. Make sure your excavation area is wide enough and deep enough for the drainage pipe to fit. If not, you may need to rent an excavator or other machinery for the job. This is an important step as it will ensure that your window well drains correctly.
Step 3: Lining the Window Well
Once you have removed enough soil, line the bottom of your window well with gravel so that it will provide adequate drainage for any incoming rainwater or melting snow. To ensure that the drainage is working properly, gently tap down on the gravel with a rubber mallet until it’s even and securely packed into place. It should be level with the ground. If the gravel is too coarse, you can use a finer material such as sand.
Step 4: Installing an Egress Window Well Cover
Place an egress window well cover over the window well opening to keep debris out and allow for maximum water drainage. It is important to choose a cover that will be able to withstand weather changes and the weight of any possible snowfall. If the cover is too light or flimsy, it could easily be damaged by snow or harsh weather conditions. This will prevent the drainage from working properly.
Step 5: Checking the Slope
Check that there is a sufficient slope so that the water can easily flow away from the window well. If necessary, use extra soil or gravel to create a gradual downward slope leading away from the window well. It should not be steeper than 1:4, or one foot of drop over four feet in length. If the slope is too shallow, then the water won’t be able to flow away fast enough and could cause flooding.
Step 6: Installing a PVC Pipe
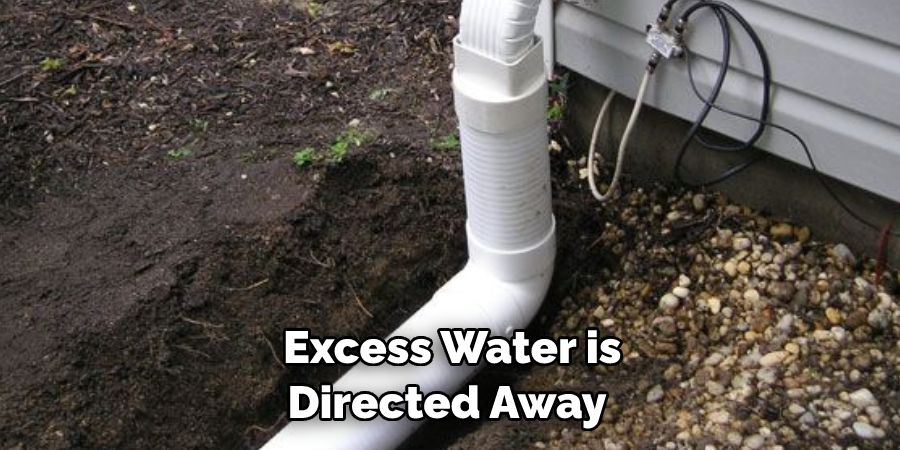
To ensure that all of the excess water is directed away from your home’s foundation, install a two-inch diameter perforated PVC pipe along the length of the downhill side of your window well. Make sure that the pipe has plenty of holes so that it can efficiently drain any excess water. It should also be secured in place with a gravel anchor to keep it from moving or becoming clogged.
Step 7: Covering the Pipe
Cover the perforated PVC pipe with gravel to help keep it from getting clogged up and preventing proper drainage. This will also help to keep any larger debris out of the pipe. This step is important as it will help to keep the pipe working properly for a long time. It will also help to protect your home’s foundation. If you want to go the extra mile, cover the gravel with landscaping fabric.
Step 8: Checking for Leaks
Check for any leaks or signs of water seepage around the window well before filling in the remaining soil. If you detect any, make sure to fill them in immediately. It’s important to make sure that the drainage is working properly before you finish the project. If not, you may need to start over again. This will help keep your home’s foundation safe from any water damage. It will also help to prevent any flooding or other water-related damage.
Step 9: Filling in Soil
Fill the area around the window well with the soil until it is level with your yard’s existing ground level. Make sure that any excess water can easily drain away from your home’s foundation by creating a slight downward slope leading away from the egress window well. The total depth should be about 18 inches. Before you finish, make sure to cover the soil with landscaping fabric to help keep debris out.
Step 10: Installing a Grate
Install a grate over the egress window well opening to keep out debris and animals while maintaining optimal drainage in the area. It should be made of durable material that can withstand changing weather conditions and any possible snowfall.
Make sure to choose a grate large enough to cover the entire opening and allow for maximum water drainage. If necessary, use screws to secure the grate in place. But remember to check the instructions on the product before installing it.
Step 11: Checking for Proper Drainage
Once everything is in place, check that your egress window well is draining correctly every time! If necessary, adjust the gravel or PVC pipe to ensure proper drainage. Always check regularly to make sure that everything is in working order and that your egress window well is properly draining.
Following these steps on how to drain egress window well will help you properly drain an egress window well and avoid any problems due to flooding. If you have any questions or concerns about this process, contact your local professionals for assistance.
Do You Need to Hire a Professional?
If you are not confident in your ability to properly drain an egress window well, it is best to hire a professional. They will be able to provide you with the expertise and knowledge required for a successful installation. Professional contractors or handymen should also be consulted if you are having trouble understanding any part of the process or require more complex construction solutions.
Frequently Asked Questions
Q: What Size PVC Pipe Should I Use?
A: Two-inch diameter perforated PVC pipes are recommended for optimal drainage.
Q: How Deep Should the Window Be?
A: The total depth of the window well should be about 18 inches. This will help ensure that there is enough gravel and soil for adequate drainage.
Q: What Are Some Signs That My Egress Window Well Needs to Be Drained?
A: Signs that your egress window well needs to be drained include flooding, standing water in the area, or water seepage around the foundation. If you notice any of these signs, make sure to drain your egress window well right away!
Q: How Often Should I Check My Egress Window Well?
A: Make sure to inspect and check your egress window well at least once a year for proper drainage. Additionally, you should check it after any major storms or signs of flooding in the area.
Conclusion
Draining your egress window well is a simple task that comes with a lot of potential benefits. It can help prevent water damage, keep pests and debris from entering your home, and reduce safety hazards outside. The entire process should only take a few hours depending on the size of the well and the number of drains. Take the time to invest in this project and enjoy the peace of mind of knowing that you’ve taken steps to protect your home.
Just make sure to use caution when handling tools and wearing safety equipment while draining your window well. Taking care now could save you money down the road by preventing costly repairs. Keep these tips in mind on how to drain egress window well and have patience while completing this job—you’ll be glad you did!

