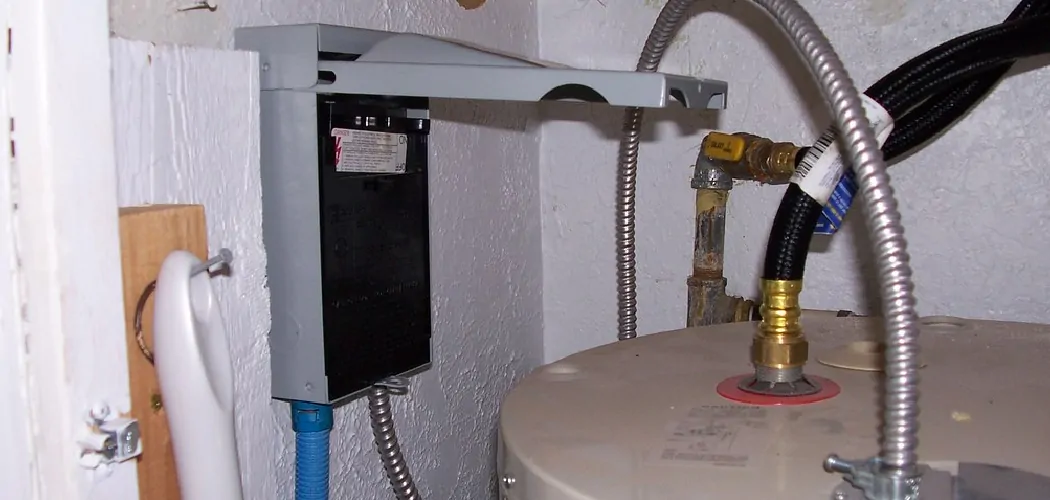
Are you looking for a way to save money on your energy bills? Disconnecting your water heater can be an easy, cost-effective way to do so. This blog post will show you how to disconnect a water heater for the most efficient savings.
With a few tools and supplies, it should take no time at all! From determining if the hot or cold water feed lines need to be disconnected first to understanding why proper disposal is important – by the end of this blog post, you’ll have all of the knowledge needed to disconnect your water heater flawlessly. So let’s get started!
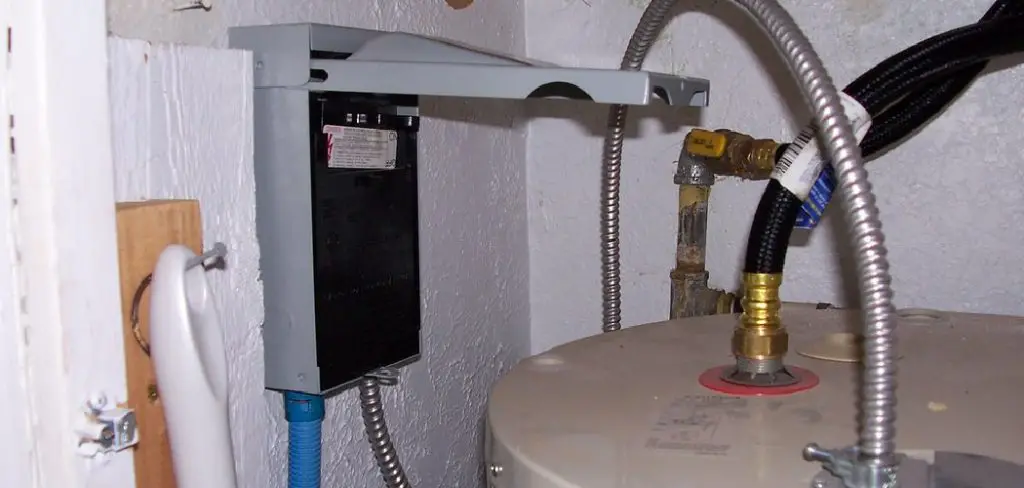
Tools and Supplies You Will Need to Disconnect a Water Heater
- Adjustable wrench
- Plumbers’ tape
- Safety goggles and gloves
- A container to catch any water remaining in the lines (optional)
- Appropriate container for proper disposal of loose material (optional)
Step-by-Step Guidelines on How to Disconnect a Water Heater
Step 1. Shut Off the Power Supply
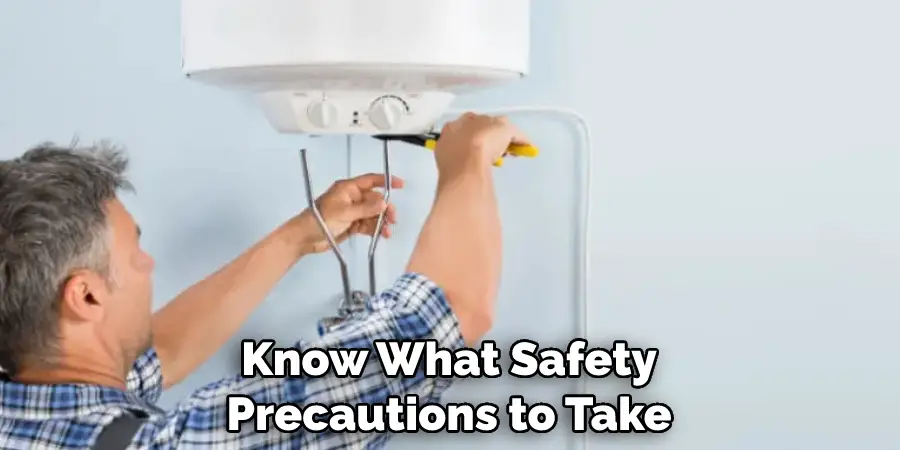
Safety is of utmost importance when disconnecting a water heater. The first step is to shut off the power supply by flipping the breaker switch at your home’s electrical box or turning off the gas valve if you have a gas-powered water heater. Don’t start any disconnection process until you are sure that the power to the water heater is off.
Step 2. Drain the Tank
The next step is to open the drain valve at the bottom of the water tank and allow the hot water to drain. It may take up to 30 minutes before all the water drains from the tank. Make sure to use a bucket or container to catch the water as it drains from the tank if you don’t have an outdoor drain. Otherwise, you may want to place a drain pan under the tank.
Step 3. Remove All Connections
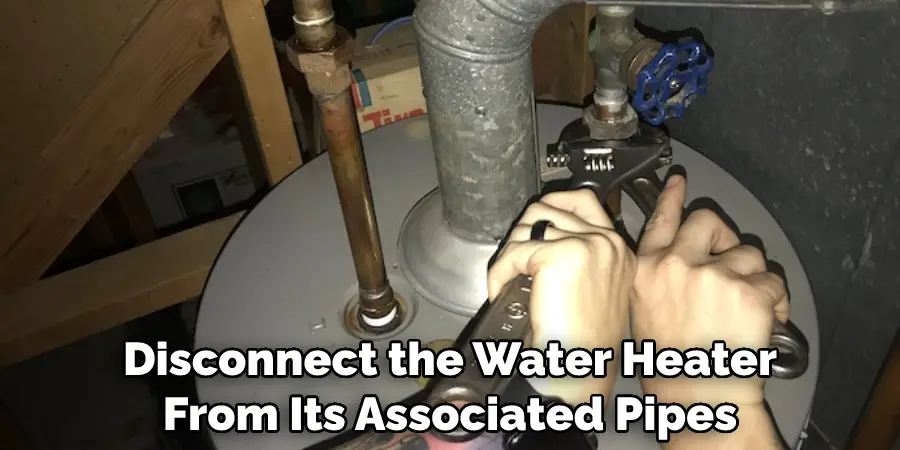
Once all of the water has been drained, use a wrench or pliers to disconnect the water heater from its associated pipes. This includes any flexible connectors, water lines, gas supply tubes, and thermostat wiring. Ensure you have all the proper fittings needed to reattach these pieces when installing a new water heater.
Step 4. Remove Water Heater
Finally, move the old water heater away from its current location. You may need another person to help you, as many water heaters can be quite heavy and awkward to lift. Once the old unit has been taken out of your home, it’s time to install a new one!
The process of disconnecting a water heater is an easy job that most homeowners can do themselves. However, if you are uncomfortable with any of the steps described, it is always best to call a professional for help. With these guidelines in mind, you can easily replace and install a new water heater in your home.
Tips and Tricks to Disconnect a Water Heater
1. Ensure you have all the necessary safety equipment before disconnecting a water heater. This includes safety goggles, gloves, and any other appropriate protective gear.
2. Turn off the electricity or gas that powers your water heater before beginning the process of disconnecting it. You should also turn off the shutoff valves on either side of the heater.
3. To ensure proper draining, place a bucket beneath the water heater to catch any excess water that may be left in the system when you disconnect it. If a bucket is not available, open the drain valves at both ends of the water heater and allow it to drain into a sink or tub.
4. Next, disconnect all hoses and pipes that are connected to the water heater by using a wrench to loosen the nuts on either side of each fitting. If any of these become stuck, you may need to use WD-40 or lubrication spray to loosen them further.
5. Once all of the hoses and pipes are disconnected, gently lift the water heater off its base or mountings and carefully move it away from the wall.
6. Clean up any mess that has been left behind and store the now-disconnected water heater in a safe place until you’re ready to install the new system. Make sure to keep all of your safety equipment nearby and in good working order.
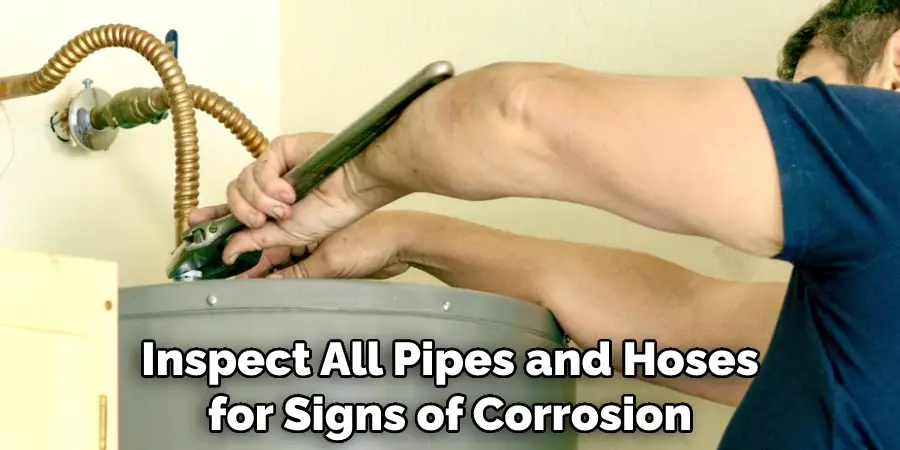
7. Finally, clean the area around the water heater and properly dispose of any parts or materials that have been removed. Additionally, inspect all pipes and hoses for signs of corrosion or damage before connecting them to a new water heater system.
By following these steps, you can safely and efficiently disconnect your old water heater, ready to switch it out for a new one. Good luck!
Things You Need to Consider for Disconnecting a Water Heater
1. Shut Off the Power or Gas Supply to the Water Heater:
Before beginning the disconnect process, you should make sure to shut off the gas or electric power supply to the water heater. This will ensure that no unexpected fires can start while you are working on it.
2. Drain the Tank:
Once you have turned off the power and gas supply, it’s time to drain the hot water tank. Disconnect the cold water supply line from the bottom of the tank and turn on a nearby hot water faucet to let out any remaining pressure in the system. Place a bucket underneath the outlet pipe at the bottom of the tank, then open a valve or disconnect a connecting hose to drain all the water.
3. Disconnect the Fittings:
Now that the tank is drained, you can disconnect all the fittings and hoses. Make sure to keep track of which lines go where so that you can properly reconnect them later. It’s also a good idea to have a bucket handy in case any water starts leaking out.
4. Disconnect the Hot and Cold Water Lines:
Once all of the fittings are disconnected, you can start disconnecting the hot and cold water lines from their corresponding connections. Ensure all valves are shut off before doing so to prevent any unexpected leaks or flooding in your home.
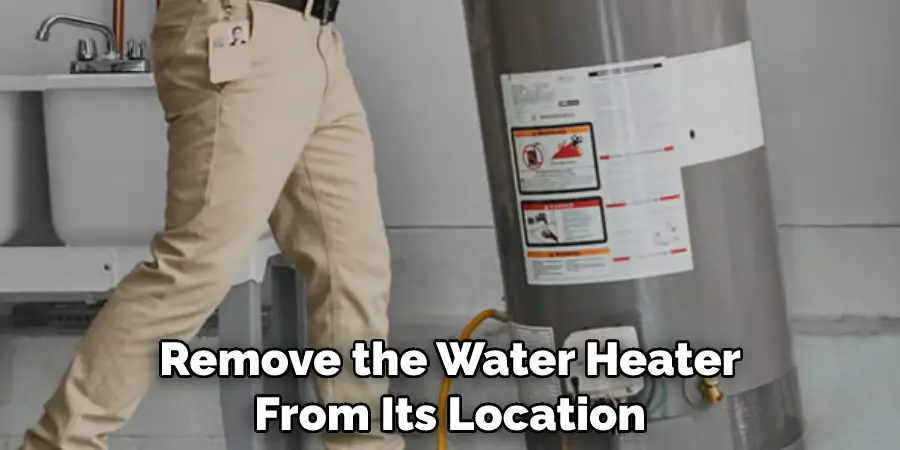
5. Remove the Water Heater:
Once you have disconnected all of the necessary lines, you can finally remove the water heater from its location. Depending on the size and weight of your unit, you may need someone to help you carry it out of your home. When handling it, be sure to use proper safety equipment, such as gloves and safety glasses.
With these Considerations in mind, you can be sure that the disconnection of your water heater is done safely and successfully. Consult your local plumbing professional for more information on properly disconnecting a water heater. They can provide further guidance on the proper steps and precautions to take during this process. Good luck!
Precautions You Need to Follow for Disconnecting a Water Heater
1. Turn off the power supply before attempting to disconnect the water heater. Check both the breaker switch and gas shutoff valves (if applicable) to be sure that no electricity or gas is coming into the water heater.
2. Shut off the water flow to the water heater by closing any shutoff valve connected to it and the main water shutoff valve.
3. Ensure you have appropriate drainage for any remaining water in the tank by placing a bucket or drain pan below it. This will prevent any flooding when the heater is disconnected.
4. Disconnect the cold water line, followed by the hot water line, connecting them to a bucket or drain pan.
5. Unscrew and remove the anode rod located at the top of the tank with a wrench, if applicable. This is used to protect against corrosion in the tank.
6. Carefully lift out the water heater from its enclosure, making sure not to damage any surrounding walls or fixtures as you do so.
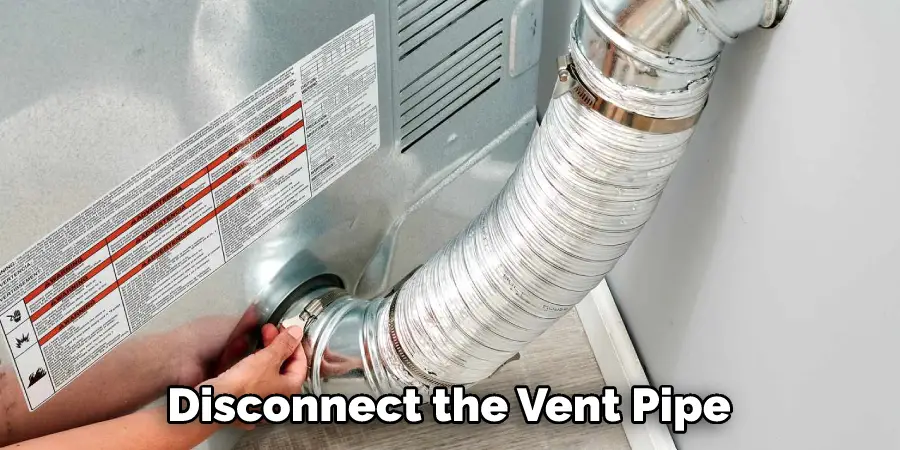
7. Disconnect the vent pipe connected to the top of the tank, taking care not to damage it as you remove it.
8. Once disconnected, take all water heater parts to a designated disposal site or contact your local utility company for proper disposal instructions.
Following these precautions when disconnecting a water heater will help ensure the safety of yourself and your home. It is important to take all necessary precautions and to follow local regulations when disposing of the tank. Always remember that qualified professionals should only do any kind of repairs or maintenance.
Frequently Asked Questions
What Are Some Safety Tips for Disconnecting a Water Heater?
When working with any water heater, safety is of the utmost importance. Be sure to wear appropriate protective gear, such as goggles and gloves, and be sure never to work with a unit that is operating. Also, make sure you read the instructions that come with your water heater and follow them carefully. Additionally, if you are unfamiliar with or uncomfortable with disconnecting a water heater, it’s best to call a professional for help.
Doing so will ensure that your unit is safely disconnected, and you’ll avoid any potential hazards.
Can I Disconnect a Water Heater Myself?
Disc disconnecting a water heater is not difficult if you are familiar with the process and know what safety precautions to take. If you are unsure how to disconnect your water heater safely, it’s best to call a professional. They will be able to help you with the process and ensure that the job is done correctly, safely, and up to code.
Do I Need a Permit to Disconnect a Water Heater?
In most cases, disconnecting a water heater does not require any special permits or licenses. However, if you are doing the job yourself, it’s best to check with your local building codes first to ensure that you do not need a permit.
Who Should I Contact If I Need Help Disconnecting My Water Heater?
If you are unfamiliar with or uncomfortable with disconnecting a water heater, it’s best to call a professional for help. Your local plumber or heating contractor will be able to provide you with the necessary assistance and make sure that your unit is safely disconnected and up to code.
Can I Disconnect My Water Heater During Cold Weather?
It’s generally not recommended to disconnect a water heater during cold weather. Cold temperatures can cause the pipes and other unit components to freeze, making it difficult or impossible to work on safely. Additionally, when working in cold temperatures, you should be sure to wear extra layers of clothing for protection against the cold.
It’s best to wait until warmer weather to disconnect a water heater for safety and efficiency.
What Type of Pipes Do I Need to Disconnect My Water Heater?
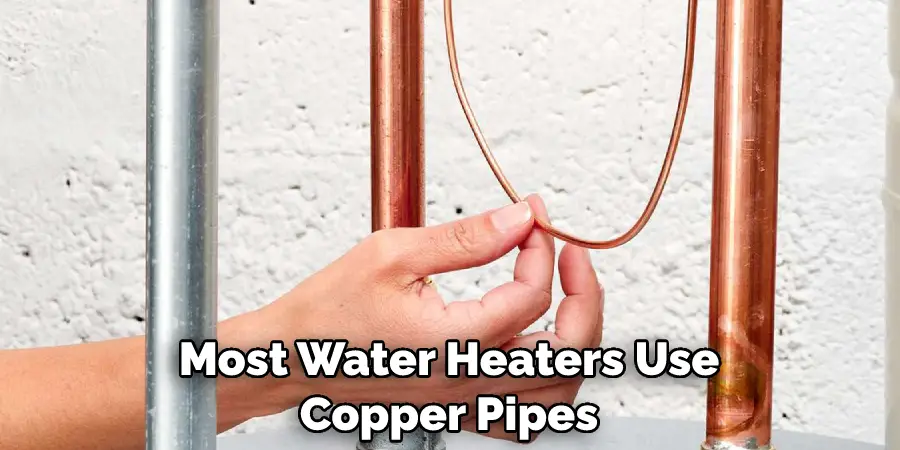
Most water heaters use copper, galvanized steel, or plastic pipes. Depending on your unit type, you may need to disconnect one or more types of pipes during the process. Be sure to read the instructions that come with your water heater and follow them carefully. If you are uncertain about what type of pipes to use for the job, it’s best to call in a professional for help.
They will be able to help you identify the correct pipes for your unit and provide any necessary assistance.
How Should I Dispose of an Old Water Heater Tank?
If you are replacing your old water heater tank, it’s important to dispose of it responsibly. In general, most municipalities have hazardous waste or recycling centers where you can bring the tank for safe disposal. Additionally, some utility companies may be able to collect the tank for a small fee. Be sure to check with your local authorities before disposing of the tank.
Conclusion
Disconnecting a hot water heater from the water and power sources correctly is essential for your home’s and yourself’s safety. Every home should consider doing this simple task on a regular basis in order to ensure that their family is kept safe. The fact of the matter is, disconnecting a hot water heater isn’t as difficult as it sounds. Taking just a few extra steps to follow an appropriate disconnecting guide can save you time, money, and peace of mind during the process.
Whether you’re an experienced homeowner or are attempting this DIY task for the first time, do your research, be informed about your chosen equipment, and always work safely to ensure success. If done properly and with caution, how to disconnect a water heater won’t be such a scary or overwhelming task – it might even end up being fun!
You Can Check It Out To Disconnect Sprayer Hose from Delta Faucet

