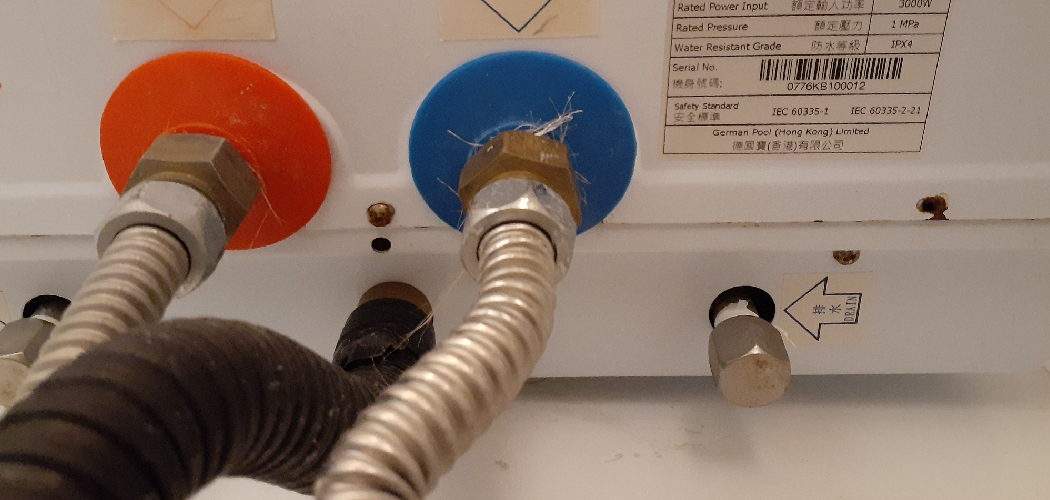
Do you hear gurgling noises in your home? Have you noticed slow draining water near appliances and fixtures in your house? If so, the problem may lie with a clogged water heater drain. But don’t worry – unclogging a water heater drain doesn’t have to be intimidating or costly. With just some tools and knowledge, any homeowner can quickly clear out the line to restore their home’s plumbing system back to working condition.
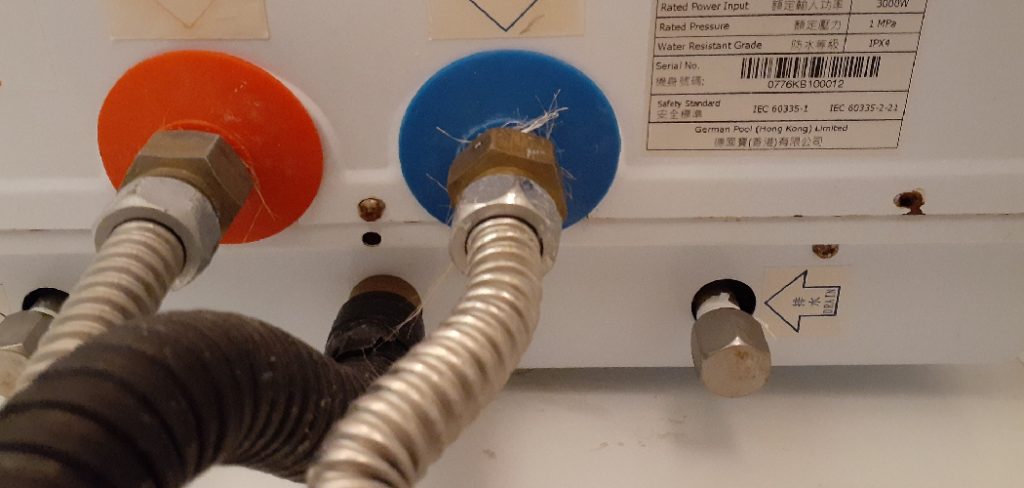
Fortunately, solving this problem may be much easier than you think. Clogged drains can be a real nuisance, and they can often cause damage to pipes if left unchecked. Whether it’s due to sediment buildup or an unexpected blockage in the line, a clogged drain must be fixed quickly.
In this blog post, we’ll walk through how to unclog water heater drain so that you can get back on track in no time.
What are the Reasons for a Clogged Water Heater Drain?
There are several reasons why your water heater’s drain line may become clogged. The most common culprit is sediment buildup that accumulates in the tank over time. Hard water minerals, such as calcium and magnesium, will combine with other debris to create a thick sludge that prevents water from draining freely.
Another possible cause of a clogged water heater drain is an obstruction in the line, such as a piece of debris or even a toy that has fallen into the tank.
What Will You Need?
Before you attempt to unclog your water heater drain, there are a few tools and supplies that you’ll need. These tools include:
- Garden hose
- Bucket or container for collecting water
- Pliers or channel lock pliers
- Adjustable wrench
- Brush or wire brush (optional)
- Gloves (for protection)
Now that you have gathered the necessary supplies, it’s time to start with how to unclog the water heater drain. Follow these steps carefully in order to avoid any additional damage to your appliance or pipes.
10 Easy Steps on How to Unclog Water Heater Drain
1. Turn Off the Power and Cold Water Supply:
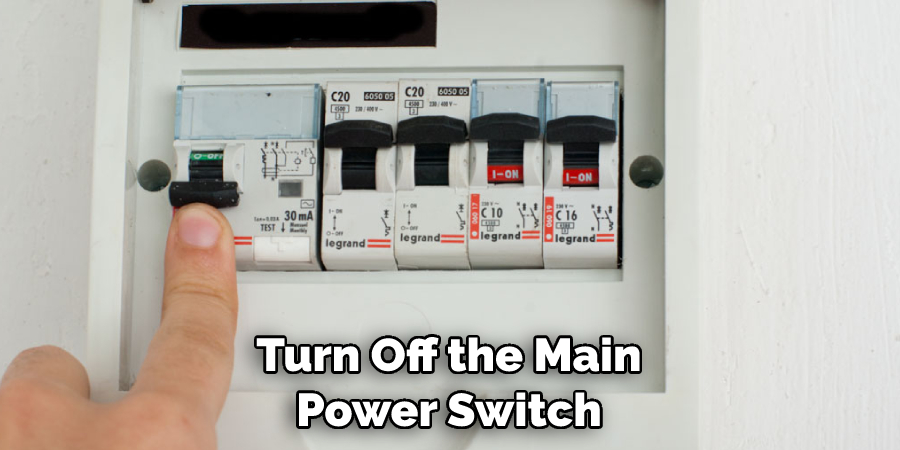
Before you begin, it’s important to turn off the power and cold water supply to your water heater. This will protect you from electrical shock while also preventing any additional water from entering the tank. Make sure to turn off both the main power switch and the water valve.
2. Remove Old Drain Valve:
Use a wrench or pliers to remove the existing drain valve from the tank. You may need to use some force in order to loosen it up, but be careful not to break the plastic parts of the valve as you do so. It’s also a good idea to place a bucket or container underneath the valve in order to catch any water that may drip out when it is removed.
3. Insert Garden Hose into Tank:
Attach your garden hose securely to the inlet port on the side of your water heater tank. Ensure that there are no air gaps or leaks in this connection, otherwise, you won’t be able to get the full force of water needed to clear out the obstruction. Additionally, be sure to open the other end of the hose outside to avoid flooding within your home.
4. Open the Drain Valve:
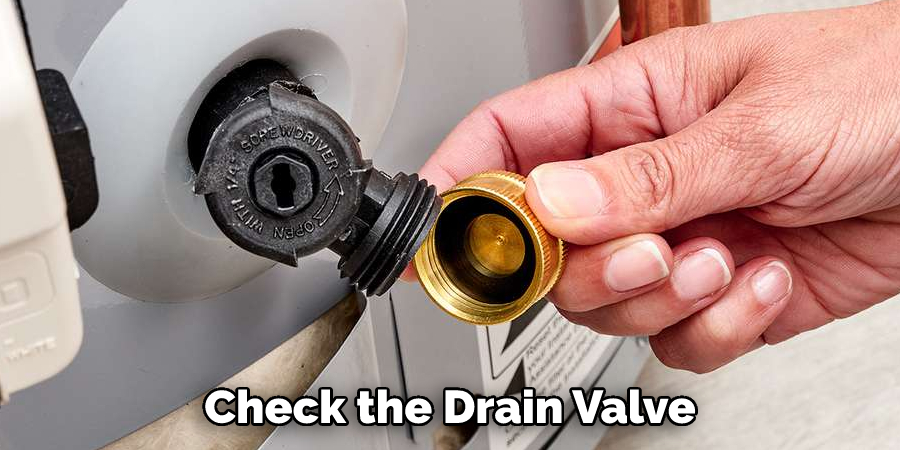
Once the garden hose is securely attached, open up the drain valve on your water heater. This will allow the water to begin flowing out of the tank and through your connected hose. If you see any sediment, debris, or blockage coming out with the water, you’ll know that this is unclogged water heater drain.
5. Turn on Water Supply:
Turn on the cold water supply in order to increase pressure within the tank and further help push out any clogs or blockages that may be present. Keep an eye on how much water is coming from the garden hose and adjust accordingly until you see a steady stream of clear, unclogged water exiting it. Ensure that the tank valve is open fully, otherwise, you may not be able to achieve the desired pressure.
6. Let Tank Drain:
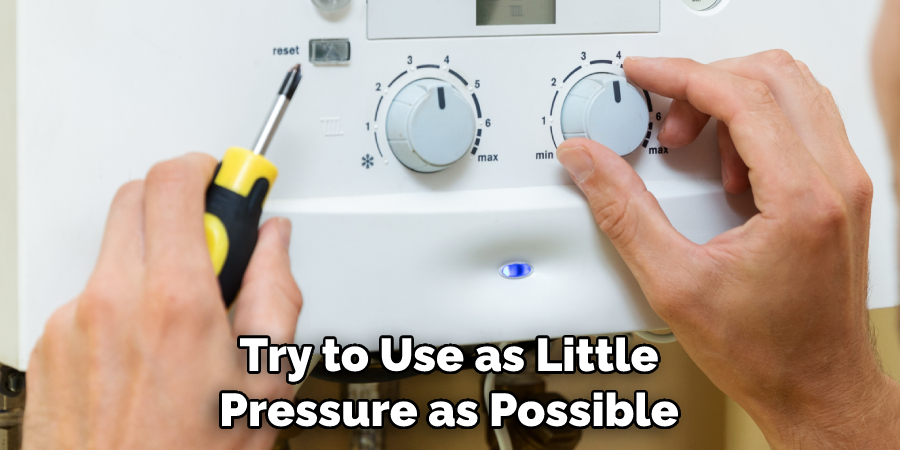
Allow your tank to continue draining for at least 10 minutes or until all sediment has been removed from inside it. You may need to periodically adjust the pressure on the cold water supply depending on how much debris is present. Try to use as little pressure as possible in order to avoid damaging the tank or pipes.
7. Remove Garden Hose:
Once you are satisfied that all debris and sediment have been removed, turn off the cold water supply and remove the garden hose from your water heater tank. Make sure to store the hose for future use properly. Don’t forget also to turn off the main power switch.
8. Replace Drain Valve:
Re-attach the drain valve to your water heater tank before turning back on the power and cold water supplies to reinitialize it. Be sure to tighten this connection firmly, as any loose parts may cause further damage or leak down the line. If you have a P-trap, make sure to re-attach it as well.
9. Clean Around Tank:
Take a few moments to clean up your water heater tank to ensure all debris is removed from the area. This will help prevent any future clogs or blockages from occurring. If necessary, you can use a vacuum cleaner or wet/dry shop vac.
10. Test Re-Activation:
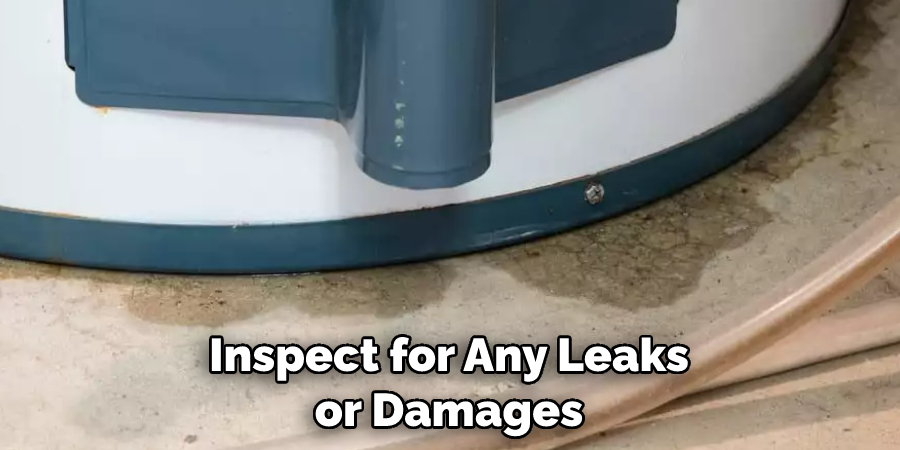
Finally, turn on the power and cold water supply in order to test how well your water heater is running. Depending on how much sediment was present, you may need to wait a few minutes for it to heat up before turning on the hot water tap and testing its operation. Remember to also inspect for any leaks or damages that may have occurred during the unclogging process.
Following these simple steps should help you unclog your water heater drain easily and quickly! But if you experience any difficulty while attempting this repair, it’s best to contact a professional plumber or technician to ensure everything is working correctly.
5 Additional Tips and Tricks
1. If you’re having difficulty unclogging your water heater drain, try removing the anode rod and checking for any debris. The anode rod can become clogged with debris over time, making it difficult to open up the flow of water.
2. Make sure you have a long enough pipe wrench or adjustable wrench that can fit around the drain valve on the hot water heater. This will make it easier to unscrew the drain valve and gain access to the clog.
3. To help remove mineral deposits in the tank that could be causing blockages, use a solution of white vinegar and warm water (50/50 mix) and pour it down the drain tube while flushing out old hot water from your tank.
4. After unclogging the water heater drain, replace any broken or damaged parts with new ones to ensure that your water heater is running smoothly and safely.
5. Finally, remember to flush out the hot water tank regularly (every six months or so) in order to prevent future clogs from forming. Doing this will also help maintain a healthy and efficient water heater system for years to come.
By following these tips and tricks, you should be able to quickly and easily unclog your hot water heater drain without having any major plumbing problems!
5 Things You Should Avoid
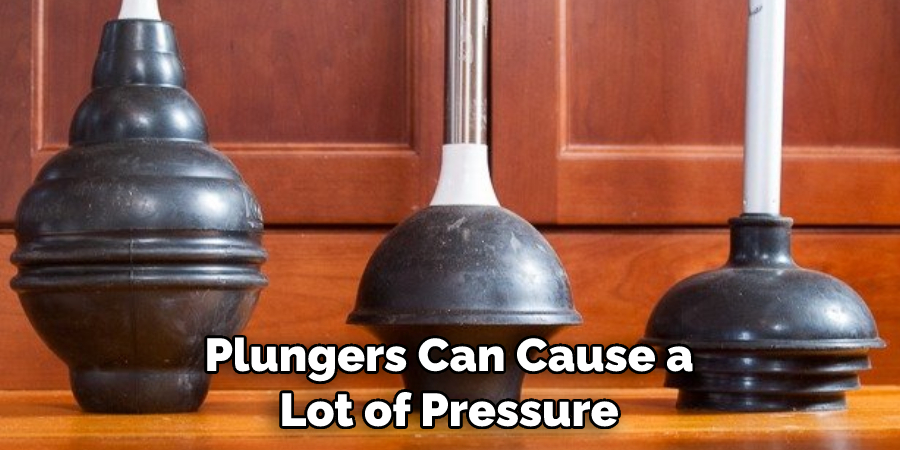
1. Avoid using a plunger. Plungers can cause a lot of pressure, which might be too much for the water heater to handle.
2. Don’t use chemical drain cleaners, as they can damage your water heater and leave hazardous residue in it.
3. Never pour boiling water into the sink or down the drain – this can expand clogs and make them worse.
4. Don’t use harsh abrasive tools like steel wool to break up clogs; these can damage your pipes and reduce lifespan.
5. Avoid trying to fix it yourself if you don’t have experience working with plumbing tasks – call in a professional plumber instead!
Avoiding these five tips will help you unclog your water heater drain quickly and safely. If the clog persists, calling a professional plumber for help is best. They have the right tools and expertise to get the job done without causing any damage. It is always best to leave this kind of work in their hands.
5 Precautions You Can Take to Avoid Clogs
1. Regularly Flush Out Your Water Heater: Flushing out your water heater every few months or so can help to remove sediment that may be collecting in the tank. Doing this will also keep it running more efficiently and help avoid any potential clogs.
2. Install a Water Softener System: Installing a water softening system in your home can reduce the number of minerals and other particles in your hot water, which could cause clogs if left untreated.
3. Regularly Check Drain Valves for Debris: Check the drain valve on your hot water heater regularly to ensure there is no debris present that could lead to blockage later on.
4. Look Out for Warning Signs: Watch out for changes in how your hot water flows, a decrease in pressure, or strange noises coming from your water heater, as these could all be signs of a potential clog.
5. Inspect the Anode Rod Regularly: The anode rod in your hot water heater can become clogged with debris over time, so it’s important to check this periodically and remove any build up that may be present.
Following these precautions will help you avoid costly repairs down the line and ensure that your hot water heater is running efficiently for years to come.
What are the Signs of a Clogged Water Heater?
1. Little or No Hot Water: If you aren’t getting any hot water at all, it could be due to a clog in your hot water heater.
2. Low Pressure or Weak Flow: A drop in pressure or a decrease in how quickly the hot water flows out of your taps may be another sign that there is an obstruction somewhere along the line.
3. Strange Noises Coming From the Heater: Unusual popping, rattling, or gurgling sounds can indicate that something is blocking the flow of water inside the tank and causing turbulence.
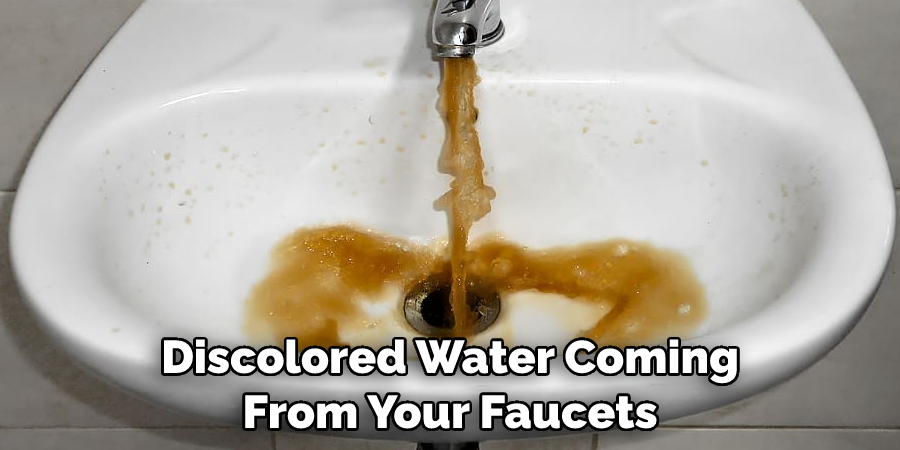
4. Weird Colors Coming From Your Faucets: Discolored water coming from your faucets could be a sign of debris buildup in the pipes or water heater.
5. Unusual Smells Coming From the Hot Water: If you notice a musty odor or strange smell when running your hot water, it could be due to a clog.
If any of these signs present themselves, it is important to take action and unclog your water heater drain as soon as possible! Doing so will help keep your system running smoothly and prevent any expensive repairs down the line.
Conclusion
Unclogging your water heater drain can seem like a difficult task, but it doesn’t have to be! These simple tips could help you unclog your drain and ensure it is clean and functioning properly. It’s always important to regularly maintain your water heater at home so you can prevent issues like this from occurring in the future. If left unchecked, more serious problems with your system could arise.
Furthermore, don’t forget to have it serviced by a professional technician if you experience any difficulties when attempting to clear up the problem. As long as you take the time to nip clogs in the bud and keep an eye on other components of your plumbing system, you should be able to enjoy clean and uninterrupted water for years.
Hopefully, the article on how to unclog water heater drain has been helpful in keeping your water heater running smoothly. Good luck and happy plumbing!

