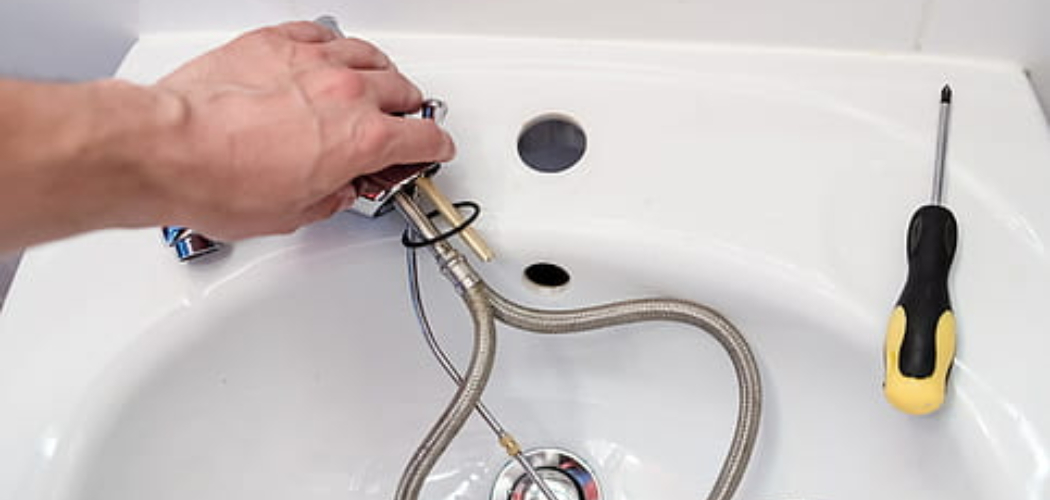
Are you dealing with a faucet that won’t turn off? You don’t need to call a professional plumber immediately – in most cases, you can fix the problem yourself.
Few things are more annoying than a faucet that seems to have a mind of its own. You try to turn it off, but the water keeps running. With each passing moment, your frustration only grows, and you can’t help but wonder – how hard is it to turn off a faucet? As it turns out, sometimes there’s an easy fix for these pesky fixtures – like replacing an old washer or adjusting something – without replacing the entire fixture.
This blog post will cover all you need to know about how to fix a faucet that won’t turn off- so read on if this sounds like your current plumbing situation!
What Will You Need?
Before you start, having all the tools and materials needed to complete the job is important. You won’t need many items – just a few basic ones like the following:
- A flat-head screwdriver
- Wrench or adjustable pliers
- Washers of various sizes
- Plumber’s grease
- Faucet handle repair kit (if applicable)
- Replacement parts (if needed)
- An old towel to catch any extra water and prevent messes
Once you have all the necessary items, it’s time to start fixing your faucet!
10 Easy Steps on How to Fix a Faucet That Won’t Turn Off
Step 1: Locate and Remove the Faucet Handle
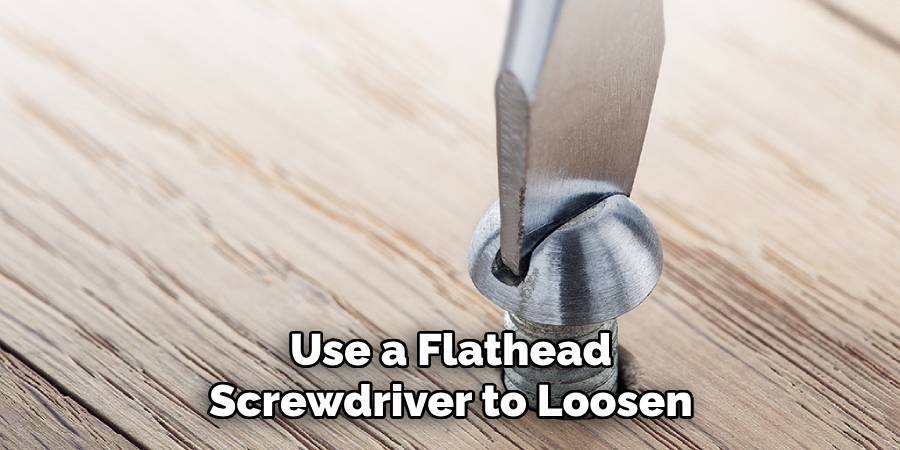
The first step is to take off the handle that won’t turn off so you can begin inspecting the underlying parts. To do this, use a flathead screwdriver to loosen the top nut and remove the handle. If the screw is stuck, use a wrench or adjustable pliers to help you out.
Step 2: Inspect and Clean the Parts
Once you have removed the handle, inspect all of the parts inside for any signs of damage or buildup. You may find that some components are sticking together, which can prevent them from operating correctly. Use an old towel to catch any excess water, then use a soft brush to clean off any rust or debris.
Step 3: Apply Plumber’s Grease
Once you have finished cleaning the parts, it’s time to apply some plumber’s grease. This will help protect all components from corrosion and ensure everything moves smoothly. Be careful not to overdo it – a little bit of grease should do the trick.
Step 4: Replace Old Washers or O-Rings
Now that you have applied some plumber’s grease, it’s time to check the washers and o-rings for any signs of wear or damage. If they appear worn, replacing them with new ones is best. You can purchase a faucet handle repair kit at most hardware stores, which will contain all the necessary washers and o-rings you need.
Step 5: Reassemble Your Faucet
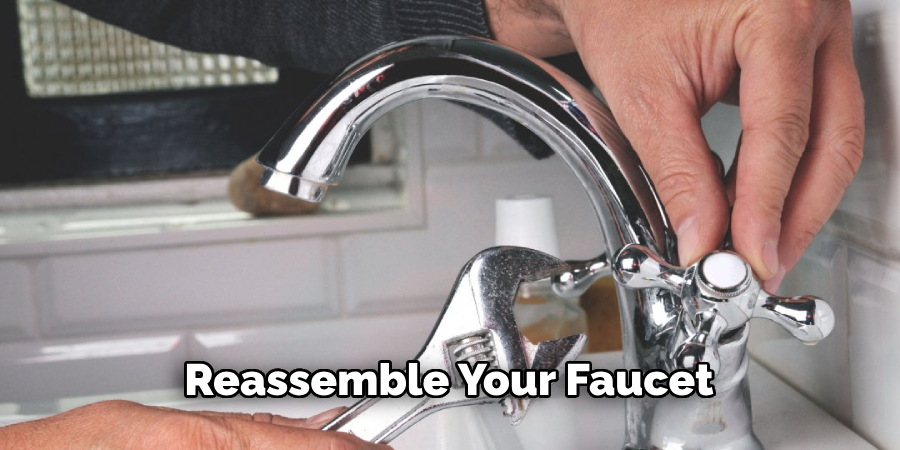
Once you have replaced any worn or damaged parts, it’s time to reassemble your faucet. Start by putting the handle back in place, then carefully replace any nuts or screws you removed earlier. Make sure everything is tightened securely, but don’t overtighten – this could damage the components and lead to further problems down the line.
Step 6: Turn On Your Faucet & Check for Leaks
After reassembling your faucet, it’s time to turn the water back on and check for leaks. Turn on the main water valve, then turn on the faucet to ensure everything works properly. If you notice any leaks or other issues, you may need to adjust the components again or replace some more parts.
Step 7: Test Your Faucet
Now that you have reassembled your faucet and ensured everything is working properly, it’s time to test the handle. Turn on the water and make sure the handle turns off easily – if not, you may need to adjust the components or replace them completely. Remember to check the temperature of the water too!
Step 8: Replace Any Worn or Damaged Parts
If you notice any worn or damaged parts during your inspection, now is the time to replace them. Make sure you purchase the correct size and shape of replacement parts for your specific faucet model. If you’re unsure, it’s best to speak with a professional plumber who can help you.
Step 9: Clean Up the Area
Once you have replaced any worn or damaged parts, it’s time to clean up the area. Use an old towel to soak up any water that may have spilled or leaked during the repair process. Put away all your tools and materials and give the area a quick sweep to ensure it’s clean.
Step 10: Enjoy Your Fixed Faucet!
Now that you have finished fixing your faucet, you can sit back and enjoy your handy work! Hopefully, this guide has helped teach you how to fix a faucet that won’t turn off. If you ever run into any other plumbing problems, it’s always best to call a professional – they can ensure the job is done right!
Now that your faucet is working properly take some time to appreciate all the advantages of running water. With just a few simple adjustments and replacements, you were able to get your faucet back in working order- making your life easier. Remember these tips for the next time you run into plumbing problems, and you’ll be sure to fix them quickly and easily!
5 Additional Tips and Tricks
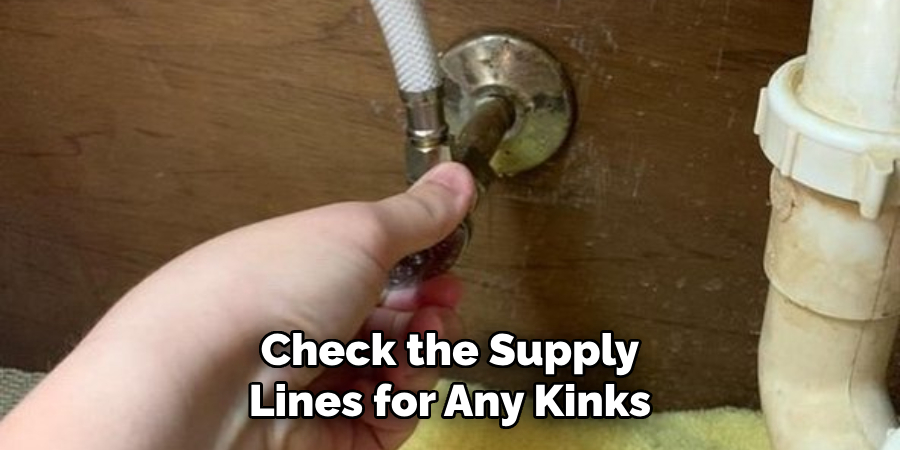
- Check the supply lines for any kinks or twists that can cause the water pressure to build up and not turn off. If you find any, straighten them out.
- Try replacing both the hot and cold water valves since they can wear down over time. Take note of their installation instructions to get them right when installing the new ones.
- When installing a new valve, make sure to lubricate the threads and seal the connection with thread tape or pipe joint compound.
- If you’re still having trouble getting your faucet to turn off, there may be an issue with its internal components, such as cartridges or stems. Try replacing them along with the valves if needed.
- If all else fails, you should call a professional plumber and have them take a look at your faucet. They’ll be able to diagnose the issue quickly and make sure it’s fixed right the first time.
In addition to these tips on fixing a faucet that won’t turn off, it’s important to remember that regular maintenance is key to keeping your faucet in top shape. Clean the cartridge and seals every few months with soapy water and use a lubricant on moving parts as needed. That way, you can ensure your faucet will work properly for years to come!
5 Things You Should Avoid
- Don’t use a wrench or other tool to force the handle on the faucet open. This can cause damage to internal components or even break the handle entirely.
- Avoid harsh chemicals, which can corrode metal parts and damage seals over time. Stick with mild soaps and lubricants for regular maintenance instead.
- Keep connections tight enough, as this can cause the valves to get stuck in place and eventually break.
- Remember to turn off the water supply before changing out any parts or doing any kind of maintenance on your faucet.
- And never use a hammer or other blunt instrument to try and loosen stuck components – you might damage them beyond repair!
By following these tips and tricks on fixing a faucet that won’t turn off, you should have no trouble keeping your faucet in top condition. Always be careful when working with water and electrical components – it’s better to be safe than sorry! With a little effort, you can ensure that your faucet always works as it should.
What to Do if the Problem Persists
If you’ve been through all of the steps above but still can’t get your faucet to turn off, then it may be time to call a professional plumber. A skilled plumber can quickly diagnose the issue and ensure it’s fixed right the first time. They may also be able to recommend additional preventative maintenance steps to ensure your faucet stays in top shape for years to come!
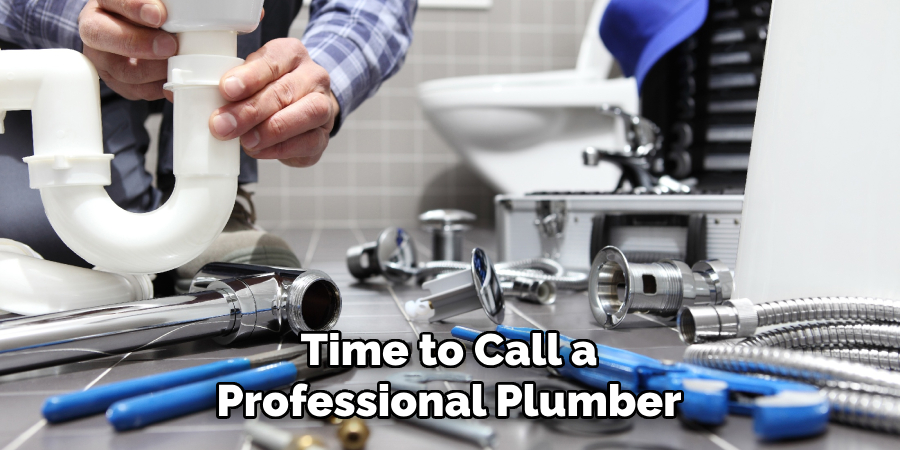
Remember that safety should always be your priority if you’re trying to fix a faucet that won’t turn off yourself. Always remember the power of electricity or water – it can be dangerous if handled properly. Be sure to follow all instructions and use the proper tools when completing any project.
Conclusion
How to fix a faucet that won’t turn off can be a frustrating experience, but rest assured, knowing there are ways to manage this problem. If the faucet hasn’t been used in a long time, it could be sediment blocking the valve stem or simply need to be tightened.
Hopefully, with these steps, you can fix your leaking faucet and avoid an expensive plumber bill! Additionally, as always, if the issue is not resolved after trying these methods, then it may be wise to call in for professional help to ensure no major damage occurs.
Repairing your stuff can save you money and give you great satisfaction in becoming more self-reliant; so don’t be afraid of tackling this household task yourself! With the right tools and instructions, you can repair your faucet correctly and quickly.

