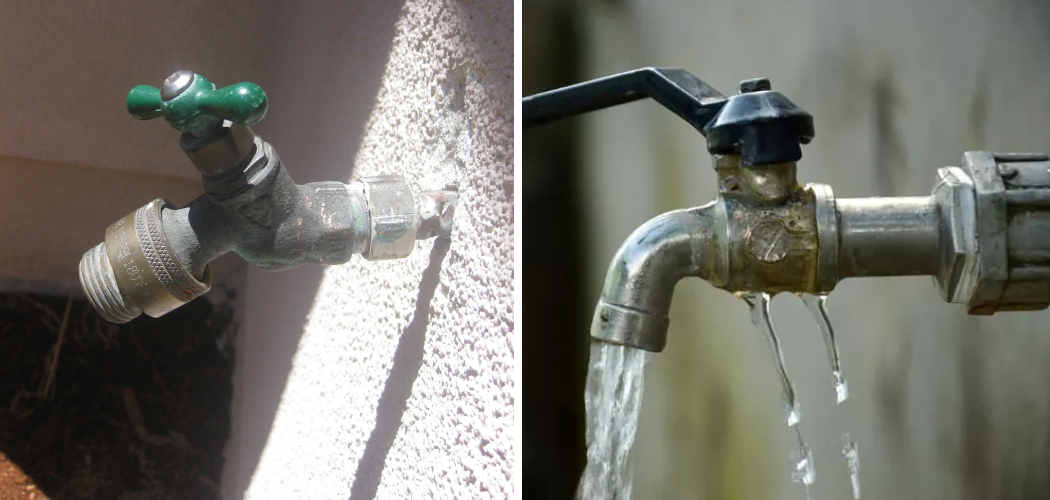
A leaky outdoor faucet handle can be a persistent annoyance, causing both wasted water and potential damage to your property. Fortunately, addressing this common household issue doesn’t always require a professional plumber. With a bit of knowledge and some basic tools, you can take matters into your own hands and put an end to that irritating drip.
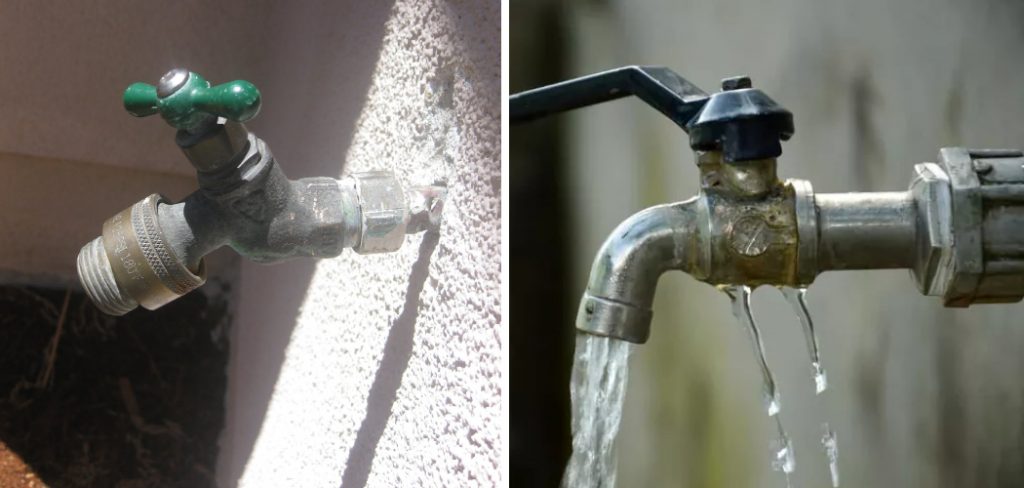
Whether it’s a slow leak or a more significant flow, the process of fixing a leaky outdoor faucet handle follows a set of systematic steps. From gathering the necessary tools to disassembling the faucet and identifying the source of the leak, this article will guide you through a step-by-step process of how to fix a leaky outdoor faucet handle.
Not only will you save money by tackling the repair yourself, but you’ll also gain a sense of accomplishment by successfully resolving a common household issue. So, roll up your sleeves and let’s delve into the world of DIY outdoor faucet handle repairs.
The Importance of Fixing a Leaky Outdoor Faucet Handle
Leaky outdoor faucet handles are a common occurrence, but they can be more than just an annoyance. If not fixed as soon as possible, they can lead to higher water bills, water damage to the house and yard, and even mold growth. The good news is that it’s relatively easy to repair a leaky outdoor faucet handle. All you need are a few simple tools, some basic knowledge, and a little bit of time.
The Potential Water Wastage and Damage if Not Addressed Promptly
You may not think much of a dripping faucet outside, but a leaky outdoor faucet handle can waste gallons of water and cause thousands of dollars in damage. If left unchecked, the water pouring from a leaking spigot can saturate the soil around your house’s foundation or erode wooden decks, ramps, or other structures.
In extreme cases, the water can even short-circuit outdoor lighting and electrical systems. So it’s important to fix a leaking outdoor faucet handle promptly before any of these problems arise.
Fortunately, fixing a leaky outdoor faucet is simple and straightforward if you have some basic tools around the house. In this article, we’ll show you how to diagnose the problem and fix a leaking outdoor faucet handle in just three simple steps.
10 Steps How to Fix a Leaky Outdoor Faucet Handle
Step 1: Gather Your Tools and Materials
Before you start the repair process, it’s essential to gather all the tools and materials you’ll need. This will save you time and frustration as you work through the steps.
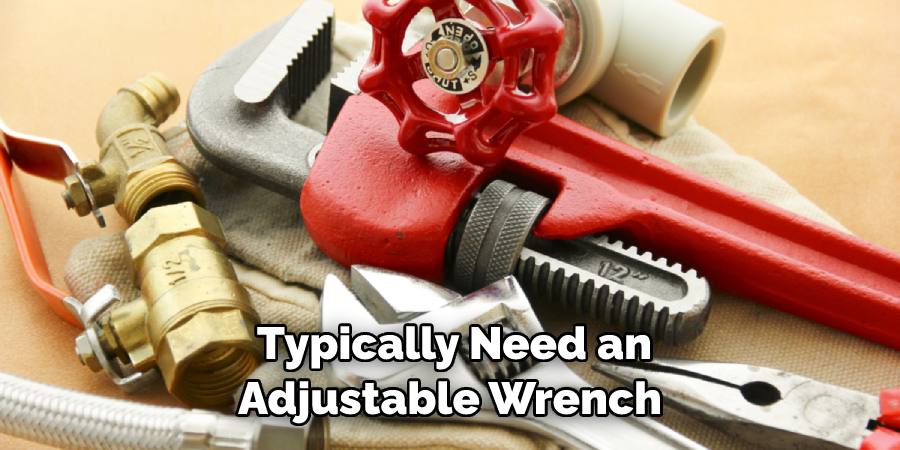
You’ll typically need an adjustable wrench, pliers, a screwdriver, a pipe wrench, plumber’s tape, replacement O-rings or washers, and a bucket to catch any water that might leak out during the process. Make sure to turn off the water supply to the faucet before you begin.
Step 2: Turn Off the Water Supply
Locate the shut-off valve for the outdoor faucet and turn it off. This valve is usually located inside your home, often in the basement or crawl space. Turning off the water supply prevents water from flowing while you work on the faucet, avoiding unnecessary mess and complications.
Step 3: Remove the Faucet Handle
Use a screwdriver or an adjustable wrench to remove the handle of the outdoor faucet. This step may vary depending on the faucet model. Some handles are secured with screws, while others might require you to unscrew a decorative cap first. Once you’ve removed the handle, set it aside, and keep any small parts in a safe place.
Step 4: Inspect the Valve and Components
With the handle removed, you’ll now have access to the valve assembly. Carefully inspect the components for any signs of wear, corrosion, or damage. The most common culprit of a leaky faucet is a worn-out O-ring or washer. Look for any visible signs of deterioration in these parts.
Step 5: Replace the O-Ring or Washer
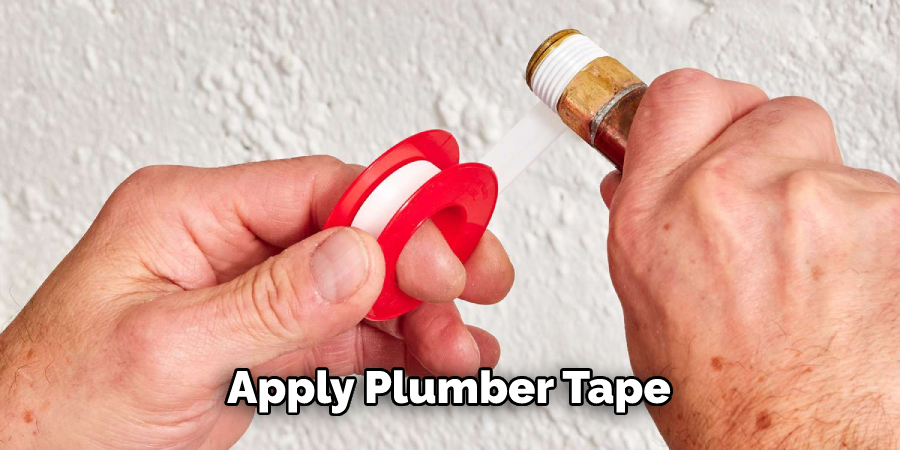
If you’ve identified a worn-out O-ring or washer as the cause of the leak, it’s time to replace them. Remove the old O-ring or washer and replace it with a new one of the same size and type. Apply plumber’s tape to the threads of the valve stem to ensure a tight seal.
Step 6: Reassemble the Faucet Handle
Carefully put the faucet handle back in place, ensuring that it aligns correctly with the valve stem. Use the appropriate tool to secure the handle, whether it’s a screwdriver or wrench. Make sure not to overtighten, as this could cause damage to the components.
Step 7: Turn On the Water Supply
Slowly turn on the water supply to the outdoor faucet. Check for any leaks around the handle and the valve assembly. If you notice any leaks, turn off the water supply again and double-check your work. Tighten the handle or valve components if necessary.
Step 8: Check for Proper Functionality
With the water supply turned on, test the faucet to ensure it’s functioning correctly. Turn the handle to both the hot and cold positions, checking for any irregularities in water flow or leaks. If everything looks good, allow the faucet to run for a few minutes to flush out any debris that might have accumulated during the repair.
Step 9: Inspect for Persistent Leaks
After the faucet has been running for a while, inspect the area around the faucet handle and valve assembly for any persistent leaks. Sometimes, small adjustments might be needed to achieve a completely leak-free faucet. If you notice any leaks, turn off the water supply and recheck your work.
Step 10: Regular Maintenance
Prevent future leaks by incorporating regular maintenance into your routine. Inspect outdoor faucets and handles annually, especially before the winter season. Check for signs of wear, corrosion, or dripping.
If you notice any issues, address them promptly to prevent more significant problems down the line. Additionally, ensure that you properly shut off and drain outdoor faucets before the cold weather arrives to prevent freezing and potential damage.
Things to Consider While Fixing a Leaky Outdoor Faucet Handle
If you’re dealing with a leaky outdoor faucet handle, it’s important to consider all the necessary precautions before getting started. While the fix is typically simple, there are certain steps to take in order to ensure the repair is done correctly and safely.
To begin, make sure you have all the right tools on hand. You’ll need pliers, a rag or cloth, an adjustable wrench, and a replacement washer or stem assembly. If you’re unsure of what type of parts you need for the repair, it’s best to contact a plumber who can help identify the right size and type.
Once you have all the tools needed, turn off the water supply at the main valve in your home. Then, use the rag or cloth to dry off the faucet handle and any other parts that may be exposed to water.
When you’re ready, you can take apart the faucet handle by using a wrench to remove the stem nuts and washers from the valve body. If these components are damaged, it’s important to replace them with new ones.
Some Common Mistakes When Fixing a Leaky Outdoor Faucet Handle
If you want to avoid further problems with your outdoor faucet handle, it is important to take the necessary steps in order to properly fix it. Here are some common mistakes that people make when attempting to repair a leaking outdoor faucet handle:
- Not Tightening Enough: In some cases, homeowners may not tighten the screws on the faucet handle enough, which can cause the leak to continue. Make sure you tighten the screws until they are secure and this should help eliminate any further leakage.
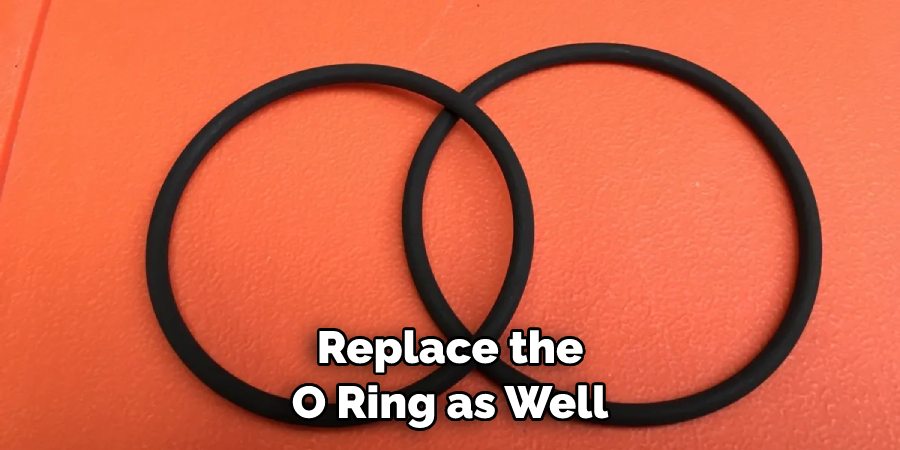
- Not Replacing the O-Ring: The O-ring is a rubber seal that prevents water from leaking out of your faucet. When replacing the handle, make sure to replace the O-ring as well. If the O-ring is worn or damaged, it can cause a leak.
- Not Cleaning the Threads: Before replacing any parts on your faucet, make sure to clean the threads of all dirt and debris. This will help ensure that no leaks occur from improper sealing of the new parts.
By taking these steps, you can be sure that your outdoor faucet handle will be fixed properly and leak-free. If you are still having problems after following these tips, it might be a good idea to call in a professional plumber for further assistance.
Conclusion
Having a faulty outdoor faucet handle is a nuisance no one should have to deal with. By following these guidelines, you can easily and quickly repair your outdoor faucet handle and fix any leaky problems before they get worse. Be sure to shut off the water supply and use the appropriate tools during each step of the repair process.
That aside, don’t forget to check all the other connections around your outdoor hose as well – a little preventative maintenance can go a long way! Now that you know how to fix a leaky outdoor faucet handle, grab your tools and get started on those repairs – you’ll be glad you did!

