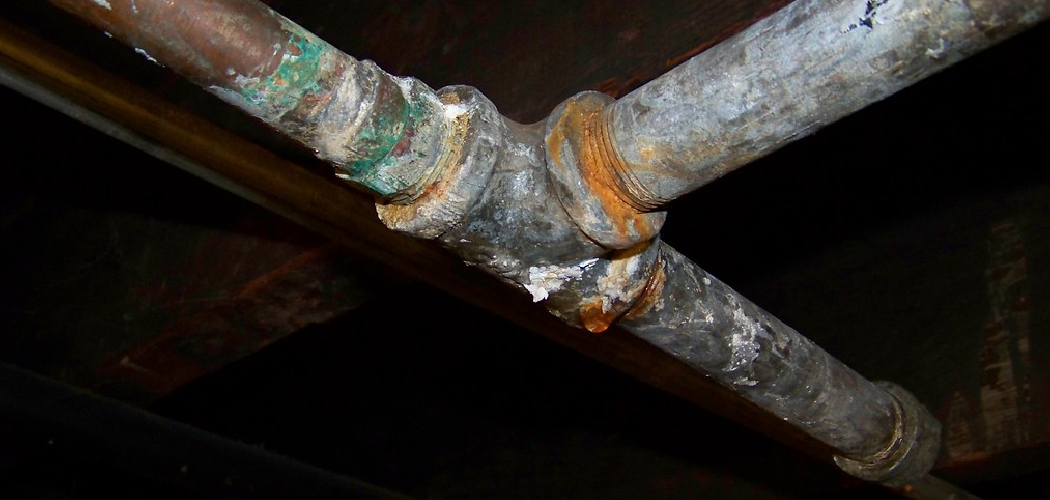
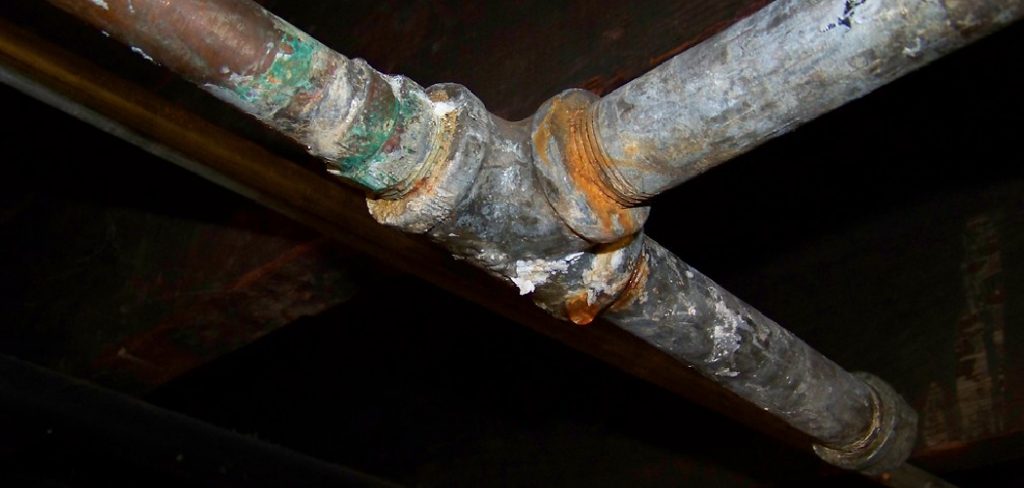
Galvanized pipes are commonly used in plumbing systems due to their durability and strength. Over time, however, they may develop leaks due to corrosion or damage. If left untreated, these leaks can cause serious water damage to your home and lead to costly repairs. In order to prevent this from happening, it is important to know to fix leak in galvanized pipe.
The main advantage of knowing how to fix a leak in a galvanized pipe is that you will be able to save money and time by not having to call a professional plumber. The process of fixing the leak yourself can be done quickly and easily with minimal tools and materials.
Additionally, learning how to fix leaks in pipes can help you avoid potential water damage to your home or property. Read this blog post to learn how to fix leak in galvanized pipe.
Provide step-by-step Instructions on How to Fix Leak in Galvanized Pipe
Step 1: Identify the Source of the Leak
The first step is to identify where exactly the leak is coming from. This can be done by inspecting the pipes and looking for any visible signs of water dripping or puddles forming. It is important to note the location of the leak as well as its severity, as this will determine the appropriate course of action.
Step 2: Turn Off the Water Supply
Once you have located the source of the leak, it is important to turn off the main water supply to prevent further damage and flooding. This can usually be done by turning the shut-off valve located near the leak. Before starting any repairs, it is essential to drain the water from the affected pipe. To do this, open all faucets connected to that particular pipe and let the water drain out completely.
Step 3: Prepare for Repair
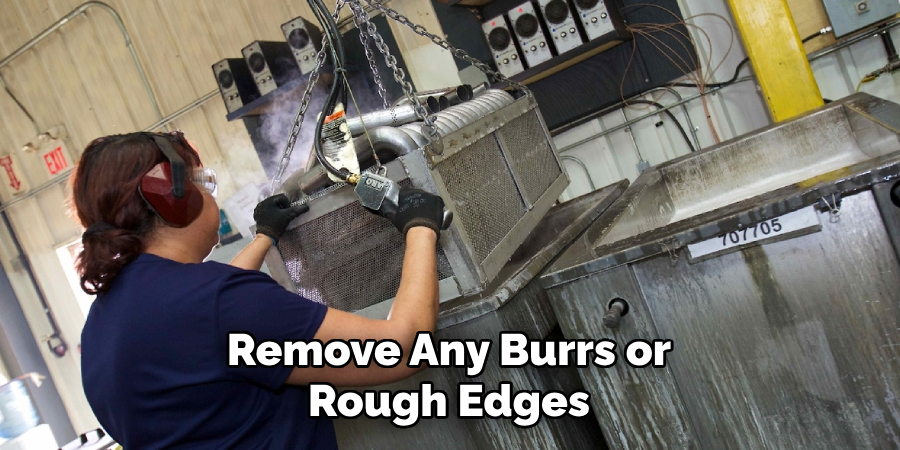
Make sure you have all the necessary tools and materials ready before starting the repair. This may include a pipe cutter, galvanized pipe fittings, Teflon tape, and plumber’s putty. Using a pipe cutter, carefully cut out the damaged section of the galvanized pipe. Be sure to make clean cuts and remove any burrs or rough edges.
Step 4: Replace with New Pipe
Measure the length of the cut-out section and use a new piece of galvanized pipe to replace it. Make sure to match the diameter and thickness of the existing pipe for a proper fit. Using galvanized pipe fittings, connect one end of the new pipe to the existing plumbing and secure it tightly with a pipe wrench. Repeat this process for the other end of the new pipe.
Step 5: Seal with Teflon Tape
To prevent any future leaks, wrap Teflon tape around all threaded connections. This will create a waterproof seal and ensure a tight fit between the pipes and fittings. If the leak is coming from a joint or connection, applying plumber’s putty can provide an additional layer of protection. Simply roll the putty into a thin strip and wrap it around the joint before tightening with a pipe wrench.
Step 6: Turn on Water Supply and Test
Once all repairs have been completed, turn on the water supply and check for any leaks. If everything holds up, you have successfully fixed the leak in your galvanized pipe. Remember to regularly check for any signs of leaks and address them promptly to prevent future damage.
Tips for How to Fix Leak in Galvanized Pipe
- When working with galvanized pipes, it is important to wear PPE such as gloves, safety glasses, and masks to protect yourself from any potential hazards.
- Before attempting any repairs on a leaking pipe, make sure to turn off the main water supply. This will prevent further damage or accidents.
- As with any repair, using the correct tools is essential for a successful fix. Make sure to have a pipe cutter, pipe wrench, and Teflon tape on hand.
- It’s important to clear the area around the leaking pipe before starting any repairs. Move furniture and other objects out of the way to avoid potential hazards.
- To fix a leak in a galvanized pipe, cut out the damaged section using a pipe cutter and replace it with a new piece. Make sure to use Teflon tape on all threaded connections to prevent future leaks.
- If the leak is caused by a loose connection, simply tightening the fittings may solve the problem. However, if the fittings are corroded or damaged, they will need to be replaced.
- Once the repairs are completed, turn the main water supply back on and check for any leaks. If there are no leaks present, congratulations! You have successfully fixed a leak in a galvanized pipe.
What Are the Common Causes of Leaks in Galvanized Pipes?
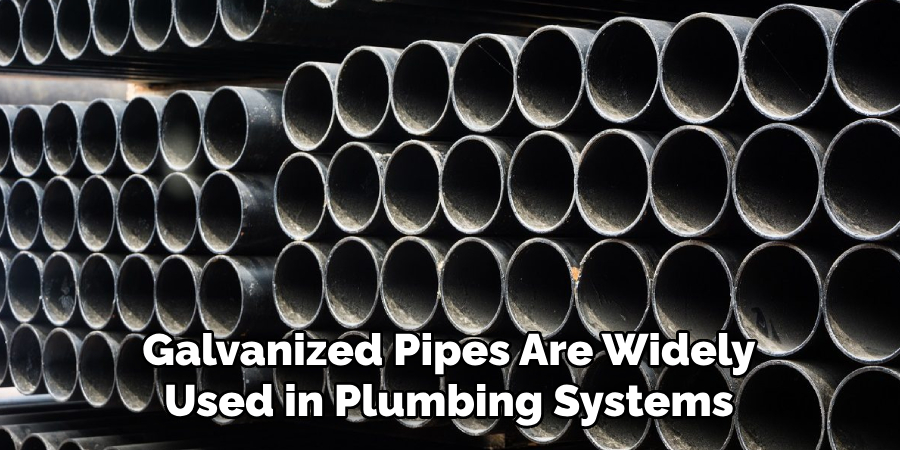
Galvanized pipes are widely used in plumbing systems due to their durability and resistance to corrosion. However, they are not immune to leaks, which can occur for various reasons. In this section, we will discuss the common causes of leaks in galvanized pipes and how to fix them.
1. Corrosion
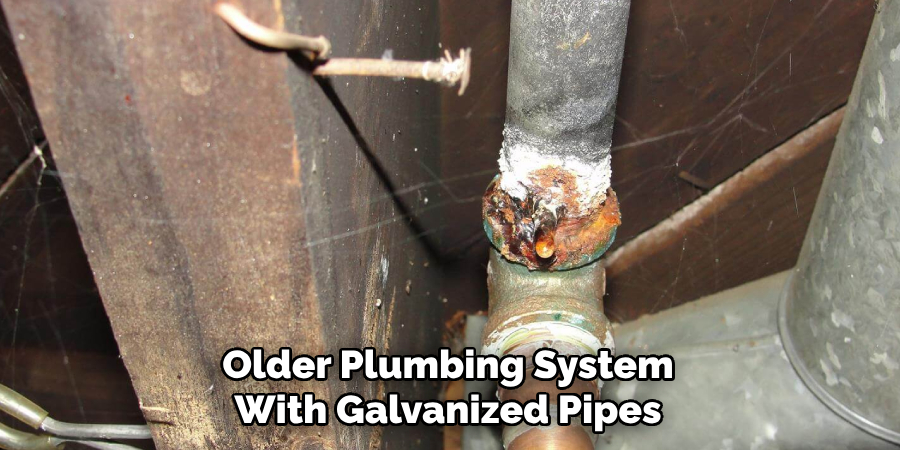
Corrosion is the most common cause of leaks in galvanized pipes. Over time, the zinc coating on galvanized pipes can wear off, exposing the underlying steel to water and causing it to rust. This rust can lead to small holes or cracks in the pipe, which can ultimately result in leaks.
To fix this issue, you will need to replace the damaged section of the pipe with a new piece of galvanized pipe or a suitable alternative. It is essential to address this problem as soon as possible to prevent further damage and potential water damage to your home.
2. High Water Pressure
High water pressure can also cause leaks in galvanized pipes. The excessive force of the water flowing through the pipes can weaken and eventually rupture them, causing leaks. If you notice any unusual sounds or vibrations coming from your pipes, it could be a sign of high water pressure. You can use a pressure gauge to measure the water pressure and adjust it accordingly using a regulator valve.
3. Pipe Joints
Pipe joints are another common source of leaks in galvanized pipes. The connections between pipes can become loose over time, allowing water to seep through and cause leaks. To fix this issue, you can use pipe sealant or joint compound to seal the connections. If the joints are severely corroded, it may be necessary to replace them entirely.
4. Physical Damage
Physical damage is another possible cause of leaks in galvanized pipes. If the pipes are exposed and not properly protected, they can incur damage from external factors such as extreme temperatures or impact from heavy objects. In this case, you will need to replace the damaged section of the pipe with a new one.
5. Age
Lastly, age can also play a significant role in causing leaks in galvanized pipes. Over time, galvanized pipes can become more susceptible to corrosion and other forms of damage, increasing the chances of leaks. If you have an older plumbing system with galvanized pipes, it may be a good idea to have them inspected regularly and replaced if necessary.
How Do You Identify a Leak in a Galvanized Pipe?
A leak in a galvanized pipe can be a major hassle for any homeowner. Not only does it result in wasted water and increased utility bills, but it can also cause damage to your home if left untreated. That’s why it’s important to identify and fix a leak in a galvanized pipe as soon as possible. Here are some signs to look out for:
1. Water Damage
Water damage is a clear indicator of a leak in your galvanized pipe. Check for any water stains, discoloration, or warping on walls and ceilings near the suspected area. You may also notice wet spots or puddles on the floor.
2. Low Water Pressure
A leak in a galvanized pipe can result in decreased water pressure. If you notice a decrease in the strength of your water flow, it could be due to a leak in your pipe.
3. Unusual Sounds
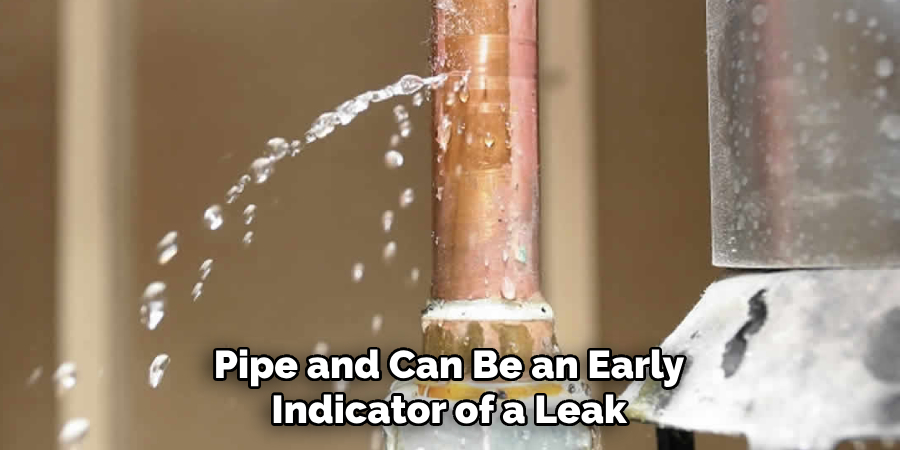
If you hear hissing or whistling sounds coming from your walls or floors, it could be a sign of a leak in your galvanized pipe. These sounds are caused by water escaping from the pipe and can be an early indicator of a leak.
How Do You Fix a Leak in a Galvanized Pipe
1. Turn off the Water Supply
Before attempting to fix a leak, it’s important to turn off the main water supply to your home. This will prevent any further damage or flooding.
2. Locate the Leak
Using the signs mentioned above, try to pinpoint the exact location of the leak. This will make it easier to fix and prevent any unnecessary damage to your walls or floors.
3. Patching with Epoxy Putty
For small leaks, you can use epoxy putty as a temporary solution. Simply clean and dry the affected area, then apply the putty to seal the leak.
4. Replace the Pipe
If the leak is larger or more severe, it may be necessary to replace the damaged section of pipe. This will require cutting out the old section and replacing it with a new piece of galvanized pipe.
5 . Call a Professional
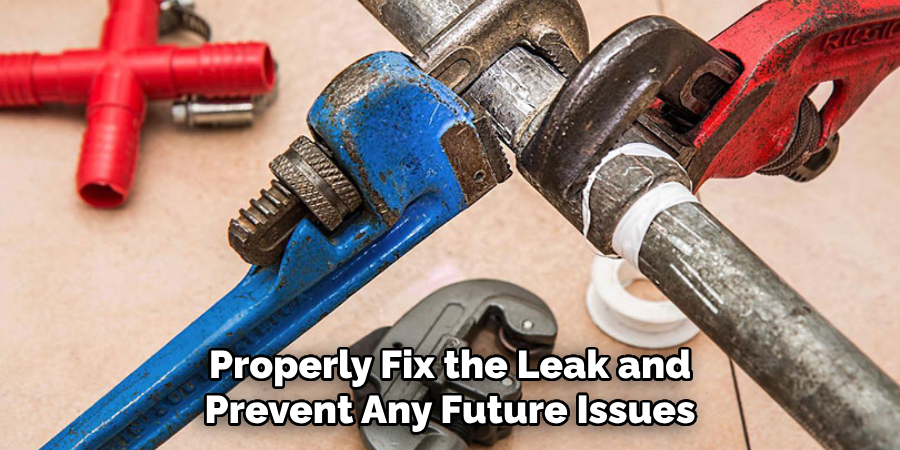
If you’re unsure about how to fix a leak in your galvanized pipe, it’s best to call a professional plumber. They have the expertise and tools necessary to properly fix the leak and prevent any future issues.
By paying attention to signs of a leak and taking prompt action, you can save yourself time, money, and potential damage in the long run. Remember, when in doubt, always call a professional for help.
Conclusion
In conclusion, fixing a leak in galvanized pipe is a relatively straightforward process that can save you time and money. By following the steps outlined in this blog, you will be able to identify the source of the leak, prepare the area for repair, and successfully fix the issue. Remember, it is important to act quickly when dealing with a leak in your galvanized pipes as it can lead to further damage and potentially costly repairs.
Regular maintenance and inspections can also help prevent leaks from occurring in the first place. Additionally, if you are unsure or uncomfortable with fixing a leak yourself, it is always best to seek professional help. A licensed plumber will have the necessary skills and equipment to properly fix a leak in your galvanized pipe. I hope reading this post has helped you learn how to fix leak in galvanized pipe. Make sure the safety precautions are carried out in the order listed.

