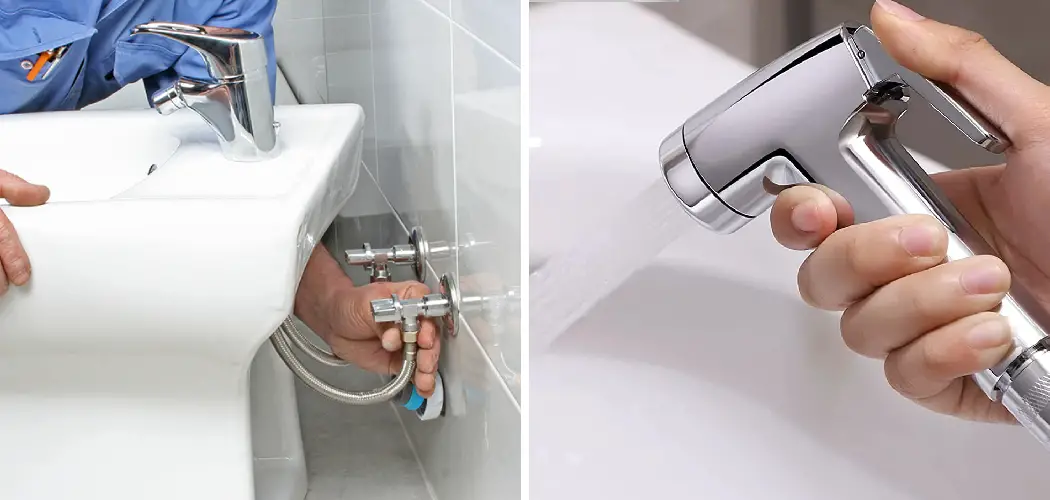
Are you looking for a way to make your bathroom cleaner and more hygienic? Installing a handheld bidet is the perfect solution! Handheld bidets, also known as shower toilettes or shatters, are small, portable devices that offer an easy-to-use alternative to traditional toilet paper.
They provide a gentle cleaning stream of water that quickly and easily cleanse sensitive areas after using the bathroom. Not only can they leave you feeling fresh and clean all day long, but they’re also environmentally friendly due to their minimal water usage.
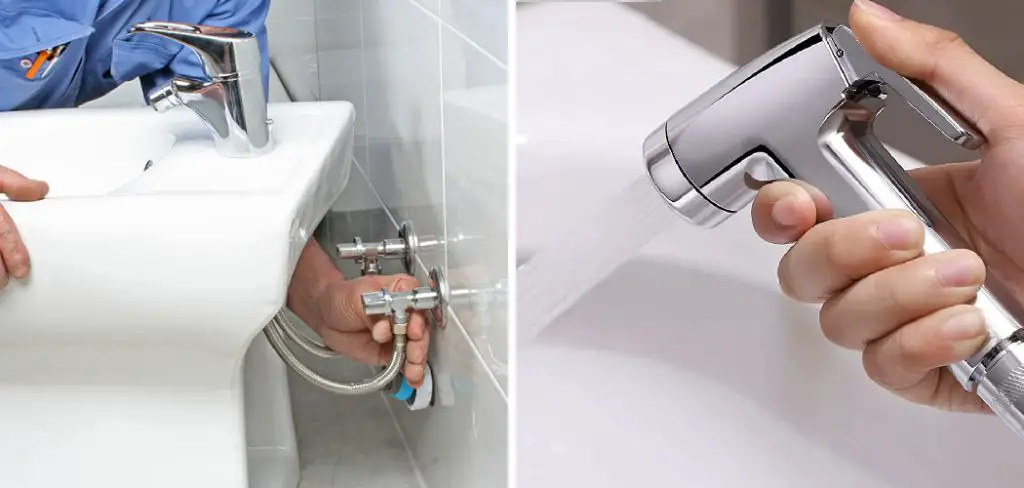
In this article, we’ll explain how to install handheld bidet so you can start enjoying its many benefits today!
Supplies You Will Need to Install Handheld Bidet
- Water supply lines or water line connectors
- Teflon tape
- Handheld bidet hose
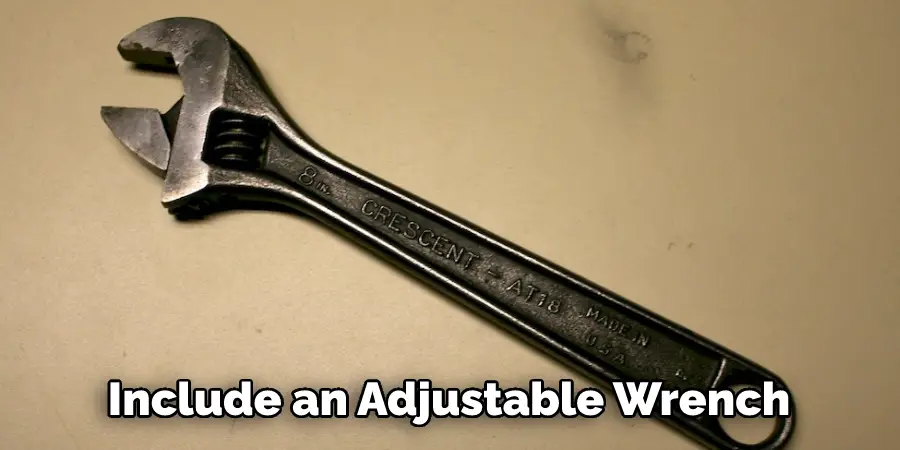
- Adjustable wrench
- Screwdriver or drill with appropriate bit size
- Silicone caulk (optional)
- Handheld bidet sprayer
Step by Step Guidelines on How to Install Handheld Bidet
Step 1: Start by Turning Off the Water Supply
Before starting the installation process, make sure to turn off the water supply so no one accidentally turns it back on when you’re working. If you don’t turn off the water supply, you could cause serious damage and flooding in your bathroom. So it’s important to take this precaution.
Step 2: Attach the Water Supply Lines
Once you’ve turned off the water supply, you can attach the water supply lines or connectors to your home’s existing plumbing. Make sure these connections are tight by wrapping them with Teflon tape before securely tightening them with an adjustable wrench. Use the appropriate size screwdriver or drill bit to make sure all connections are secure.
Step 3: Connect the Handheld Bidet Sprayer
Next, connect the handheld bidet sprayer hose to the water supply line and tighten it with an adjustable wrench. If you’re installing a new handheld bidet, you may need to purchase additional supplies and components to complete the installation.
While connecting the sprayer, it’s important to make sure all connections are watertight and secure. You may also need to apply some silicone caulk around the edges of the connection for extra protection against leaks.
Step 4: Test the Installation
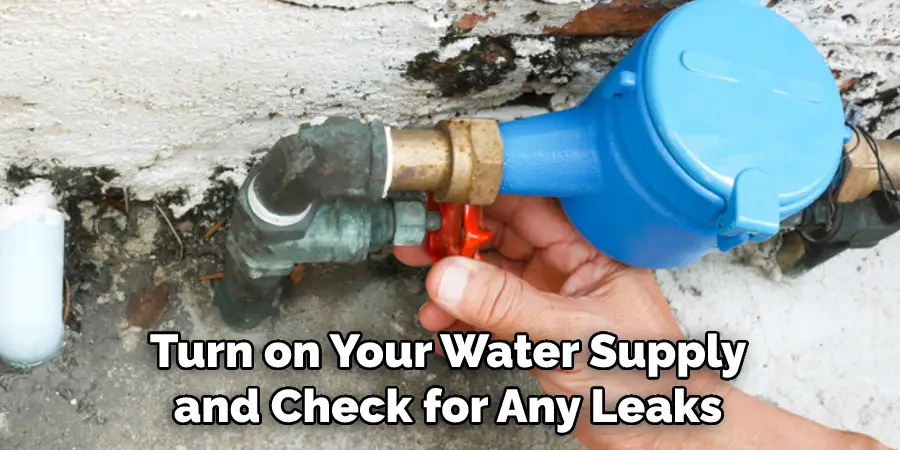
Once you’ve completed the installation, it’s time to test it. Turn on your water supply and check for any leaks or other issues. If there are no problems, you can go ahead and use your new handheld bidet! Testing installation is especially important if you’re replacing an existing handheld bidet.
Step 5: Caulk Around the Fixtures (Optional)
If desired, you can use silicone caulk to provide an extra layer of protection around the fixtures. This will help prevent water damage and keep your bathroom looking its best. This step is optional, but usually recommended.
And there you have it! Installing a handheld bidet is a simple DIY project that anyone can do. With just a few supplies and some simple steps, you can enjoy the convenience and hygiene of a handheld bidet in your home today! Good luck with your installation!
Additional Tips and Tricks to Install Handheld Bidet
1. Make sure to properly turn off the water supply before starting installation. This will help prevent any damages or flooding caused by leaking.
2. It is important to read the instruction manual that comes with your bidet, as it will provide you with all of the information needed for a successful installation.
3. Measure twice and cut once. Make sure you measure the area where you will be installing the bidet with accuracy to ensure proper fit and avoid any potential damage to your bathroom fixtures.
4. Use a leveler or other tool when installing your bidet, as it will help make sure the unit is properly aligned with the wall and floor.
5. Be sure to use the correct kind of caulking or sealant for your installation. This will help create a watertight barrier and prevent any leaking.
6. Make sure to properly attach the flexible hose that runs from the bidet spout to the water supply line with appropriate fittings, as a loose connection can cause water leakage.
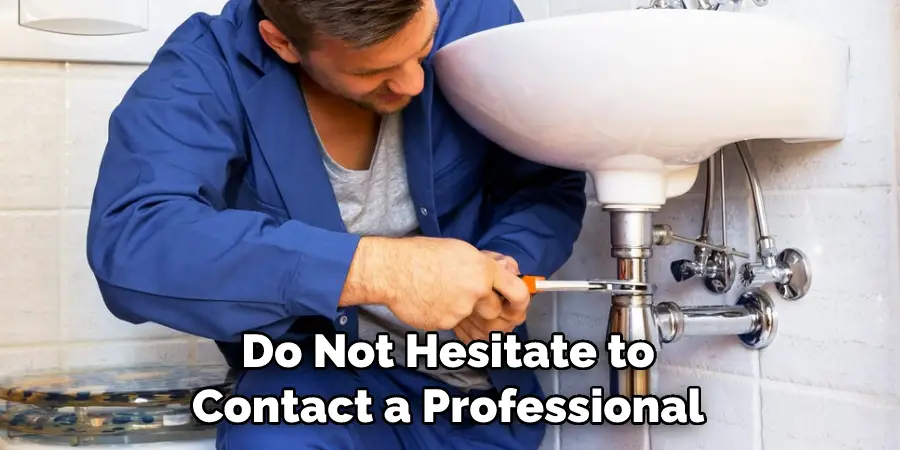
7. If you encounter any difficulties during the installation process, do not hesitate to contact a professional for assistance. This will help ensure that your handheld bidet is installed correctly and safely.
8. Once installation is complete, test out all of the functions of your bidet before using it in order to ensure that everything is working properly.
Following these tips and tricks will help make the installation process of your handheld bidet smooth and hassle-free. With a little bit of effort on your part, you can have a functional and comfortable bathroom amenity in no time!
Things You Should Consider While Installing Handheld Bidet
1. Placement:
The placement of the handheld bidet should be carefully considered so that it is easy to reach and use while being in an appropriate position for the user. Placement is also key for ensuring that the bidet is connected properly to the water supply.
2. Space Requirements:
Before purchasing a handheld bidet, it is important to measure your bathroom space and make sure that you have enough room for installation. Handheld bidets can take up more space than a traditional toilet, so you may need to rearrange your bathroom in order to make room for it.
You should also consider the height of the bidet, as some models may require extra space for the hose to be properly installed.
3. Water Pressure:
You should also consider the water pressure capability of the handheld bidet before installation. Some models require higher water pressures in order to function properly, so it is important to make sure that your water pressure meets the requirements of your chosen model.
4. Installation Type:
When purchasing a handheld bidet, you will have to choose between a wall-mounted or floor-mounted installation type. Wall-mounted installations are usually easier to install and can be done quickly, but a floor-mounted installation may be a better option if you want to save space.
5. Water Temperature:
If you plan on using your handheld bidet with warm water, then it is important to ensure that the hot and cold water supplies are connected correctly prior to installation. This will help prevent any potential issues with temperature control after installation.
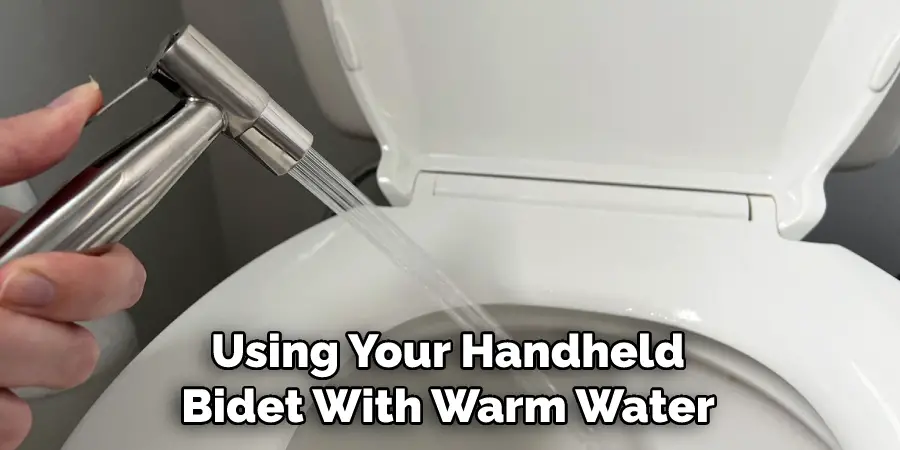
By taking the time to consider these factors prior to installing a handheld bidet, you can help ensure that your new device will function properly and provide you with years of reliable use.
Installing a handheld bidet isn’t difficult, but it does take some preparation and planning in order to get the most out of your purchase. With the right preparation and planning, you can have your handheld bidet up and running in no time.
Frequently Asked Questions
How Long Does It Take to Install a Handheld Bidet?
The installation time for a handheld bidet varies depending on the model, but typically only takes between 30 minutes and 1 hour. All necessary tools and hardware for installation should be included in the package. Additionally, most manufacturers provide detailed instructions with clear diagrams and explanations to make the installation process as straightforward as possible.
Do I Need a Plumber to Install a Handheld Bidet?
No, you do not need a plumber to install a handheld bidet. As mentioned before, most units come with detailed instructions and all necessary tools and hardware for DIY installation. If you are unsure of the installation process, you can always contact the manufacturer for further assistance.
Is Installing a Handheld Bidet Difficult?
No, installing a handheld bidet is not difficult. Most models use an easy-to-follow step-by-step process with detailed instructions and diagrams to make the installation as straightforward as possible. However, if you are unsure, it is best to get help from a licensed plumber.
What Kind of Tools Do I Need for Installation?
Most handheld bidets come with all the necessary tools and hardware for installation. If additional tools are required, refer to the instructions for details on what is needed. Some common tools include an adjustable wrench, a screwdriver, and pliers.
Do I Need Professional Installation for a Handheld Bidet?
No, you do not need professional installation for a handheld bidet. As mentioned before, most come with detailed instructions and all the necessary tools and hardware to complete the task. However, if you are unfamiliar with the installation process, it may be best to contact a licensed plumber for help.
Conclusion
Installing a handheld bidet in your bathroom can be an excellent addition to enhance your hygiene. With some tools and know-how, it’s an easy and painless process. If you follow the steps we’ve outlined, you’ll have a working handheld bidet in no time. And don’t forget to review the manual that comes with your device—it will be a helpful resource during installation and maintenance.
Now that you understand how to install handheld bidet, it’s time to make the plunge and upgrade your restroom experience! It could well be one of the best decisions you ever make for your personal health and well-being. Your improved hygiene habits could even impact your life outside of the bathroom, increasing confidence levels in other areas of life as well.
So if improving both comfort and cleanliness is something you’re looking for, investing in a handheld bidet is definitely worth considering!

