Is your HVAC system running efficiently? Are you tired of wasting energy and money from heat loss in your pipes? If so, it’s time to take action and insulate your HVAC pipes.
Insulating your pipes not only helps to minimize heat loss and improve energy efficiency, but it also prevents condensation, reduces noise, and promotes the longevity of your system. In this comprehensive guide, we will walk you through the step-by-step process of insulating HVAC pipes, from understanding the importance of insulation to choosing suitable materials and how to insulate HVAC pipes.
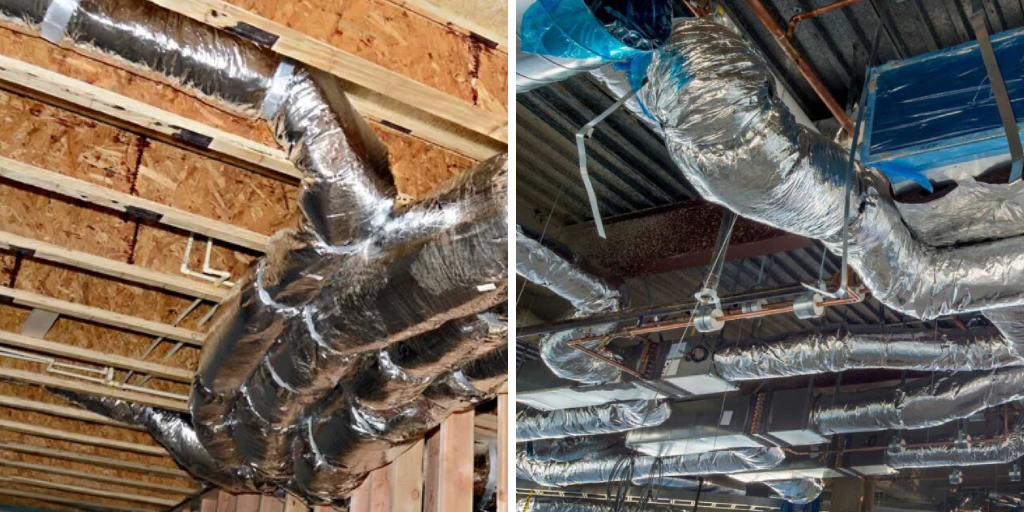
Whether you’re a DIY enthusiast looking to tackle a new project or a homeowner seeking ways to optimize your HVAC system, this blog post will provide the knowledge and tools you need to insulate your HVAC pipes effectively. So, grab your gloves and a cup of coffee, and let’s dive into the world of HVAC pipe insulation.
Necessary Items
Before we get started, let’s make sure we have all the necessary items to complete this project:
- Insulation material (such as foam, fiberglass, or rubber)
- Tape measure
- Utility knife
- Scissors
- Gloves and safety goggles
- Adhesive (if using foam insulation)
- Zip ties or duct tape (if using fiberglass insulation)
It’s essential to choose a suitable insulation material for your pipes. Foam is popular because it is easy to handle and cut, but fiberglass offers better heat resistance. Rubber is another excellent option for its flexibility and durability. Read the manufacturer’s instructions and safety precautions before handling any insulation material.
10 Steps on How to Insulate HVAC Pipes
Step 1: Understanding the Benefits
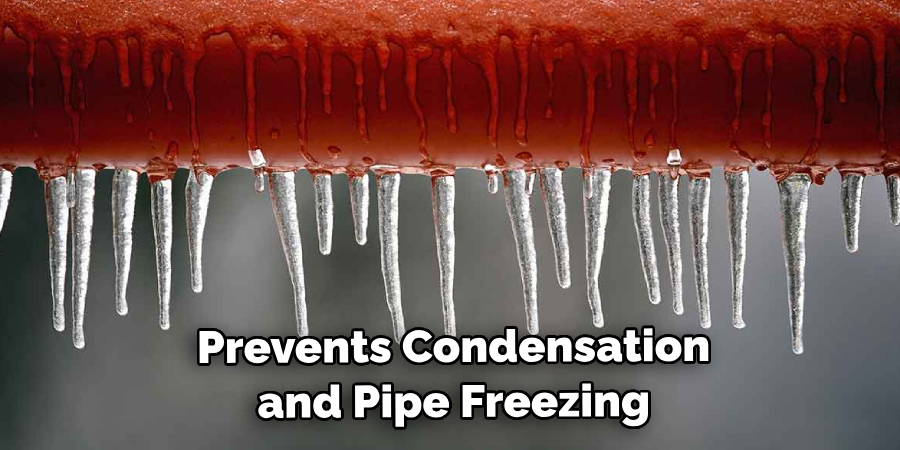
Before we jump into the how-to part, it’s essential to understand the benefits of insulating your HVAC pipes. As mentioned earlier, insulation helps reduce heat loss and energy consumption, prevents condensation and pipe freezing, and reduces noise levels. It also protects your pipes from damage due to extreme temperatures and promotes efficient operation.
Step 2: Identifying Pipes that Need Insulation
Not all pipes in your HVAC system need to be insulated. Typically, only the hot water pipes and pipes in unheated areas (such as crawl spaces) require insulation. Identify these pipes before starting the project.
Step 3: Measuring and Cutting Insulation
Use a tape measure to measure the length of each pipe that needs insulation. Add an extra inch or two to ensure a snug fit. Mark the insulation material accordingly and use a utility knife or scissors to cut it to size.
Step 4: Putting on Protective Gear
Insulation materials can be irritating to the skin and eyes, so make sure to wear gloves and safety goggles before handling them. If using fiberglass insulation, a mask is also recommended.
Step 5: Applying Adhesive (for Foam Insulation)
If using foam insulation, apply adhesive to the pipe before wrapping it with the insulation material. This will ensure a secure fit and prevent gaps.
Step 6: Wrapping the Pipe
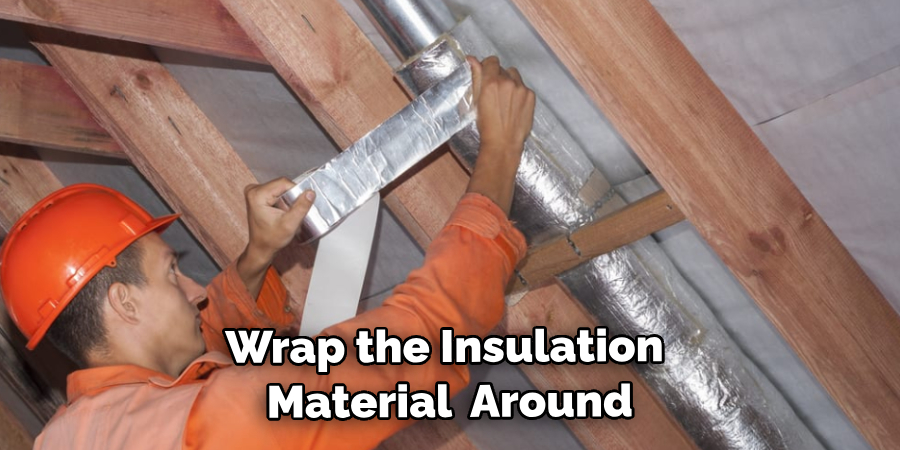
Wrap the insulation material around the pipe, starting from one end and moving towards the other. Make sure to cover all exposed areas, including elbows and joints.
Step 7: Securing with Tape or Zip Ties
Use zip ties or duct tape to secure the material in place for fiberglass insulation. If using foam insulation, you can skip this step as the adhesive will keep it in place. Ensure no gaps or spaces between the insulation and the pipe.
Step 8: Sealing the Ends
To prevent any air from escaping, seal the ends of the insulation tubes with tape. This will also help keep out any insects or debris.
Step 9: Insulating Valves and Fittings
Remember to insulate valves and fittings connected to the pipes. You can use pre-cut foam insulation or wrap them with fiberglass.
Step 10: Rechecking and Cleaning Up
Once all the pipes are insulated, double-check for gaps or areas needing additional insulation. Clean the room by disposing of any materials and tools used during the project.
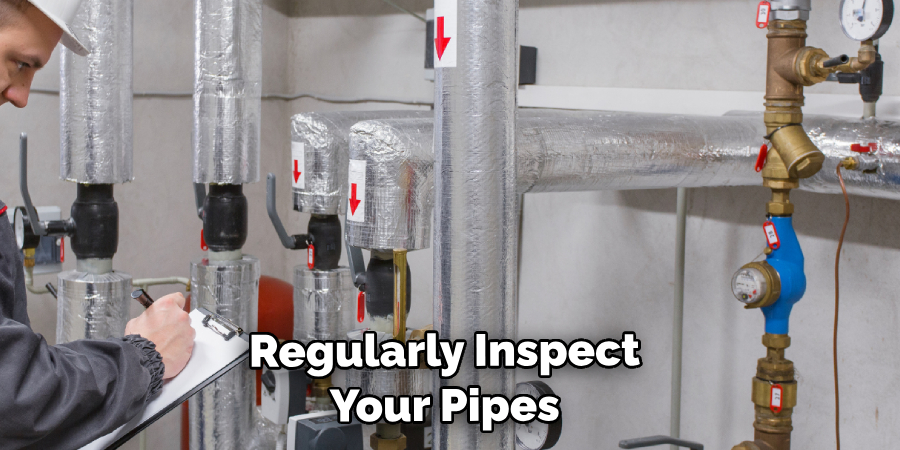
Congratulations! You have successfully insulated your HVAC pipes and are one step closer to an efficient and well-maintained HVAC system. Regularly inspect your pipes for wear or damage and replace the insulation if necessary. By insulating your pipes, you save money on energy bills and contribute to a greener environment.
So, sit back, relax, and enjoy the comfort and peace of mind of a well-insulated HVAC system. So why wait? Start your HVAC pipe insulation project today and reap the benefits for years! Keep learning and exploring new ways to improve energy efficiency in your home.
8 Things to Avoid
1. Avoid Using Duct Tape as the Sole Insulation Material
While duct tape may seem convenient for securing insulation, it is not an effective insulation material. It can quickly come undone and does not provide enough heat resistance.
2. Avoid Using Insulation Material with a Lower R-value
The R-value measures the thermal resistance of an insulation material. The higher the value, the better it is at preventing heat loss. Choose insulation with the appropriate R-value for your pipes’ needs.
3. Avoid Leaving Gaps or Spaces
Gaps and spaces between the insulation material can compromise its effectiveness. Take extra care when wrapping around elbows, joints, and valves. Use zip ties or tape to seal any gaps.
4. Avoid Excessive Handling of Fiberglass Insulation
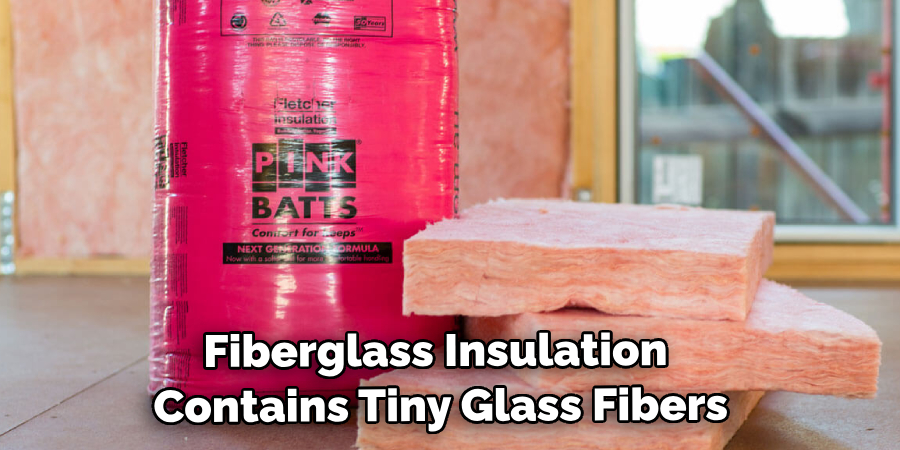
Fiberglass insulation contains tiny glass fibers that can irritate the skin and lungs if inhaled. Wear protective gear and minimize handling as much as possible.
5. Avoid Ignoring Safety Precautions
Always follow safety precautions when handling insulation materials. Wear protective gear, work in a well-ventilated area, and properly dispose of used materials.
6. Avoid Insulating Pipes with Visible Damage
If your pipes have visible damage or leaks, addressing those issues before insulating them is best. Insulation can trap moisture and make existing problems worse.
7. Avoid Neglecting Maintenance
Regularly inspect your pipes for any signs of wear or damage. Replace insulation if necessary and keep the area clean to prevent potential hazards.
8. Avoid Not Insulating at All
Insulating your HVAC pipes may seem time-consuming, but the benefits outweigh the effort in the long run. Pay attention to this crucial step in maintaining an efficient and functional HVAC system.
So, don’t delay any longer. Start your project today and enjoy the many benefits of well-insulated pipes! Following these tips and taking proper precautions can ensure a successful insulation project that will last for years. Keep exploring ways to improve energy efficiency in your home for a more comfortable and sustainable living environment.
Frequently Asked Questions
How Often Should I Check My Insulated Pipes?
Inspecting your pipes at least once a year for any signs of wear or damage is recommended. However, if you notice any changes in the temperature or efficiency of your HVAC system, it’s best to check them more frequently.
Can I Insulate My Pipes In the Summer?
Yes, you can insulate your pipes in any season. However, it may be more comfortable to work with insulation materials in cooler temperatures. Insulating your pipes during warmer months can also help prevent condensation and moisture buildup.
Can I Use Any Type of Insulation Material?
Choosing the suitable insulation material for your pipes is optional. Fiberglass and foam are commonly used for HVAC pipes because of their heat resistance properties. Check the R-value and compatibility of the material with your lines before purchasing.
Does Insulating Pipes Save Money on Energy Bills?
Insulating pipes can save money on energy bills by reducing heat loss and making your HVAC system more efficient. It also helps reduce wear and tear on your system, leading to lower maintenance costs in the long run. So, it’s a win-win situation for your wallet and the environment!
Is Pipe Insulation Worth the Effort?
Yes, pipe insulation can significantly improve the efficiency of your HVAC system, leading to lower energy bills and a more comfortable living environment. It also helps prevent hazards such as leaks or freezing in colder temperatures. So, it’s worth the effort and investment in the long run.
Can I Insulate Pipes Myself?
Yes, you can insulate your pipes yourself. However, hiring a professional is best if you need clarification or are comfortable handling insulation materials. They have the experience and knowledge to ensure proper installation and safety precautions. So, don’t hesitate to seek help if needed.
Conclusion
Insulating your HVAC pipes is essential in maintaining an efficient and functional heating and cooling system. By following these steps on how to insulate HVAC pipes and avoiding common mistakes, you can effectively insulate your pipes and enjoy the benefits for years to come. In conclusion, insulating your HVAC pipes is a simple and effective way to improve the efficiency of your heating and cooling system. Not only does it save you money on energy bills, but it also helps to reduce your carbon footprint.
Following the steps outlined in this blog post, you can efficiently insulate your pipes and reap the benefits all year round. Remember, proper insulation not only keeps your home comfortable but it also protects your lines from potential damage. So, invest in high-quality insulation materials and take the time to seal any gaps or openings.

