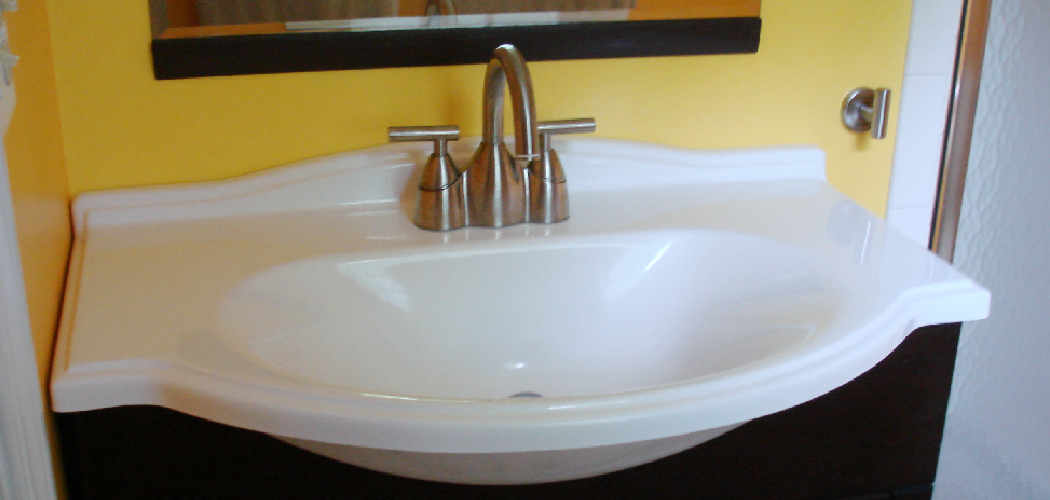
If you’re like most homeowners, you probably only think about your bathroom sink vanity when it’s time to clean it. And if you’re really lucky, you might only have to deal with cleaning it every few months. But what do you do when it’s finally time to get rid of that old and dingy sink vanity?
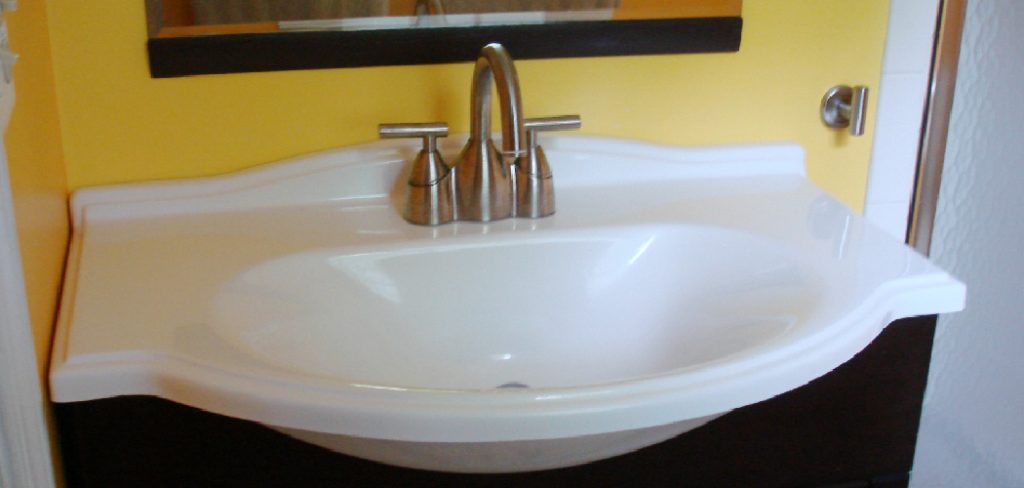
Removing a sink vanity is a relatively easy task, but there are a few things you need to know before you get started. In this article, we will walk you through the process of how to remove a sink vanity step by step. We will also provide some tips on how to make the process easier. So, if you are planning to remove your sink vanity, read on for helpful advice.
What Tools Do You Need to Remove a Bathroom Vanity?
Removing a bathroom vanity requires a few basic tools, such as an adjustable wrench, screwdriver, and hammer. You may also need to use a putty knife or razor blade to remove any caulking between the vanity and the wall, and possibly a chisel if the vanity is attached to nails.
Make sure you have safety glasses or goggles and work gloves to protect your eyes and hands. You may also need a pry bar to help you remove the vanity from its place. Finally, have a bucket or container ready to catch any water that may come out of the sink pipes when you disconnect them. Once all these tools are gathered and ready, you can begin removing your bathroom vanity.
10 Methods How to Remove a Sink Vanity
1. Remove the Sink Drain
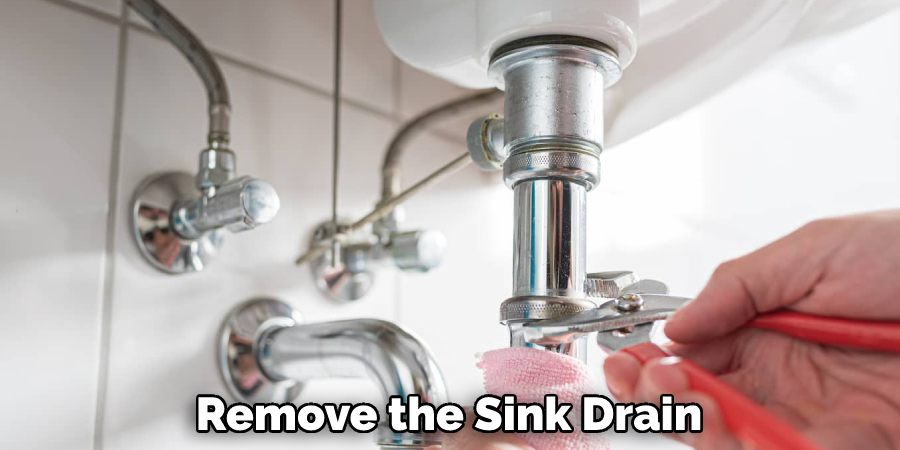
The first step in removing a sink vanity is to remove the sink drain. To do this, you will need to use a wrench to loosen the nut that secures the drain to the sink. Once the nut is loosened, you can then remove the drain by pulling it up and out of the sink. If your drain has a sealant around it, you may need to use a razor blade to cut the sealant so that the drain can be removed.
2. Remove the P-Trap
The next step is to remove the P-trap, which is the curved pipe that connects the drain to the sewer line. To remove the P-trap, you will need to use a wrench to loosen the nuts that secure it to both the drain and the sewer line. Once these nuts are loosened, you can then remove the P-trap by pulling it up and out of the sink.
While it is not necessary to do so, you may want to put a bucket or container beneath the P-trap before removing it in order to catch any water that might remain inside. However, most of the water should have drained out after you removed the S-bend. Now you are ready to proceed with replacing the P-trap.
3. Remove any Faucets or Hardware
If your sink vanity has any faucets or hardware attached to it, such as handles or knobs, you will need to remove these before proceeding. To do this, you will need to use a wrench or screwdriver to loosen and remove any screws or bolts that are holding these items in place.
You Can Check It Out to Plug a Bath without a Plug

Once all of the screws or bolts are removed, you can then simply pull these items off of the sink vanity. Try to be careful not to damage the sink vanity during this process. Once all of the hardware and faucets have been removed, you can then move on to the next step. If there are any other items in the way, such as a soap dish or towel bar, you will also need to remove these before proceeding.
Although you may wish to save any hardware or other items that you remove from the sink vanity, it is best to discard them since they will not be needed for your installation. Additionally, any items that you choose to save should be cleaned and sanitized before being used again.
4. Cut through Caulk and Silicone Sealant
If there is any caulk or silicone sealant sealing around your sink vanity, you will need to cut through this in order to remove it. To do this, you can use a utility knife or razor blade to score around the perimeter of the sink vanity. Once you have cut through all of the caulk or silicone sealants, you can then proceed to the next step.
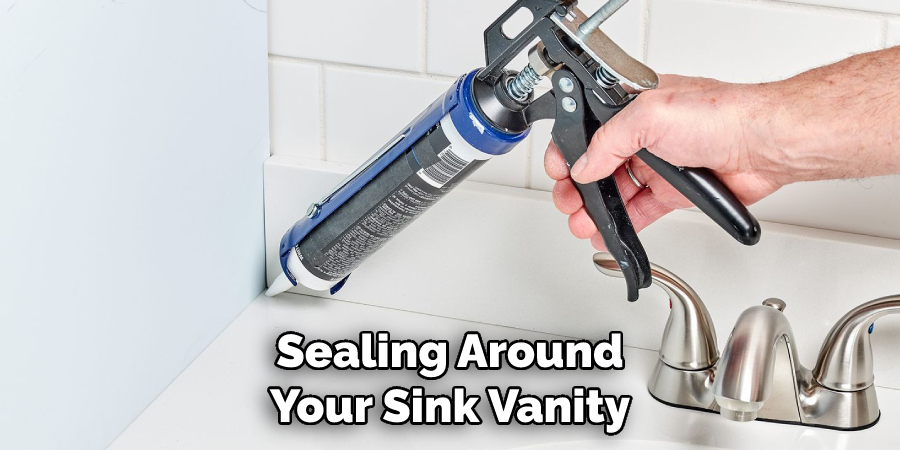
If you find any silicone caulk that is particularly challenging to remove, you may want to use a caulking remover product to help break down the sealant and make it easier to remove. Once the sealant is removed, you can then clean up any remaining residue with a damp rag.
5. Lift Off Countertop
Once all of the above steps have been completed, you should now be able to lift off your countertop from your sink vanity. To do this, simply grab hold of one end of the countertop and lift it up and away from the sink vanity base. If your countertop is heavy or difficult to lift, you may need another person to help you with this step.
While lifting the countertop, be sure to keep it level and straight so that you don’t damage any of the components beneath. Once you have the countertop clear of the sink vanity, you can move it to a more convenient location for further cleaning and repair if necessary. Finally, you can begin to install your new countertop or sink vanity if you have chosen to replace it.
6. Disconnect Water Supply Lines
If your sink vanity has water supply lines connected to it, you will need to disconnect these before proceeding any further. To do this, simply turn off the water supply valves that are located under your sink and then use a wrench to loosen and remove the nuts that secure the water lines in place.
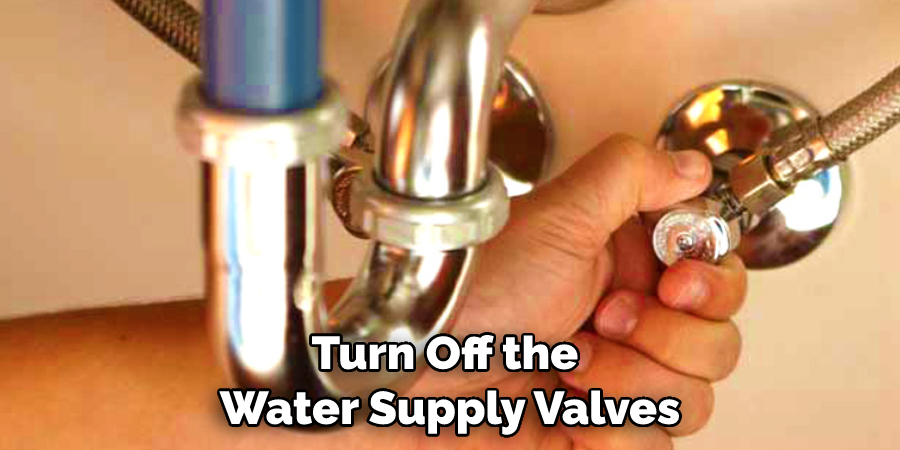
Once these nuts are removed, you can then pull on the water lines until they come free from their connections. Although it may seem intimidating, disconnecting the water supply lines should only take a few minutes. If you have any doubts or questions, always consult a professional plumber.
7. Remove Sink Vanity Base
Once all of the above steps have been completed, you should now be able to remove your sink vanity base from its location. To do this, simply grab hold of one end of the base unit and lift it up and away from its location. If your base unit is heavy and difficult to lift, you may need another person to help you with this step.
Once the base unit has been removed, you can now begin to install your new vanity top. Be sure to properly measure and check all dimensions before starting this process, as it is important that everything fits correctly. When you are finished installing your new vanity top, you will be able to enjoy a stylish and updated look in your bathroom.
8. Dispose of Old Vanity
Once you have removed your old sink vanity, it is important to safely dispose of any pieces that you don’t plan on reusing. This includes the countertop, sink drain, P-trap, and any faucets or hardware that were attached. You should also take care to disconnect any water supply lines before disposing of the old sink vanity. If your old vanity is made of wood, you can choose to take it to a recycling center, where it will be repurposed or reused.
If the material is not recyclable, you may need to contact your local hazardous waste disposal facility for assistance with proper disposal. Additionally, if your vanity was attached to the wall in any way, you should patch or repair any areas where the wall was damaged during removal. By thoroughly cleaning up your workspace and disposing of any components you don’t plan on reusing, you can ensure that your bathroom remodeling project is completed safely and properly.
9. Clean the Area
Finally, it’s important to make sure that you clean up any debris or dust from the area before installing your new vanity. This includes wiping down any surfaces and vacuuming up any dust that may have been left behind. This will ensure that your new vanity is installed properly and looks its best in its new location.
While it may seem tedious, it’s important to take the time to clean up before installation. Doing so will also help protect against any potential damage that could have been caused by dirt and dust particles. Once everything is cleaned up, you can begin installing your new vanity. However, if you have any questions during the process, make sure to contact a professional. They can help walk you through the installation and answer any questions you may have along the way.
10. Install New Vanity
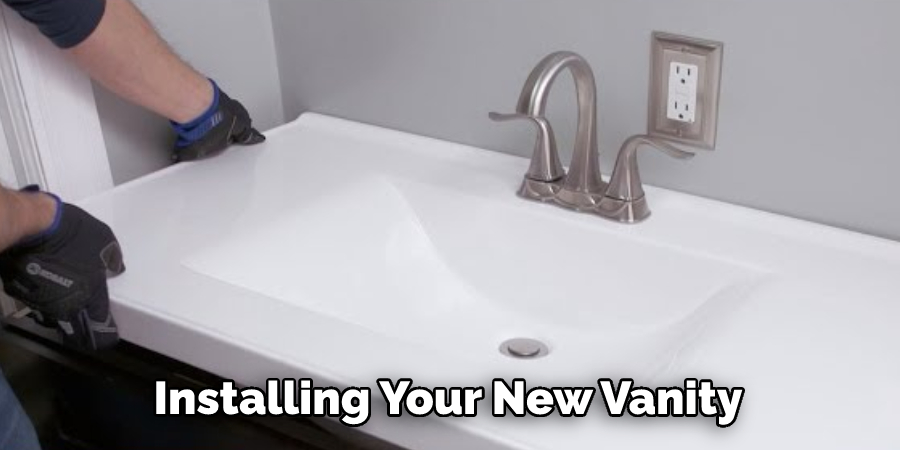
Now that you have prepared the area, you are ready to install your new vanity. Be sure to follow all of the instructions that come with your new vanity and take care to properly measure any necessary dimensions before starting. Once everything is in place, you can then secure it with screws or bolts as needed and reconnect any water supply lines.
Finally, you can finish the look by adding any desired faucets or hardware. When you are finished, you will have a stylish and updated vanity in your bathroom that you can enjoy for years to come.
By following this step-by-step guide, you should now be able to successfully remove and install a new sink vanity in your bathroom. Remember to take the necessary precautions when disconnecting water supply lines and disposing of any old materials, as these can be dangerous if not handled properly. With the right tools and supplies, you will be able to create a beautiful new look for your bathroom in no time. Good luck!
Things to Consider When Removing a Skin Vanity
- Consider the size of the vanity. Some vanities may be too large to fit through a doorway or hall. Make sure you measure the space before attempting to remove it.
- Make sure you have all the proper tools for removing a skin vanity, such as screwdrivers, mallets, and crowbars, if necessary. It’s also a good idea to wear protective gloves in case something sharp is encountered during removal.
- If you’re not confident in your ability to remove a skin vanity safely and securely, consider calling in professional help. A qualified contractor will know exactly how to disassemble the vanity without damaging any part of it or your home’s structure.
- If there are drawers in the vanity, make sure you remove any items from them before attempting to disassemble them.
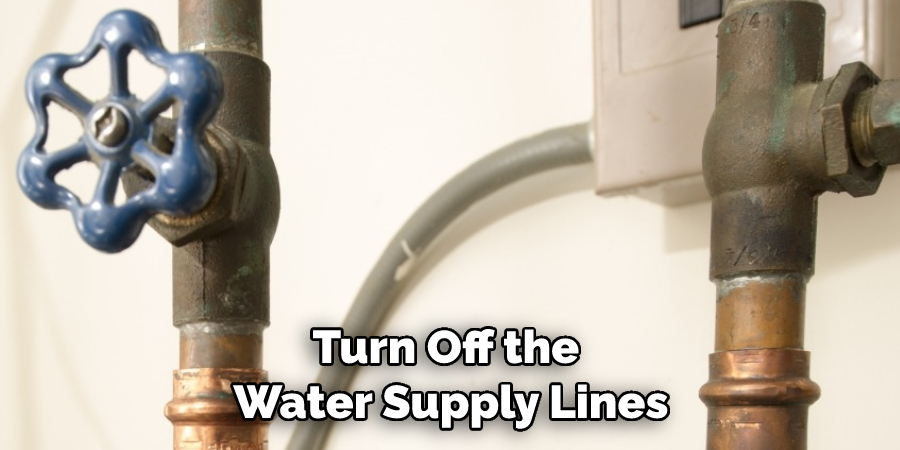
- Be sure to turn off the water supply lines before attempting any plumbing disconnections. This will prevent accidental flooding and other disasters.
How Much Does It Cost to Remove an Old Vanity?
The cost to remove an old vanity varies depending on the size of the vanity, how much it is attached to the wall and any other factors. Generally speaking, it typically costs anywhere from $50-$200 for a professional service to remove a skin vanity. However, if you’re feeling confident in your DIY skills, you can save money by doing the work yourself.
Keep in mind that you should never attempt to remove a vanity without first turning off the water supply lines. Doing so could cause serious damage and be very costly. Additionally, always make sure you have the proper tools for removing any fixtures or hardware before beginning the job.
Conclusion
Whether you are remodeling your bathroom or just changing out a sink, removing a sink vanity is not as complicated as it may seem. With a few simple tools, you can have your old sink removed and ready for installation in no time. Now that you know how to remove a sink vanity, you can take on this project with confidence. Depending on the type of sink and countertop you have, you may need different materials or tools. Be sure to consult your owner’s manual or ask a professional if you are unsure about anything. With careful planning and execution, you can remove your old sink vanity and install a new one in no time!

