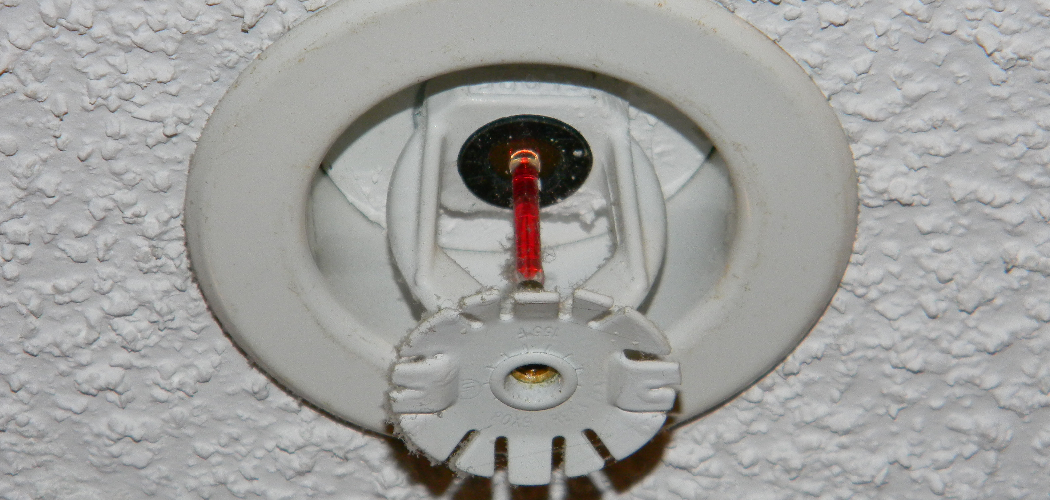
Installing a new sprinkler head is an important part of maintaining your fire safety system. Sprinkler heads might need to be replaced due to wear and tear if they weren’t properly installed in the first place or in response to the requirements for certain specific types of areas or locations.
But regardless of what triggered the replacement, it’s important you get it done correctly — so follow these steps on how to replace your fire sprinkler head!
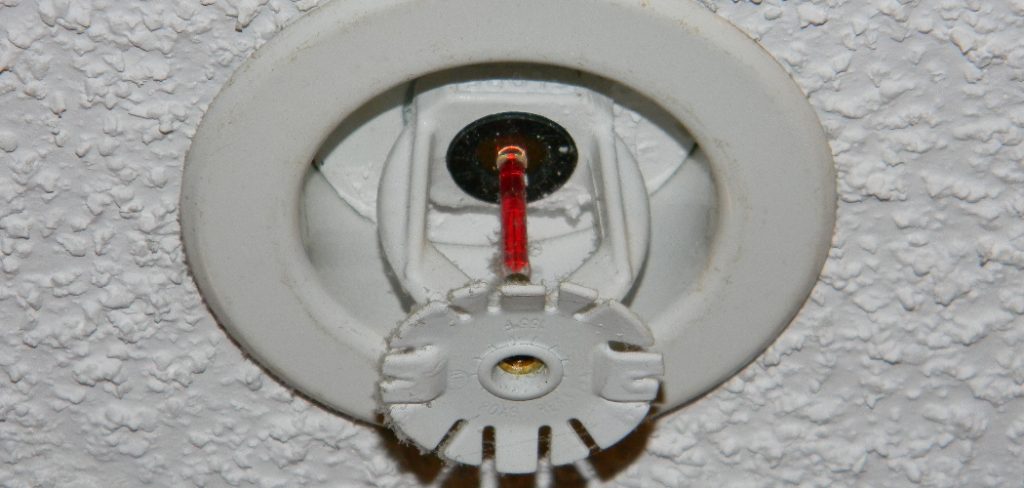
Are you dealing with a malfunctioning fire sprinkler? It can be daunting to tackle this project, but take heart – replacing your fire sprinkler head is relatively simple if you know how! In this blog post on how to replace fire sprinkler head, we’ll provide an informative yet approachable overview of the process.
We’ll cover important factors to consider when researching replacement heads, tools and supplies needed for a successful installation, detailed step-by-step instructions on how to replace your fitted fire sprinkler head safely and quickly — so you can rest easy knowing nothing will go wrong. So let’s get started!
Why Do You Need to Replace Fire Sprinkler Head?
1. Clogged Head
The reason you need to replace the fire sprinkler heads is due to the fact that they can become clogged or blocked over time, which would reduce the water pressure or even stop it completely. This means that when a fire takes place, the sprinklers wouldn’t be able to put out the fire as quickly and effectively as required.
2. Old Heads
Replacing fire sprinkler head can also be necessary due to age, as older heads may no longer be up to standard or simply have become too worn out. This could cause them to not work as effectively and would lead to a lack of protection if a fire were to break out.
3. Improper Installation
One final reason for replacing the fire sprinkler head could be due to improper installation or incorrect fitting. This can mean that the head isn’t providing an even distribution of water and, therefore, won’t work as effectively.
The Benefits of Replacing Fire Sprinkler Head
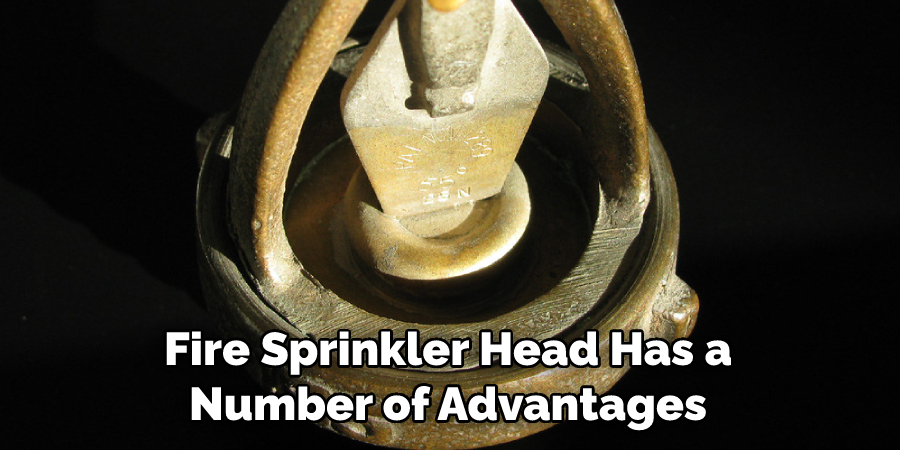
Replacing the fire sprinkler head has a number of advantages, not least because it could save lives and property in the event of a fire. Other benefits include:
• Improved Water Pressure and Flow – Replacing your fire sprinkler head will ensure the correct water pressure is applied when the system is activated, leading to better fire protection.
• More Reliable Protection – A new head will be more reliable and won’t have any faults or problems that could lead to a lack of fire protection.
• Increased Lifespan– Replacing your fire sprinkler heads means they can last longer, as newer models are often built from better materials and designed to last longer.
Needed Tools and Materials to Replace Fire Sprinkler Head
- Wrench
- Phillips head screwdriver
- New fire sprinkler head
- Socket wrench or adjustable pliers
- Safety glasses and gloves
- Fire retardant (if required)
- Sprinkler system manual (optional)
10 Steps on How to Replace Fire Sprinkler Head
Step 1: Turn Off the Power Supplies
Shut off the water supply connected to your fire sprinkler system. This will ensure that no water is released when you are replacing the head or attempting to repair any other parts of the system. Be sure to also turn off the power supply to the system as well.
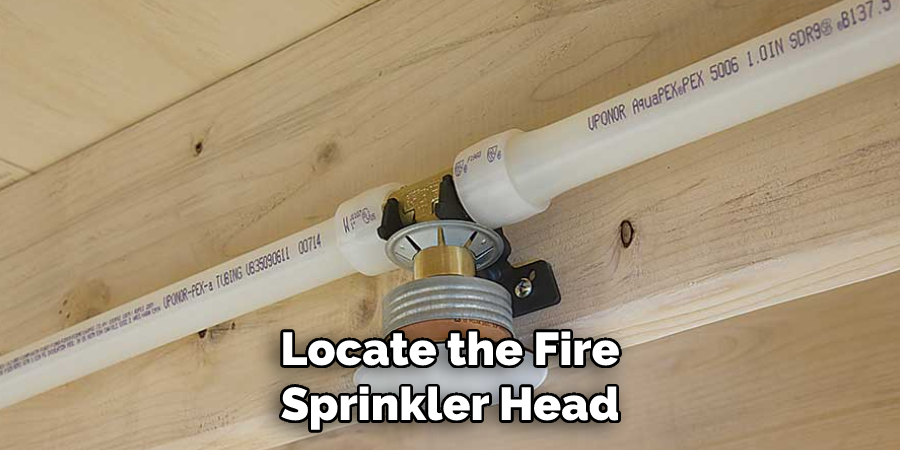
Step 2: Locate the Head and Shutoff Valve
Locate the fire sprinkler head, which needs to be replaced, as well as any shutoff valves that are connected to it. If you are unsure of where these are located, consult your sprinkler system manual or get in touch with a professional.
Step 3: Disconnect the Sprinkler Head
Using a wrench or adjustable pliers, disconnect the sprinkler head from the support pipe by unscrewing it counterclockwise. Avoid using too much force if you are having difficulty removing it, as this could damage other parts of the system.
Step 4: Remove the Old Fire Sprinkler Head
Once you have unscrewed the old fire sprinkler head, remove it from its support pipe and discard it. While removing the head, be sure to take note of any seals or other components that need to be replaced.
Step 5: Install the New Fire Sprinkler Head
Carefully install the new fire sprinkler head onto the support pipe and attach it securely with a wrench or adjustable pliers. Be sure not to over-tighten as this could cause damage.
Step 6: Replace the Seals and Components
If any seals or components were removed during the removal of the old fire sprinkler head, be sure to replace them with new ones when installing the new head. Remember to use the same type of seal or component to ensure optimal performance.
Step 7: Reattach the Sprinkler Head
Using a wrench or adjustable pliers, reattach the sprinkler head to its support pipe, making sure it is securely fixed in place. Take care not to over-tighten, as this could cause damage. Reattaching the head should be done carefully and with caution.
Step 8: Check for Leaks
Once the sprinkler head is reattached, check to see if there are any leaks present. If you find any, tighten up the connections or replace the seals and components as needed. If any leak persists, contact a professional for advice.
Step 9: Test the System
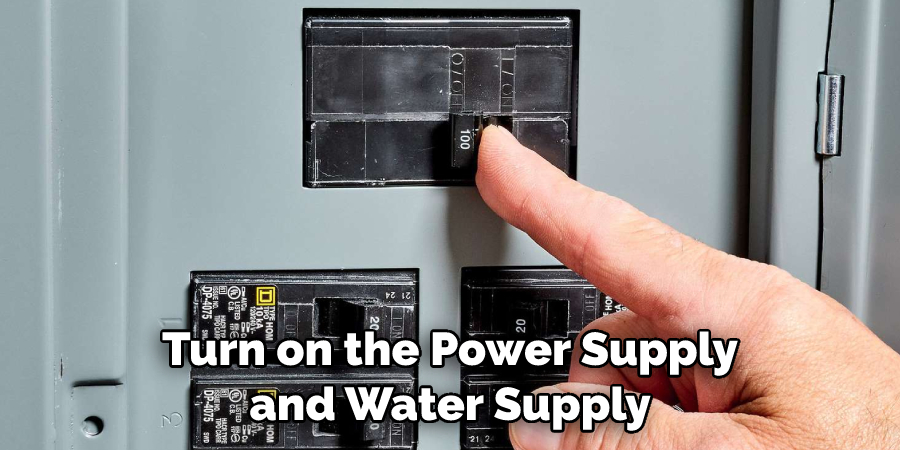
Turn on the power supply and water supply to your system and test that it is functioning correctly. Ensure that the sprinkler head is working correctly and providing adequate coverage in case of a fire.
Step 10: Reinstall Fire Retardant
Reinstall any fire retardant that was removed during the replacement process if necessary. This will help to protect your system from fires and other hazards. It will also help to reduce the risk of a fire spreading quickly.
Once these steps have been followed, you should have successfully replaced your fire sprinkler head. Following this guide will ensure that your system is working correctly and reliably in case of a fire emergency. Be sure to test the system periodically and contact a professional for any repairs or maintenance if needed.
8 Safety Precautions to Take
1. Shut off the water supply to the sprinkler head. Before you attempt any repairs or replacements, it is essential that you turn off the water supply to avoid potential flooding and damage. Remember to turn it back on once you’re done.
2. Wear safety goggles and gloves for protection. It is important to protect your eyes and hands when working with the sprinkler head, as metal parts can be sharp or become hot during repairs.
3. Disconnect the old sprinkler head from the pipe by loosening it with an adjustable wrench. Make sure to remove any debris or dirt in the area around the fire sprinkler head while it is disconnected.
4. Don’t use any type of lubricant, such as oil or grease, on the new sprinkler head. This can cause a blockage in the system and could impair the fire protection capabilities of the sprinkler head. Also, be sure to use the correct type and size of sprinkler head for your system.
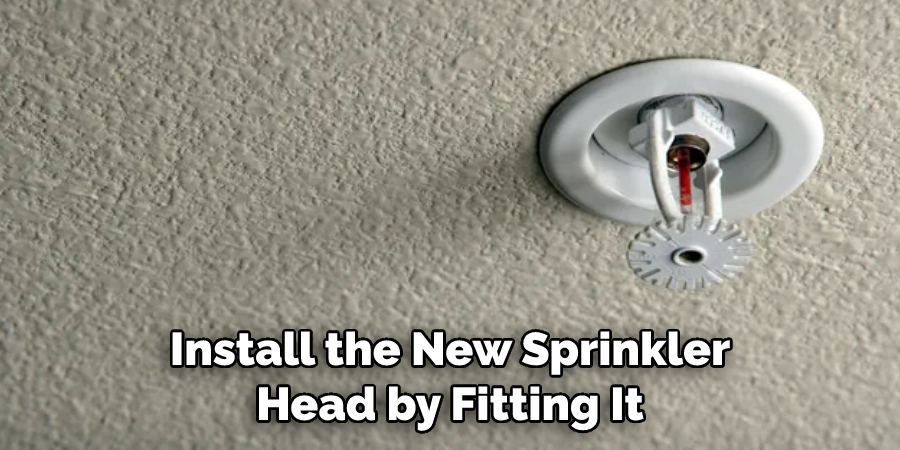
5. Install the new sprinkler head by fitting it into the pipe and securing it with an adjustable wrench. Make sure to tighten it firmly, as a loose sprinkler head can cause water leaks or other damage.
6. Reconnect the wires to the new sprinkler head. This will ensure that it is properly connected to any fire alarm system in place and will be able to respond quickly when activated by a fire. Also, check any other components of the system to make sure they are all functioning properly.
7. Check the pressure and flow rate of your sprinkler head. This is important to ensure that it is working correctly and will be able to suppress a fire in the event of an emergency.
8. Once you have replaced the fire sprinkler head, it is important to inspect and test the entire system regularly for proper operation. This will help ensure that your home or business is protected in case of a fire emergency.
You should also contact a professional if you have any doubts about replacing the fire sprinkler head yourself, as it is important to ensure that the system is working properly before relying on it in an emergency.
7 Common Mistakes to Avoid
1. Not turning off the water supply. Before replacing a fire sprinkler head, make sure to turn off the main water supply. Otherwise, you may accidentally flood your home or workplace with water. While this may be an easy fix to the problem, it’s always better to take precautionary measures and turn off the water supply first.
2. Not checking local codes. Depending on where you live, there may be specific fire sprinkler codes that need to be adhered to when replacing a fire sprinkler head. Make sure you check the codes in your local area before attempting to replace any sprinkler heads.
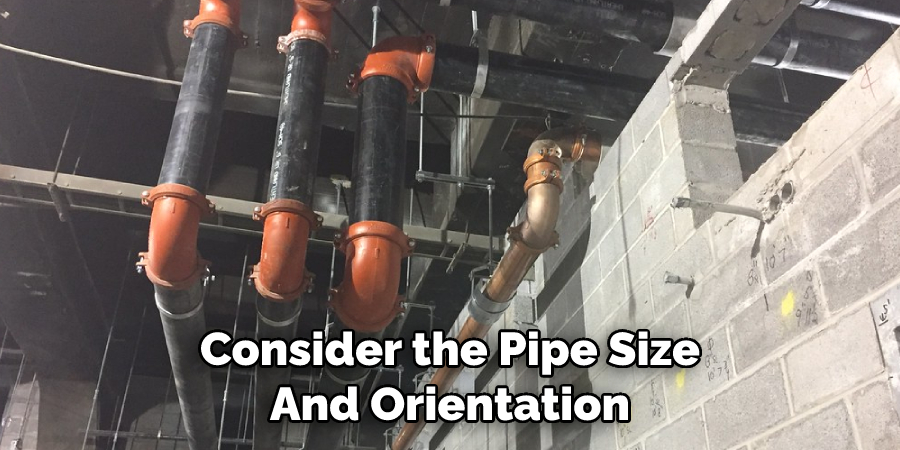
3. Not considering pipe size and orientation. Make sure that you consider the pipe size and orientation when replacing a fire sprinkler head. This is particularly important if there are multiple pipes connected to the same line, as each one may require a different size of the fire sprinkler head.
4. Not using the right tools. It’s important to use the right tools when replacing a fire sprinkler head, as different tools can create different problems. Using an adjustable wrench or pipe wrench is generally recommended for most replacement jobs.
5. Not sealing the pipes properly. Make sure that you seal the pipes properly after replacing a fire sprinkler head. Leaks can occur if the pipes aren’t sealed tightly enough, leading to water damage and other issues.
6. Not testing the system. After you’ve replaced a fire sprinkler head, it’s important to test the system to make sure that it works properly. This can help to identify any potential issues before they become major problems.
7. Not getting professional help when needed. If you’re unsure of how to replace a fire sprinkler head, it’s important to seek professional help. Many local companies offer installation and repair services for fire sprinklers, so make sure to contact one if you’re in need of assistance.
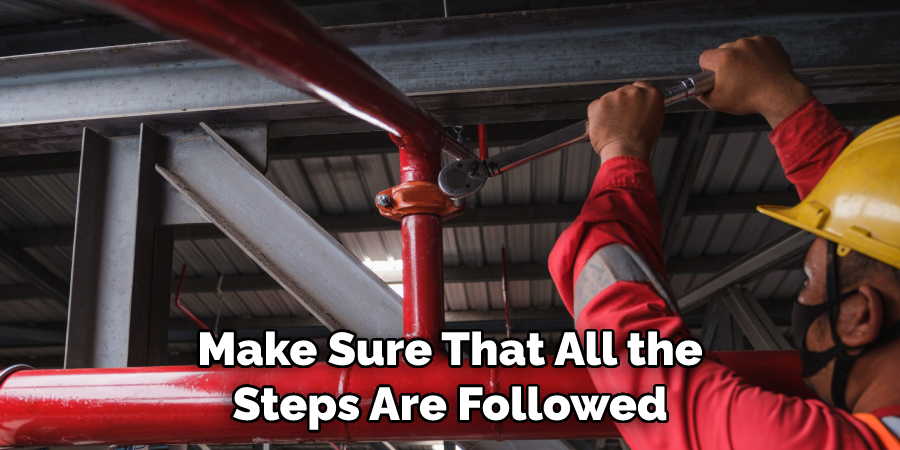
Replacing a fire sprinkler head can be a tricky process, so it’s important to make sure that all the steps are followed correctly. By avoiding these common mistakes, you can help ensure that your sprinkler system is properly replaced and working correctly.
Conclusion
Replacing your fire sprinkler head is an important step in ensuring the safety of your building and any occupants. While it may seem intimidating, the process is relatively simple and straightforward, with some patience and knowledge on how to replace fire sprinkler head. Be sure to turn off the water connected to the system beforehand and have an expert on hand if needed.
Also, consider checking the whole system afterward to make sure nothing else needs attention. Overall, replacing the fire sprinkler head is a key factor in making sure fires are responded to quickly and put out appropriately.
No matter what type of building you might inhabit or oversee, it’s important to make sure that fire systems work in peak condition at all times. Not only will this help you sleep better at night knowing a faulty system isn’t going to present itself when you least expect it, but you’ll also gain peace of mind knowing that fires will be handled competently if and when they occur!

