Are you considering replacing the floor under your toilet in your mobile home? It may seem daunting, but you can quickly complete this project independently with the right tools and knowledge.
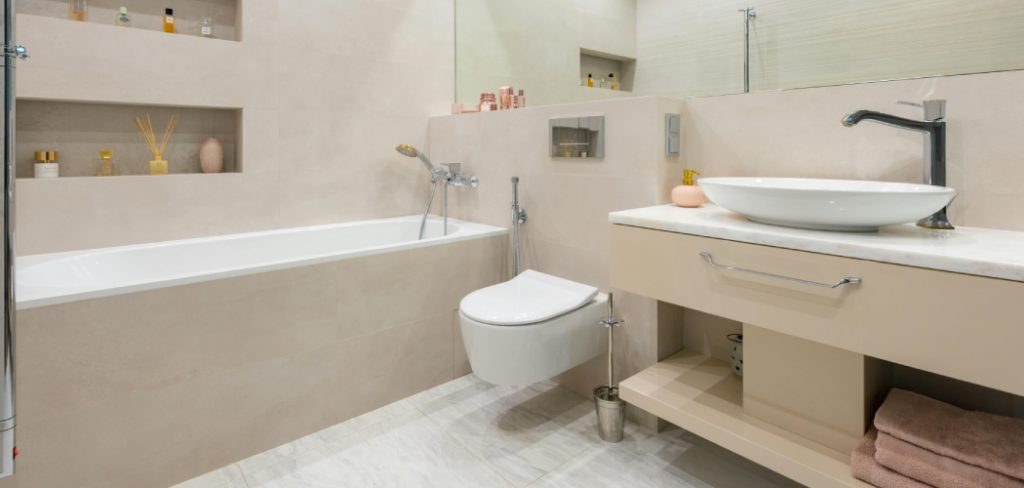
How to replace floor under toilet in mobile home is a task that can seem daunting, but with the right tools and techniques, it can be accomplished efficiently. Over time, water damage, wear, and tear can affect the flooring beneath the toilet, leading to potential leaks and structural issues.
This guide will walk you through the necessary steps to safely assess, remove, and replace the flooring, ensuring that your mobile home remains comfortable and functional. Whether you’re a seasoned DIY enthusiast or a first-timer, following these instructions will help you confidently tackle the job.
What Will You Need?
Before you get started, gather all the necessary tools and materials to ensure a smooth process. Here’s a list of what you’ll need:
- Protective gear (gloves, safety glasses, and face mask)
- Tape measure
- Pry bar
- Hammer or mallet
- Circular saw or jigsaw
- Chisel
- Utility knife
- Screwdriver
- Floor repair adhesive
- Replacement floorboards or plywood sheets
Once you have all the required tools and materials, it’s time to start replacing the floor under your toilet.
9 Easy Steps on How to Replace Floor Under Toilet in Mobile Home
Step 1. Assess the Damage
The first step in replacing the floor under your toilet is to assess the damage’s extent thoroughly. This involves lifting the toilet to examine the flooring directly beneath it and the surrounding area for signs of water damage, rot, or mold. Look for soft spots or discoloration on the flooring material; these are indicators that moisture has seeped in and compromised the integrity of the subfloor. Use a screwdriver to poke at the surface; you’ll need to remove more material if it feels spongy or breaks away.
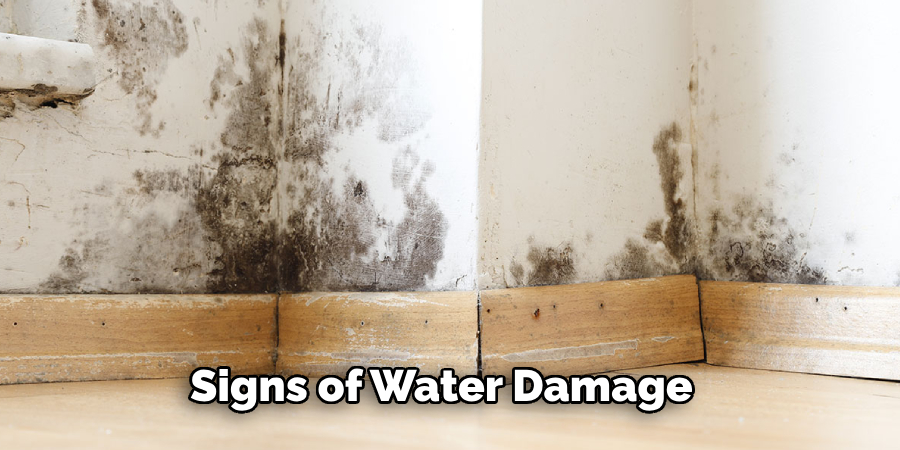
Take note of the condition of the support structure beneath the damaged flooring, as this, too, may require attention. Document your findings to help you determine how much of the flooring needs to be replaced and to guide you in choosing the appropriate materials for the repair. Once you’ve assessed the damage thoroughly, you’ll be better prepared to proceed with the next steps in the replacement process.
Step 2. Gather Your Materials
Now that you’ve assessed the damage, it’s time to gather your materials for the replacement. Ensure you have the required floorboards or plywood sheets that match the dimensions of the area you need to replace. If you’re unsure about the type of flooring previously used, consult with a local hardware store for recommendations that suit mobile home specifications.
Additionally, have your floor repair adhesive ready, along with any other materials like screws or fasteners that may be needed for installation. Preparing everything beforehand will streamline the replacement process and help you avoid unnecessary trips to the store. Once you have all your materials, you can move on to the next step.
Step 3. Remove the Toilet
Once you have gathered your materials, it’s time to remove the toilet from its position. Start by turning off the water supply to the bathroom to prevent any leaks during the process. Next, flush the toilet to empty the tank and bowl, and then use a sponge or towel to soak up any remaining water. Disconnect the water line from the toilet by loosening the nut with a wrench.
After that, remove the bolts securing the toilet to the floor, typically located at the base. Carefully lift the toilet and set it aside on a soft surface to prevent damage. Be cautious during this step, as the bathroom can be heavy, and you may need assistance. With the toilet removed, you’ll gain full access to the flooring underneath, allowing you to effectively proceed with the replacement process.
Step 4. Remove the Damaged Flooring
With the toilet safely set aside, removing the damaged flooring is time. Begin by using your utility knife to cut around the perimeter of the affected area, creating clean edges for easier removal.
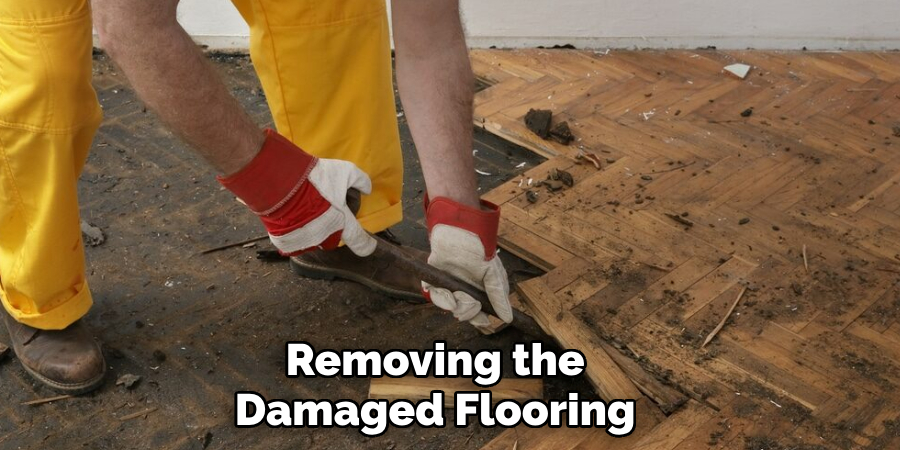
Next, you can utilize a pry bar to lift and pull up the damaged flooring gently. If you encounter any stubborn sections, use the hammer or mallet to tap the pry bar lightly for better leverage.
As you remove the flooring, avoid damaging the underlying subfloor or any structural support. Once all the damaged material is removed, thoroughly inspect the subfloor for any signs of rot or further damage. If you find areas that need repair, address those before proceeding to ensure a stable and safe surface for your new flooring.
Step 5. Inspect and Repair the Subfloor
After removing the damaged flooring, inspecting the subfloor for any signs of rot, mold, or additional moisture damage is critical. This step is essential to ensure the foundation is solid and will support the new flooring effectively. If you discover any compromised areas, use a chisel to remove the damaged portions.
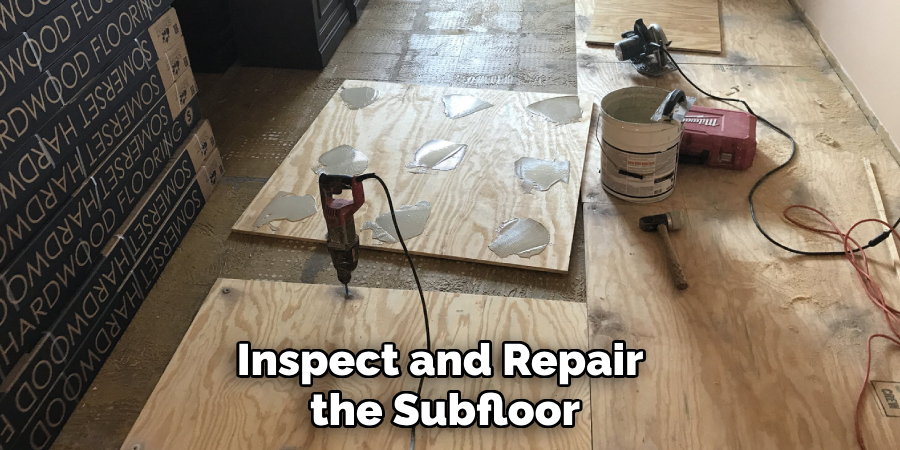
You may need to replace subfloor sections with new plywood or similar material, ensuring that they are cut to fit snugly into the available space. Once any repairs are completed, apply a moisture barrier to prevent future issues. The subfloor must be completely dry and stable before proceeding to the next step in the flooring replacement process.
Step 6. Cut and Install New Flooring
Now that your subfloor is prepared and secure, it’s time to cut and install the new flooring material. Begin by measuring the area where you will install the new floorboards or plywood sheets, making sure to account for any necessary cuts around fixtures or corners. Carefully cut your replacement material to the required dimensions using a circular saw or jigsaw.
When the pieces are cut, lay them into place, ensuring they fit snugly against the edges and any adjoining flooring. Stagger the joints for added stability if you’re using multiple pieces, much like tiles. Finally, secure the new flooring in position using floor repair adhesive and screws or fasteners, if necessary, to reinforce the installation. This step is crucial, as a well-installed floor will provide a solid base for your toilet and help prevent future issues.
Step 7. Reinstall the Toilet
It’s time to reinstall the toilet with the new flooring securely in place. Begin by positioning a new wax ring on the drain flange, creating a watertight seal when the toilet is set back in place. Carefully lift the toilet and align it over the flange, ensuring the bolts pass through the holes at the toilet’s base. Firmly press down to compress the wax ring and create a good seal.
Once the bathroom is in position, secure it by tightening the nuts onto the bolts, being cautious not to overtighten as this may crack the porcelain. Reattach the water supply line to the toilet securely, but do not excessively tighten the connection. Finally, turn the water supply back on, allowing the tank to fill and flush to check for leaks around the base or the water line connection. Your toilet should now be securely reinstalled and ready for use.
Step 8. Finish the Installation
It’s time to finish the installation after ensuring your toilet is securely reinstalled and functioning correctly. Begin by sealing the edges of the toilet base with caulk to prevent any moisture from seeping underneath. Choose a silicone-based caulk for durability and flexibility; this will also enhance the appearance of the toilet area.
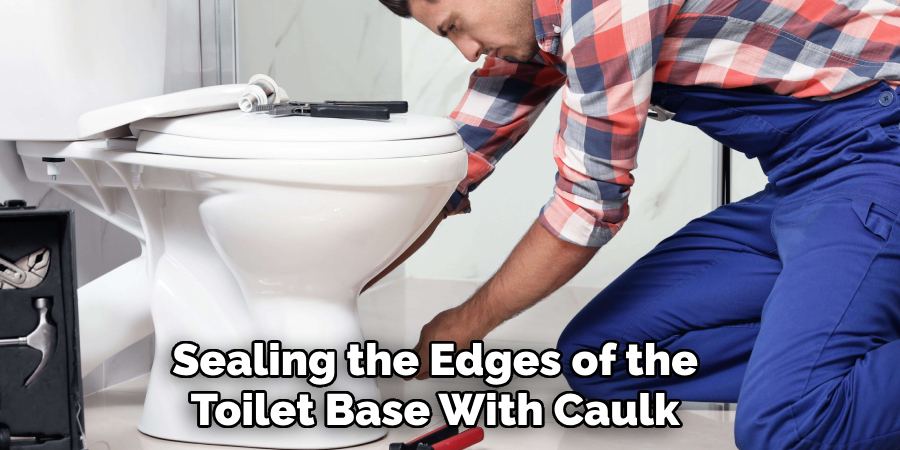
Allow the caulk to dry according to the manufacturer’s instructions, ensuring a watertight seal. Next, tidy up the surrounding area by removing debris or excess materials from the project. Finally, replace any bathroom accessories that were moved during the process, such as rug mats or toilet roll holders. With everything in place, you can now enjoy your newly installed flooring and the peace of mind with a job well done.
Step 9. Clean and Maintain
With the installation complete, it’s essential to establish a cleaning and maintenance routine to keep your new flooring and toilet in excellent condition. Start by cleaning the area with a gentle, non-abrasive cleaner that is safe for both the flooring material and the toilet. Regularly sweep or vacuum to remove dust and debris, followed by mopping with a damp cloth or mop to maintain the shine and hygiene of your flooring.
Additionally, inspect the toilet and surrounding area periodically for any signs of wear, leaks, or damage. Addressing minor issues promptly will prolong the life of your fixtures and flooring. Consider applying a protective sealant on the floor if recommended for your specific material, and be mindful of moisture levels in the bathroom to prevent future issues.
By following these steps, you can successfully replace damaged toilet flooring and have a safe, functional, and visually appealing bathroom.
Conclusion
How to replace floor under toilet in mobile home is a manageable task that, when approached with careful planning and execution, can drastically improve the appearance and functionality of your bathroom.
You can ensure a solid foundation that will last by following the outlined steps—assessing the damage, removing the old flooring, inspecting and repairing the subfloor, installing new flooring, and reinstating the toilet. Proper maintenance and inspections will help prevent future issues, allowing you to enjoy a clean and safe environment.
With the right tools and a bit of patience, this DIY project can save you time and money while enhancing the value of your mobile home.
