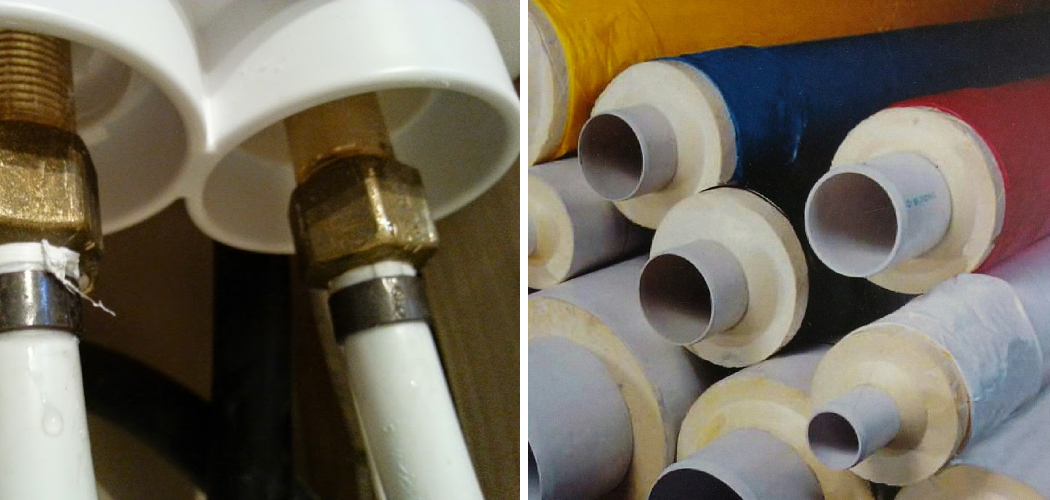
Sealing around Pex pipe is an important step in any plumbing installation or repair project. It not only ensures the proper functioning of your pipes, but also helps to prevent leaks and water damage. In this section, we will discuss why knowing to seal around Pex pipe is crucial for any DIY or professional plumber.
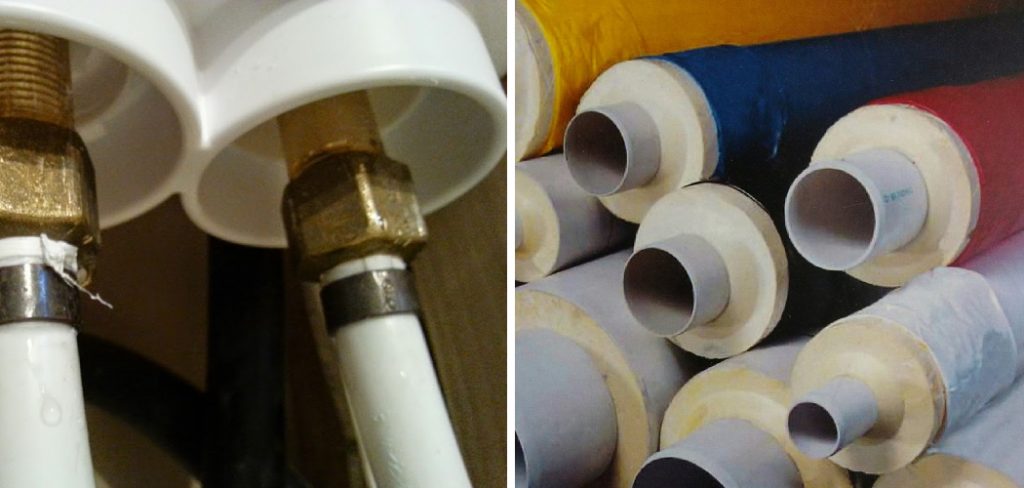
The main advantage of sealing around Pex pipe is that it allows for a more secure and leak-proof plumbing system. Pex pipes are known for their durability and flexibility, making them a popular choice among homeowners and professionals alike. You can find step-by-step instructions on how to seal around pex pipe in this blog article.
Step by Step Processes for How to Seal Around Pex Pipe
Step 1: Inspect the Pex Pipe
Before starting the sealing process, carefully inspect the Pex pipe for any damages or leaks. This will help you determine if there are any areas that need immediate attention. Make sure to clean and dry the area where you will be sealing around the Pex pipe. This is important to ensure a strong bond between the pipe and the sealing material.
Step 2: Choose the Right Sealant
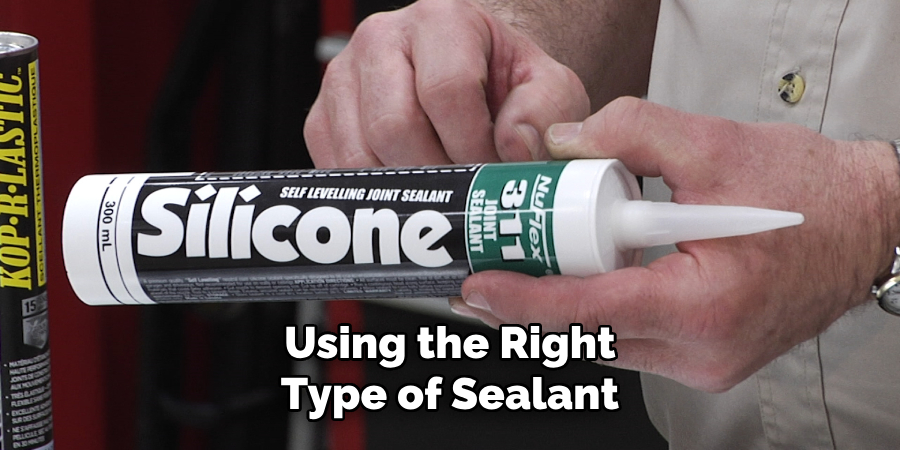
There are various types of sealants available in the market, such as silicone caulk, plumber’s putty, or Pex-specific sealing tape. Choose a sealant that is suitable for your specific project. If you are using Pex-specific sealing tape, measure and cut it to the appropriate size. This will ensure that you have enough material to cover the entire area around the Pex pipe.
Step 3: Apply Primer (if needed)
Some types of sealants, such as silicone caulk, may require a primer to adhere properly. Check the instructions on your chosen sealant to see if a primer is needed and apply it accordingly. Carefully apply the sealant around the Pex pipe, making sure to cover any gaps or holes. Use a caulking gun for silicone caulk or your fingers for plumber’s putty to evenly spread the sealant.
Step 4: Smooth Out Any Excess Sealant
Using a wet finger or a caulk smoothing tool, gently smooth out any excess sealant around the Pex pipe. This will create a clean and even finish. Allow the sealant to dry completely according to the manufacturer’s instructions before moving onto the next step. This is important to ensure a strong and durable seal.
Step 5: Check for Leaks
After the sealant has dried, inspect the area around the Pex pipe for any leaks. If you notice any, apply additional layers of sealant until the leak is fully sealed. Wipe away any excess or spilled sealant with a damp cloth. Make sure to clean up thoroughly to avoid any potential hazards.
Step 6: Test the Sealed Area
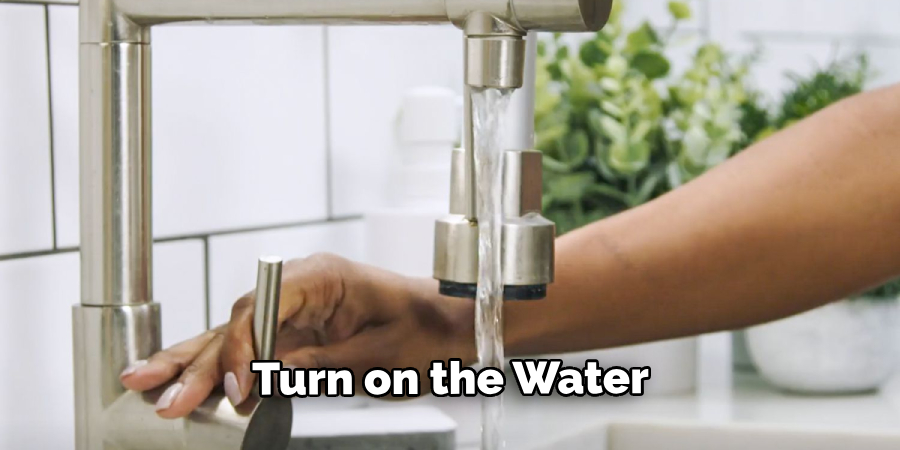
Turn on the water and test the sealed area to ensure that it is watertight. If you notice any leaks, repeat the sealing process as needed. To ensure a long-lasting seal around your Pex pipe, regularly check for any signs of damage or wear and tear. If necessary, reapply sealant to maintain a strong and secure seal.
Safety Tips for How to Seal Around Pex Pipe
- When working with any type of plumbing, it is important to wear protective gear such as gloves and safety glasses. This will protect you from any potential injuries and make sure that you can safely handle the materials needed for sealing around Pex pipe.
- Before starting any work on your plumbing system, always turn off the water supply to prevent any potential leaks or accidents. This is important for your safety as well as to avoid any water damage.
- Make sure to properly clean the area around the Pex pipe before sealing it. Any debris, dirt, or moisture can affect the effectiveness of the seal and cause potential leaks in the future.
- When using a sealant, always follow the instructions carefully and use only the recommended amount. Using too much sealant can result in a messy and ineffective seal, while using too little may not provide enough coverage for a secure seal.
- It is important to choose the right type of sealant for your Pex pipe. Silicone, plumber’s putty, or Teflon tape are some commonly used options. Make sure to read the label and choose a sealant that is suitable for Pex pipes.
- Take extra caution when working with hot water pipes. The heat can cause the pipe to expand, which may result in an imperfect seal. It is recommended to let the water cool down before sealing around the Pex pipe.
- If you are unsure about how to properly seal around your Pex pipe, it is best to consult a professional plumber. They have the necessary knowledge and experience to ensure that the job is done safely and effectively.
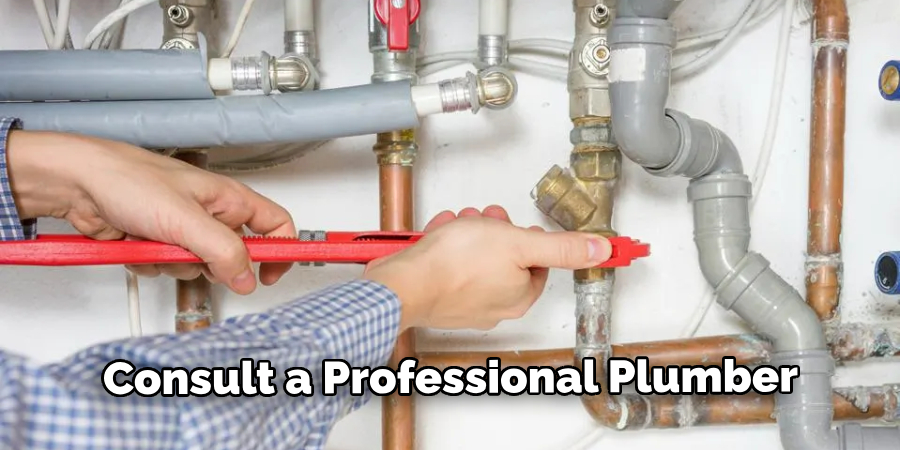
By following these safety tips, you can confidently seal around your Pex pipe without any worries. Remember, proper sealing is crucial for maintaining the integrity of your plumbing system and preventing costly leaks in the future.
What is the Best Method for Applying the Sealant Around Pex Pipe?
Pex pipes are gaining popularity in the plumbing industry due to their durability and flexibility. However, one crucial aspect that should not be overlooked when installing Pex pipes is sealing around them. Properly sealing around Pex pipes ensures a tight connection, preventing any leaks or water damage.
1. Using Teflon Tape
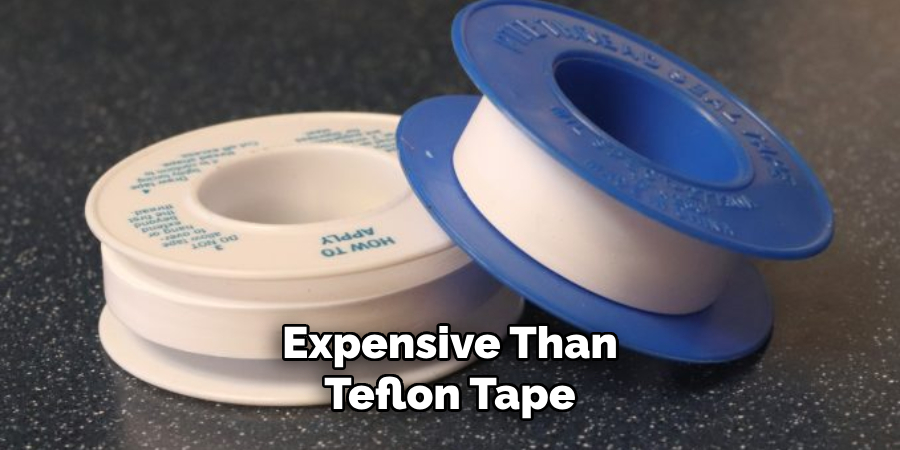
Teflon tape is a popular option for sealing around Pex pipes. It is made of thin white tape that has been coated with Teflon, a non-stick material. To use Teflon tape, you wrap it around the male end of the Pex pipe in a clockwise direction. This creates a tight seal when the pipes are connected, preventing any leakage.
Teflon tape is an affordable and easy-to-use method for sealing around Pex pipes. However, it can be prone to wearing out over time, especially if exposed to high temperatures or chemicals. Therefore, it may not be the best option for long-term use.
2. Using Threaded Fittings
Another method for sealing around Pex pipes is by using threaded fittings. These are connectors that have threads on the inside, allowing them to screw onto the male end of the pipe. Once screwed in place, they create a tight seal that prevents any water from leaking out.
Threaded fittings come in different materials, such as brass, plastic, and stainless steel. They are relatively easy to install and provide a secure connection between Pex pipes. However, they can be more expensive than Teflon tape.
3. Using Compression Fittings
Compression fittings are another option for sealing around Pex pipes. These fittings consist of two parts – the compression ring (or ferrule) and the compression nut. The pipe is inserted into the fitting, and the nut is tightened to compress the ring against the pipe, creating a tight seal.
Compression fittings are commonly used for Pex pipes because they provide a reliable and leak-proof connection. However, they can be more challenging to install compared to other methods and may require special tools.
4. Using Pipe Sealant
Lastly, you can use a pipe sealant to seal around Pex pipes. Pipe sealants, also known as thread sealants, are designed specifically for use on threaded fittings and joints. They come in liquid or paste form and are applied directly onto the threads of the fitting before connecting it to the pipe.
Pipe sealants provide a strong and long-lasting seal that can withstand high temperatures and chemicals. However, they can be messy to work with and may require some time to set properly.
What Are Some Common Mistakes That People Make When Sealing Around Pex Pipe?
When it comes to sealing around Pex pipe, there are a few common mistakes that people tend to make. These can lead to leaks and other issues down the line, so it’s important to understand what these mistakes are in order to avoid them.
One of the most common mistakes is not using the right type of sealant. Pex pipes require a specific type of sealant, such as silicone or PTFE tape. Using the wrong type of sealant can result in it breaking down over time and causing leaks.
Improper application of the sealant is also a common mistake. Whether it’s not applying enough or applying too much, both can lead to issues. Not enough sealant may leave gaps that water can seep through, while too much can cause the pipe to become misaligned and create weak spots.
Another mistake people make is not giving the sealant enough time to dry before turning the water back on. Depending on the type of sealant used, it may require a certain amount of time to fully dry and create a proper seal. Not allowing for this can result in leaks and potentially damage your pipes.
Conclusion
In conclusion, knowing how to properly seal around PEX pipes is a crucial skill for any DIY plumber or homeowner. Not only will it prevent leaks and water damage, but it will also ensure the longevity of your plumbing system. By following the steps outlined in this blog post, you can confidently take on any PEX pipe installation project without worrying about potential issues down the line.
Furthermore, understanding of sealing around PEX pipes is an important aspect of maintaining a safe and healthy home. Properly sealed pipes prevent the growth of mold and mildew, which can be harmful to both your health and the structural integrity of your home. I hope reading this post has helped you learn how to seal around pex pipe. Make sure the safety precautions are carried out in the order listed.

