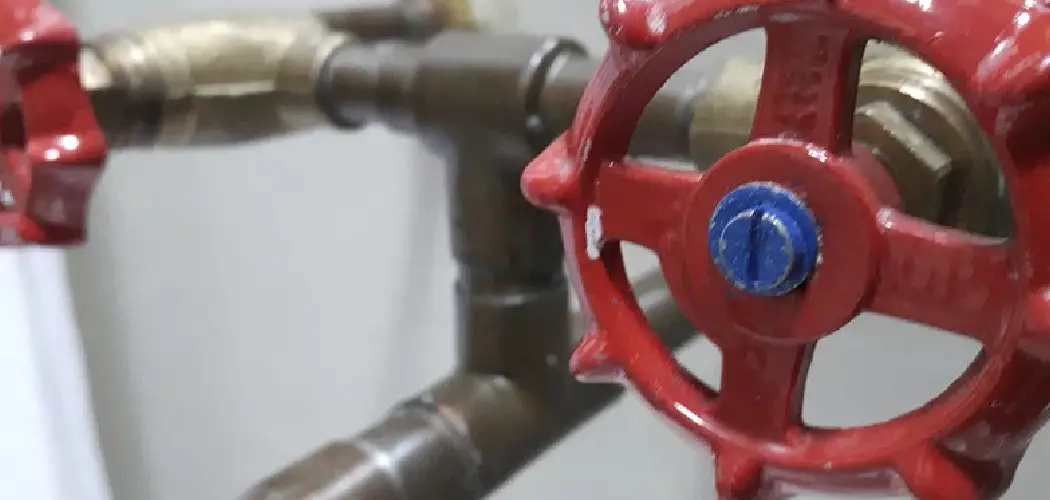
Are you tired of running outside every time the garden sprinkler won’t shut off? Are you fed up with dealing with annoying leaks in your outdoor water valve during the summer months? If so, then this blog post is perfect for you!
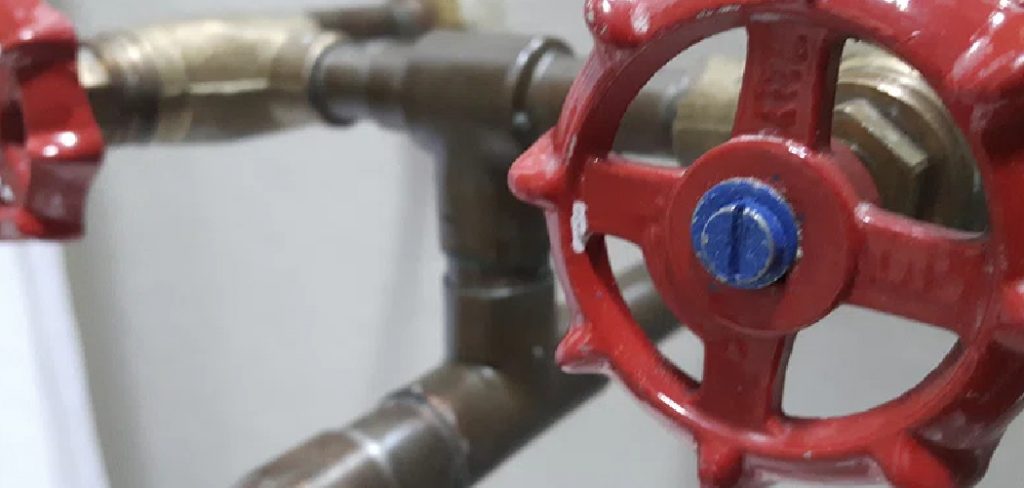
In this article, we’ll cover all the essential tips on how to shut off outdoor water valve. We’ll dive into some specifics around material types and different maintenance steps that must be taken. By following these instructions, not only will you know how to flawlessly turn off your outdoor water valve, but also keep it functioning peacefully in the future. So let’s get started and figure out a solution once and for all!
Tools and Materials You Will Need to Shut Off Outdoor Water Valve
- Channel-lock pliers (or a multi-purpose wrench)
- Screwdriver
- PVC pipe cutter (if you have a PVC water valve)
- Teflon tape (if needed)
- Replacement washers (if needed)
- Bucket or container
Step-by-step Guidelines on How to Shut Off Outdoor Water Valve
Step 1: Locate Your Outdoor Water Valve
First things first, you need to find where your outdoor water valve is located. In most cases, it can be found outside your house (often near the garden or lawn) and close to an exterior wall. The valve may also be connected to a pipe that leads into the ground. Locating it should be relatively easy, but if you have trouble finding it, consult a plumber or refer to your home’s blueprints.
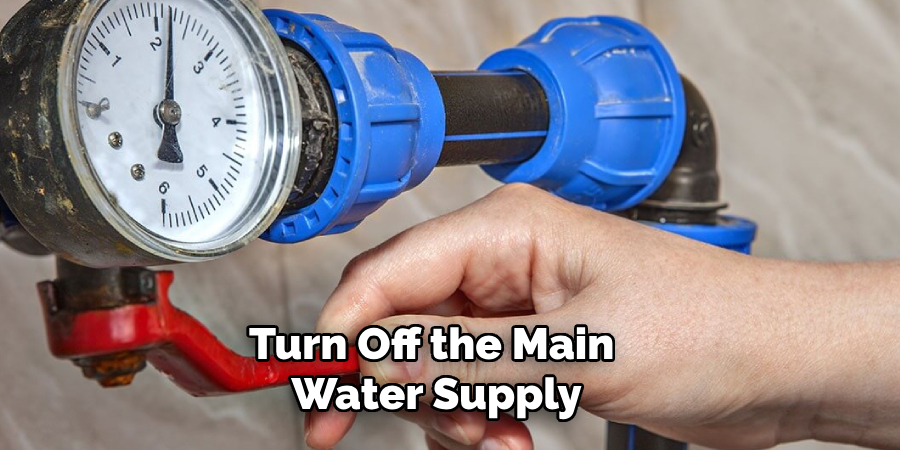
Step 2: Turn Off the Main Water Supply
Before shutting off the outdoor water valve, you must turn off the main water supply. This is usually located in your basement or crawlspace, close to where your water meter is installed. If you live in an apartment or condo, the main water supply may be located in a utility closet or outside of your unit. Turning off the main water supply is crucial as it will prevent any accidents or damage from occurring while you work on the valve.
Step 3: Shut Off the Outdoor Water Valve
Now that the main water supply is turned off, it’s time to shut off the outdoor water valve. Use your channel-lock pliers or wrench (depending on the type of valve) to turn the handle in a clockwise direction until it stops. This will stop the flow of water through the valve. While doing this, make sure to be gentle and not apply too much pressure as that might damage the valve.
Step 4: Drain any Remaining Water
Once the outdoor water valve has been turned off, check for any remaining water in the pipe. To do this, place a bucket or container under the valve and open it up using your screwdriver. This will allow any remaining water to drain out of the pipe. Make sure to dispose of this water properly, away from any plants or vegetation. This step is essential to prevent any water from freezing and potentially damaging the valve during colder months.
Step 5: Inspect the Valve for any Damage
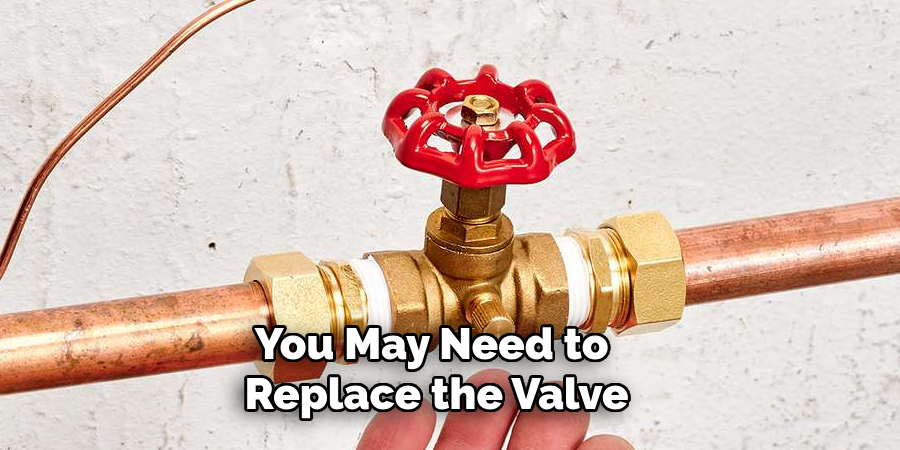
Now that everything is shut off and drained, it’s time to inspect the outdoor water valve. Look for any signs of damage or wear and tear, such as cracks or broken parts. If you notice any issues, you may need to replace the valve or specific parts. In the case of a PVC valve, use your pipe cutter to remove any damaged sections and replace them with new ones.
Step 6: Reassemble and Turn on the Main Water Supply
After making any necessary repairs or replacements, reassemble the outdoor water valve and turn back on the main water supply. Use Teflon tape on the threads of your valve (if needed) to prevent any leaks.
Turn the valve handle in a counter-clockwise direction to open it, and you should have successfully shut off the outdoor water valve. Reassembling and testing the valve is critical to ensure it’s working correctly and avoid any future issues.
Following these steps will allow you to confidently turn off your outdoor water valve without any hassle. Remember to take the necessary precautions beforehand and inspect the valve regularly for any damages.
By doing so, you’ll ensure that your outdoor water valve is functioning correctly and avoid any potential leaks or issues in the future. We hope this article has been helpful, and now you can enjoy a stress-free summer without worrying about any malfunctioning outdoor water valves. Happy gardening!
Additional Tips and Tricks to Shut Off Outdoor Water Valve
- When shutting off the outdoor water valve, make sure to turn off the main shut-off valve first. This will prevent any potential backflow or damage to your pipes.
- It is recommended to shut off the outdoor water valve during colder months or when you are away for an extended period of time to prevent frozen pipes and potential leaks.
- If your outdoor water valve is not in a convenient location, consider installing a remote-controlled shutoff valve for easier access.
- In case of an emergency, such as a burst pipe or a major leak, it is important to shut off the outdoor water valve immediately to prevent further damage.
- Regularly check the outdoor water valve for any signs of wear and tear, such as rust or corrosion, and replace if necessary.
- If you have an irrigation system connected to your outdoor water valve, make sure to shut it off during the winter season to prevent freezing and potential damage.
- If you are unsure of how to shut off your outdoor water valve, consult a professional plumber for assistance.
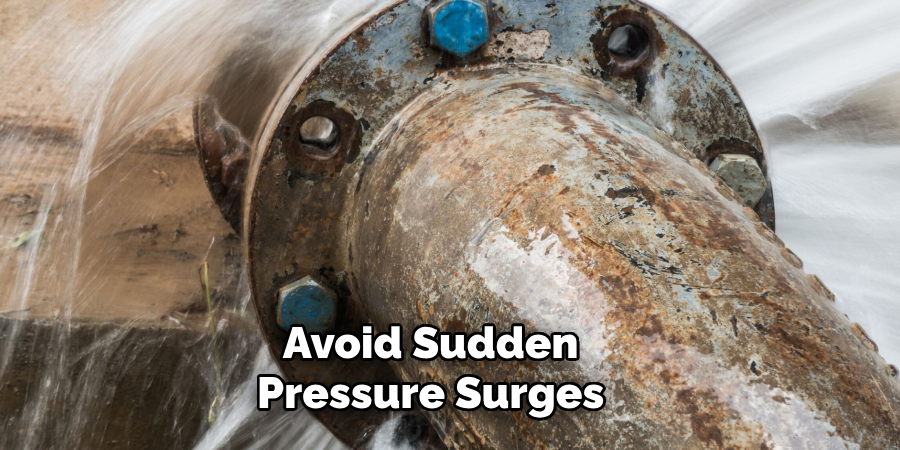
- When turning the outdoor water valve back on, do so slowly to avoid sudden pressure surges in your pipes.
- Consider labeling your outdoor water valve for easy identification in case of an emergency or when you need to turn it off and on.
- Lastly, always make sure to shut off the outdoor water valve before performing any maintenance or repairs on your pipes or plumbing system. Safety should always be a top priority when dealing with water valves and pipes.
Following these additional tips will not only help you shut off your outdoor water valve properly but also ensure the safety and longevity of your plumbing system. Remember to always be cautious and take necessary precautions when dealing with any type of water valve. So, whether you are shutting off your outdoor water valve for winter or during an emergency, use these tips to make the process smoother and hassle-free. Happy plumbing!
Common Mistakes to Avoid for Shutting of Outdoor Water Valve
1. Not Knowing the Location of the Outdoor Water Valve:
Before attempting to shut off your outdoor water valve, it is important to know where it is located. Many homeowners do not realize that there are two main types of outdoor water valves – a gate valve and a ball valve. The location of these valves may also vary depending on the type of plumbing system in your home. Therefore, it is important to familiarize yourself with the location of the outdoor water valve before an emergency situation occurs.
2. Forgetting to Shut Off the Main Water Supply:
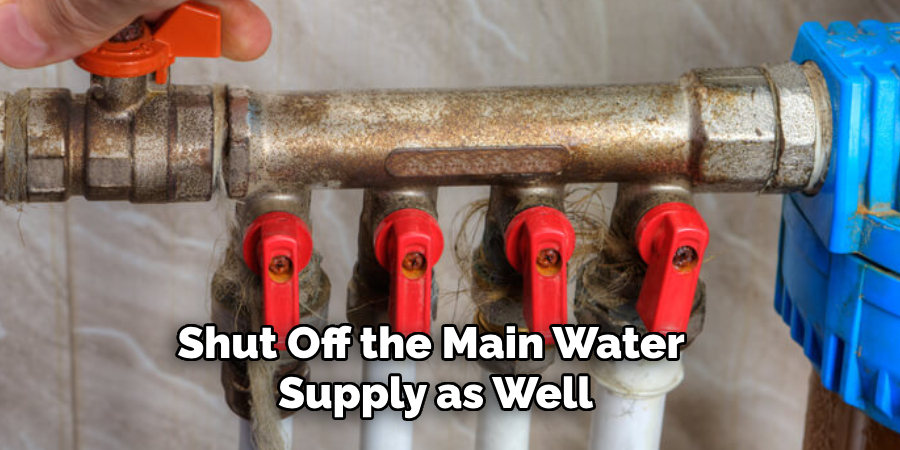
In addition to shutting off the outdoor water valve, it is important to shut off the main water supply as well. This will prevent any excess water from flowing through your home’s plumbing system and causing potential damage.
Many homeowners make the mistake of only shutting off the outdoor water valve, leaving the main water supply on and increasing the risk of a burst pipe.
3. Not Turning Off the Water Heater:
Another common mistake when shutting off an outdoor water valve is forgetting to turn off the water heater. If you have a gas or electric hot water heater, it is important to shut off the water supply to it before shutting off the main water supply. This will prevent any damage to your water heater and ensure that it continues to function properly once the main water supply is turned back on.
4. Using Excessive Force:
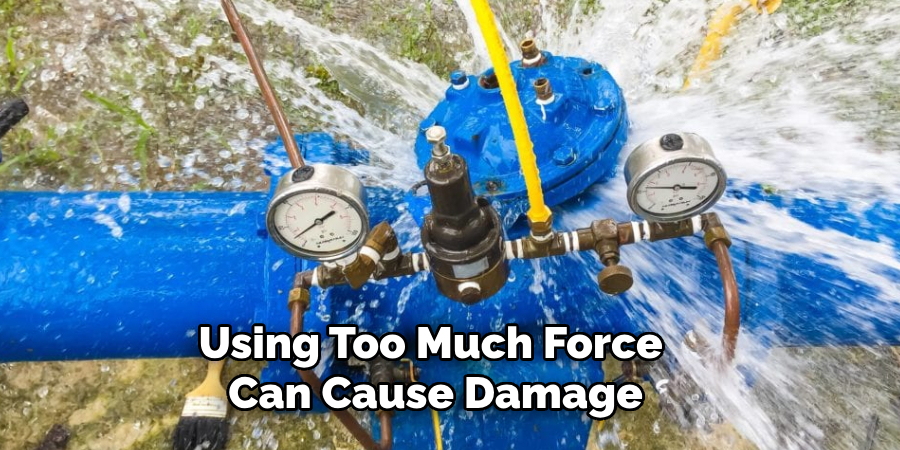
One of the most common mistakes when shutting off an outdoor water valve is using excessive force. Both gate valves and ball valves only require a quarter turn to shut off the water supply.
Using too much force can cause damage to the valve and make it difficult to turn off in the future. This is especially important to keep in mind during the winter months when valves may be frozen.
5. Not Draining the Excess Water:
Once you have successfully shut off the outdoor water valve and main water supply, it is important to drain any excess water from your pipes. This will help prevent any potential damage from frozen or burst pipes during colder weather. Simply turn on a faucet indoors and allow the remaining water to drain out.
By avoiding these common mistakes, you can effectively shut off your outdoor water valve and prevent any potential damage to your home’s plumbing system.
Remember to always take precautions and familiarize yourself with the location of the valve in case of an emergency situation. Proper maintenance and care will ensure that your outdoor water valve continues to function properly for years to come. So, stay alert and be prepared! Happy Plumbing!
Precautions Need to Be Followed for Shutting Off Outdoor Water Valve
- First and foremost, make sure you know the exact location of the outdoor water valve. Take a walk around your house or backyard when you have time to locate it easily.
- The outdoor water valve is usually found near the foundation of your house, facing outside. If you’re not able to find it, consult your home’s blueprint or contact a professional plumber for help.
- Before attempting to shut off the valve, turn off your home’s main water supply. This will prevent any further water flow while you’re working on the outdoor valve.
- Once the main water supply is turned off, make sure there’s no residual water in your garden hose or sprinkler system by draining them completely.
- Take a wrench and slowly turn the knob on the outdoor water valve in a clockwise direction. This will shut off the water supply to your outdoor faucet, preventing any leaks or damage.
- It’s important to note that some homes may have an additional indoor shutoff valve for the outdoor water supply. If you have one, make sure to turn it off as well.
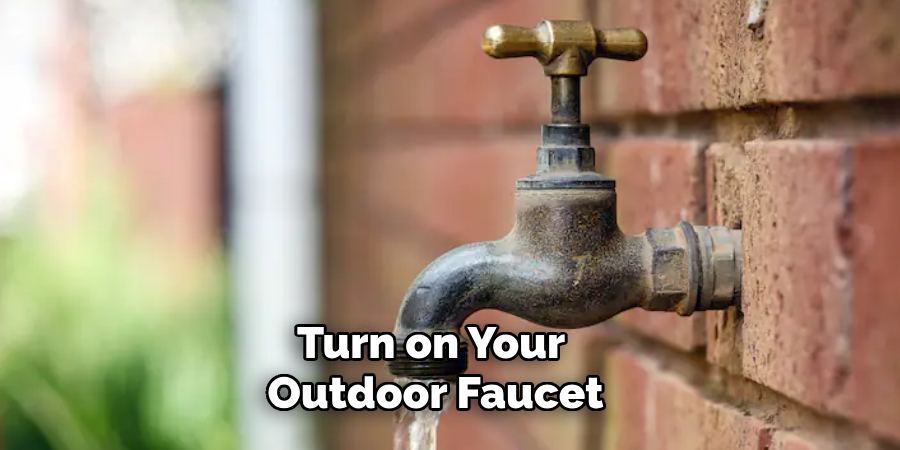
- After shutting off the outdoor water valve, turn on your outdoor faucet to release any remaining water pressure. This will also help in draining out any excess water from pipes.
- Once you’re done with the necessary repairs or maintenance work, make sure to turn the outdoor water valve back on and check for any leaks before turning the main water supply back on.
Following these precautions will ensure a smooth and hassle-free experience while shutting off your outdoor water valve. Remember to always take necessary safety measures and consult a professional if you’re unsure of any steps. Taking good care of your outdoor water valve can prevent damage and prolong its lifespan. Happy plumbing!
Conclusion
In the end, shutting off the outdoor water valve can seem like a daunting task, but it’s actually quite simple. To complete the task safely and efficiently, take into account all surrounding factors, such as weather elements and the position of the valve. Determine which type of valve needs to be shut off and familiarize yourself with the area. Once that is done prepare yourself with the necessary tools and slowly move forward.
With patience and focus you should have your valve shut off in no time. So now you know how to shut off outdoor water valve without fear! Don’t forget to always take safety precautions when dealing with plumbing components or anything else related to home maintenance. Ultimately, keep this knowledge locked away until needed – you never know when it might come in handy!
Did this blog help you understand how to shut off an outdoor water valve? If so, share it with friends and family who need access to this important knowledge too!

