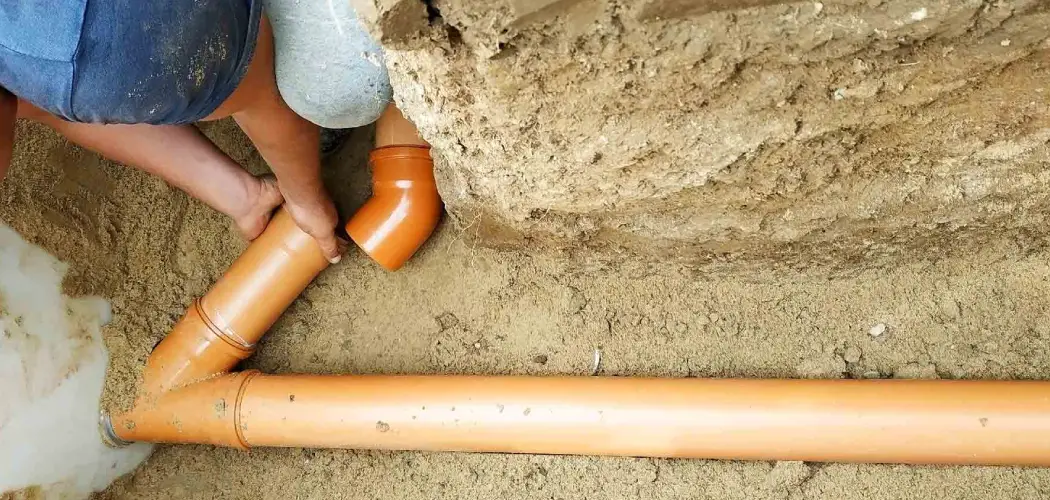
Sleeving a sewer pipe may seem like a daunting task, but it is actually a fairly simple process that can save you time and money in the long run. A sleeve is essentially a protective barrier placed around an existing pipe to prevent damage or leaks. This technique is often used in situations where extensive excavation or replacement of the entire pipe is not feasible.
The main advantage of sleeving a sewer pipe is that it provides a cost-effective and efficient solution for repairing damaged or aging pipes. This method involves placing an additional pipe, known as the sleeve, inside the existing sewer pipe to reinforce its structural integrity. Read this blog post to learn how to sleeve a sewer pipe.
Materials You Will Need
- A saw
- Pipe sleeves (either plastic or metal)
- Measuring tape
- Screwdriver
- Drill
- Screws
- Level tool
- Pencil
- Safety glasses
- Gloves
Step-by-step Instructions for How to Sleeve a Sewer Pipe
Step 1: Inspect the Sewer Pipe
Before you begin the process of sleeving a sewer pipe, it is important to first inspect the pipe and assess its condition. Look for any cracks, leaks, or other damages that may require repair before proceeding with sleeving.
Step 2: Gather Materials and Tools
Next, gather all the necessary materials and tools needed for sleeving a sewer pipe. This includes a new pipe sleeve, coupling or fittings, plumber’s tape, and a hacksaw or reciprocating saw for cutting the pipe. If your sewer pipe is connected to a water supply system, be sure to shut off the water before starting the sleeving process. This will prevent any potential flooding or unwanted water flow while working on the pipe.
Step 3: Prepare the New Pipe Sleeve
Measure and cut the new pipe sleeve to fit the length of the damaged section of sewer pipe. Make sure to leave a little extra on each end for fitting into the existing pipes. Use sandpaper or a wire brush to clean and smooth out any rough edges on both ends of the damaged sewer pipe. This will ensure a snug fit for the new pipe sleeve.
Step 4: Apply Plumber’s Tape
Wrap plumber’s tape around both ends of the existing pipes, overlapping it by at least half an inch. This will help create a tight seal between the old and new pipes. Fit one end of the new pipe sleeve onto one end of the damaged sewer pipe, pushing it in as far as it will go. Repeat this step for the other end of the sleeve.
Step 5: Secure with Coupling or Fittings
Use a coupling or fittings to secure the new pipe sleeve in place. Make sure they are tight and properly aligned to prevent any leaks. Once the sleeve is securely in place, turn the water supply back on and check for any leaks. If there are no issues, the sleeving process is complete.
Step 6: Clean Up and Maintenance
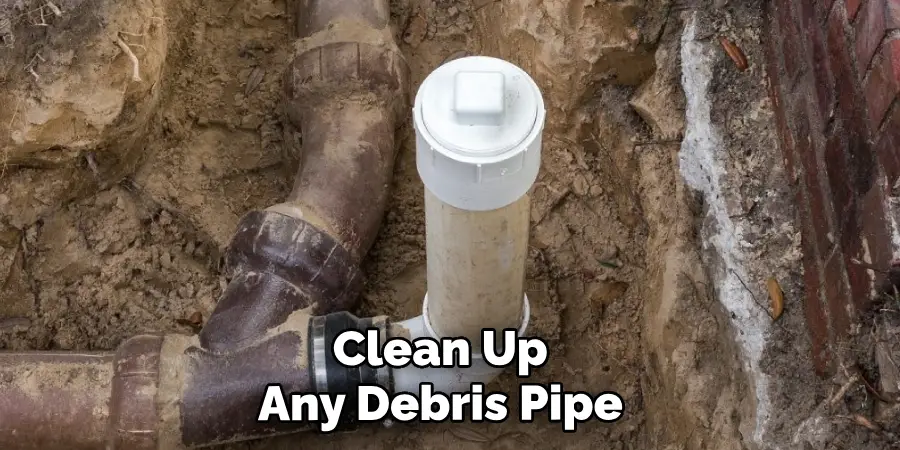
After completing the sleeving process, clean up any debris or materials used during the repair. It is also important to regularly check and maintain the sleeved sewer pipe to ensure proper functioning and prevent future damages. This may include regular inspections, cleaning, and repairs as needed.
Tips for How to Sleeve a Sewer Pipe
- Always wear protective gear such as goggles, gloves, and masks to protect yourself from any harmful chemicals or dust particles that may arise during the process. This is especially important if you are using power tools.
- Make sure to properly ventilate the area where you will be working. Sewer pipes can emit toxic gases and fumes that can be harmful when inhaled.
- Before starting the process, make sure to shut off the main water supply and disconnect any electrical connections to prevent accidents.
- If you are using power tools, make sure they are in good working condition and follow all safety instructions provided by the manufacturer.
- Use caution when handling the sewer pipe, as it may be heavy and difficult to maneuver. It is always recommended to have a helper assist you during the process.
- Double check all measurements before cutting or fitting the sleeve to ensure a proper and secure fit.
- After completing the sleeving process, be sure to clean up any debris and properly dispose of any materials according to local regulations.
Are There Different Methods for Sleeving a Sewer Pipe?
When it comes to sleeving a sewer pipe, there are actually several methods that can be used. The most suitable method will depend on the specific situation and conditions of the sewer pipe in question. Here are some of the Project to Get an Accurate Estimate Pipe
1. Using Pipe Relining
This involves placing a new lining inside an existing sewer pipe, essentially creating a “pipe within a pipe”. This method is best suited for sewer pipes that have minor damage or defects, such as small cracks or leaks. It can also be used to prevent further deterioration of the existing pipe.
2. Excavation and Replacement
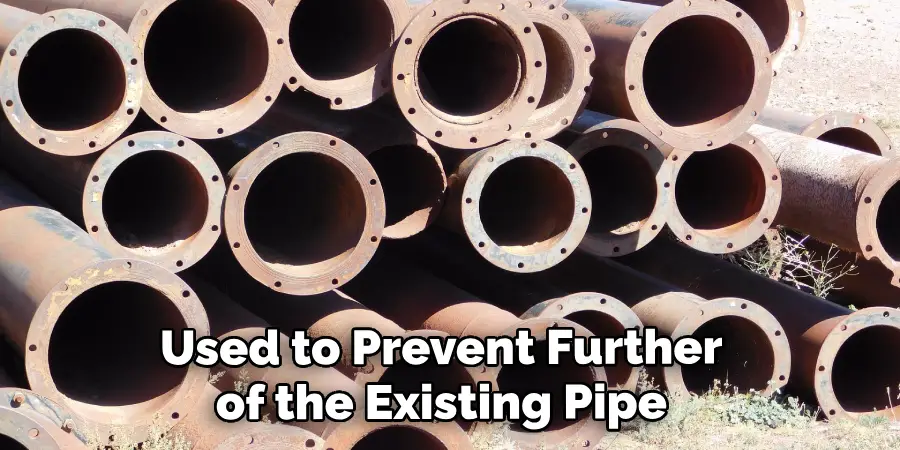
In this method, the old sewer pipe is dug up and replaced with a new one. This is usually necessary when the sewer pipe has significant damage or is beyond repair. While it may be a more costly and time-consuming method, it ensures that the new pipe is installed properly.
3. Slip Lining
Similar to pipe relining, slip lining involves inserting a smaller diameter pipe into the existing sewer pipe. This can be useful for repairing sections of the sewer pipe that have extensive damage or when the existing pipe is too large to be relined.
4. Pipe Bursting
This method involves using a special tool to break apart the old sewer pipe and simultaneously pull in a new one. It is typically used for pipes that are severely damaged or collapsed.

5. Chemical Grouting
In this method, a chemical grout material is injected into voids or cracks in the sewer pipe, effectively sealing them and preventing further damage. This method is often used as a temporary solution until more permanent repairs can be made.
Overall, each of these methods has its own advantages and disadvantages, and the best one to use will depend on factors such as the condition of the sewer pipe, budget constraints, and time limitations. It is important to consult with a professional plumber to determine the most appropriate method for sleeving a sewer pipe in your specific situation.
Are There Any Common Mistakes to Avoid While Sleeving a Sewer Pipe?
One of the most common mistakes when it comes to sleeving a sewer pipe is not taking accurate measurements. It may seem like a simple step, but failing to measure properly can result in costly and time-consuming errors.
Make sure to double-check all measurements before cutting any materials. Another mistake to watch out for is using inappropriate materials for the sleeve. Some people may try to cut corners and use materials that are not specifically designed for sewer pipe sleeving, which can lead to problems down the line.
Another common mistake is not properly connecting the sleeve to the existing pipe. It is crucial to have a secure and watertight connection between the two pipes to prevent leaks or other issues. Take your time with this step and make sure all connections are sealed properly.
Lastly, not following proper safety precautions can also lead to mistakes while sleeving a sewer pipe. Always wear protective gear such as gloves and goggles when working with materials and tools. It is also important to have proper ventilation in the work area to avoid inhaling any harmful fumes.
What is the Average Cost of Sleeving a Sewer Pipe?
Sleeving a sewer pipe is an essential process that helps to repair damaged pipes and prevent further damage to the surrounding area. It involves installing a new, smaller pipe within an existing larger one.
Despite being a crucial aspect of maintaining proper sanitation, many homeowners are unaware of the cost associated with this process. The average cost of sleeving a sewer pipe can vary significantly depending on various factors.
On average, homeowners can expect to pay between $50 to $250 per foot for labor and materials. This means that if you need to sleeve 100 feet of sewer pipe, you could be looking at a total cost ranging from $5,000 to $25,000. However, this cost can go higher depending on the specific circumstances of your sewer pipe and the complexity of the job.
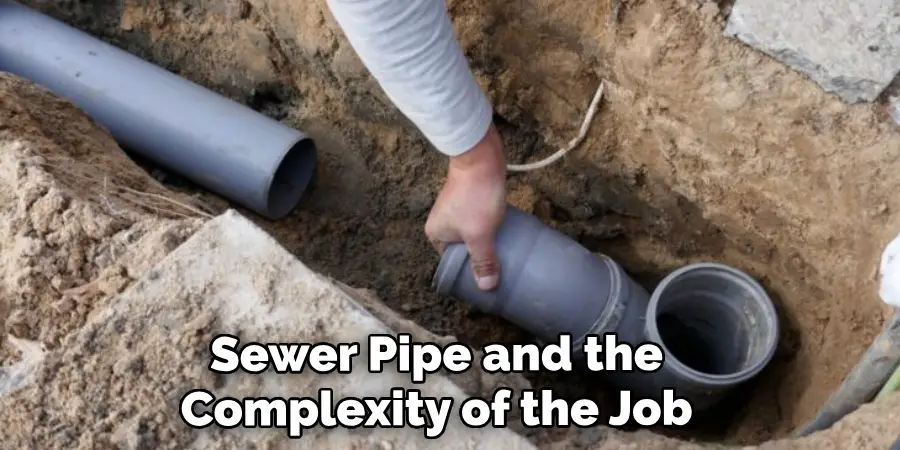
One of the primary factors that can affect the cost of sleeving a sewer pipe is the type of material used for the new pipe. The most common materials used for sleeves are high-density polyethylene (HDPE) and polyvinyl chloride (PVC). HDPE is more expensive than PVC, making it a popular choice for sleeving projects.
Are There Any Environmental Considerations When Sleeving a Sewer Pipe?
In addition to the cost, homeowners should also consider any potential environmental impacts when sleeving a sewer pipe. The materials used for the new pipe can have different levels of impact on the environment.
For example, PVC is known to release harmful chemicals during its production and disposal, while HDPE is considered more environmentally friendly. Another important consideration is the age and condition of your existing sewer pipe.
If your current pipe is made of asbestos or has extensive damage, it may require additional precautions and specialized equipment to be safely sleeved. This can also add to the overall cost of the project.
Additionally, the location and accessibility of your sewer pipe can also impact the cost. If it is located in a hard-to-reach area or requires excavation, this can drive up the cost of labor and equipment. It is essential to communicate these details with your contractor before starting the project to get an accurate estimate.

Conclusion
In conclusion, the process of sleeving a sewer pipe is an essential skill that every homeowner should know. It involves encasing a damaged or compromised pipe with a new one to prevent leaks and avoid costly repairs in the future. While it may seem like a daunting task, following the steps outlined in this guide will make the process manageable and efficient.
Remember to always prioritize safety by wearing protective gear and turning off the water supply before beginning any repairs. By learning how to sleeve a sewer pipe, you are not only saving yourself money and hassle but also contributing towards a healthier environment by reducing the risk of sewage leaks.

