Are you looking to work with wood but are not sure how to safely secure it in place? Pipe clamps offer a simple and versatile solution for all your woodworking needs.
Pipe clamps are versatile tools commonly used to securely hold pipes or wooden pieces in place during various projects. Whether for plumbing, woodworking, or general construction, pipe clamps provide a strong and adjustable grip, making them an essential tool for professionals and DIY enthusiasts. Using a pipe clamp effectively involves understanding its components and proper operation to ensure accuracy and stability in your work.
This guide on how to use pipe clamp will walk you through the basics of using a pipe clamp and offer tips for achieving the best results. Let’s get started!
What are the Benefits of Using Pipe Clamps?
Before diving into how to use pipe clamps, let’s first understand their benefits. Here are some advantages of using pipe clamps:
- Versatility: As mentioned, pipe clamps are suitable for various projects and can securely hold different materials in place. This makes them an essential tool for any woodworker or plumber.
- Firm Grip: The design of pipe clamps allows for a firm and adjustable grip, ensuring the material being worked on stays put without causing damage.
- Easy to Use: Unlike other clamps, such as bar or C-clamps, pipe clamps do not require special tools or skills. This makes them user-friendly and accessible for beginners.
- Cost-effective: Pipe clamps are relatively inexpensive compared to other clamps, making them a budget-friendly option for those just starting with woodworking or plumbing projects.
Now that we know the benefits of using pipe clamps, let’s move on to how to use one effectively.
What Will You Need?
Before starting any project, gathering all the necessary tools and materials is essential. For using a pipe clamp, here’s what you’ll need:
- Pipe Clamp: This is the main component of the tool and typically consists of two clamping heads connected by a length of pipe. The clamping heads have adjustable jaws that can be tightened or loosened using a handle.
- Pipes: You will need pipes of varying lengths to create the desired length for your project. It’s best to use galvanized steel pipes as they are more durable and grip better than other materials like aluminum or plastic.
- Clamp Pads: These rubber pads attach to the clamping heads and provide a protective layer between the clamp and the material being worked on. Clamp pads are essential for preventing damage or scratches on delicate materials.
- Wooden Blocks: These are used as support under the pipe clamp to prevent damage to the material’s surface. Wooden blocks also act as a buffer, distributing pressure evenly across the workpiece.
Once you have all the necessary tools and materials, it’s time to learn how to use a pipe clamp!
10 Easy Steps on How to Use Pipe Clamp
Step 1: Prepare Your Workspace
Setting up a clean and organized workspace before you begin using a pipe clamp is crucial. Ensure your workbench or table is sturdy enough to handle the pressure exerted by the clamp. Remove any debris, dust, or tools from the surface to avoid interference with your project. Gather all the materials you’ll be working on and the pipe clamp components, and lay them out in an orderly fashion within reach.
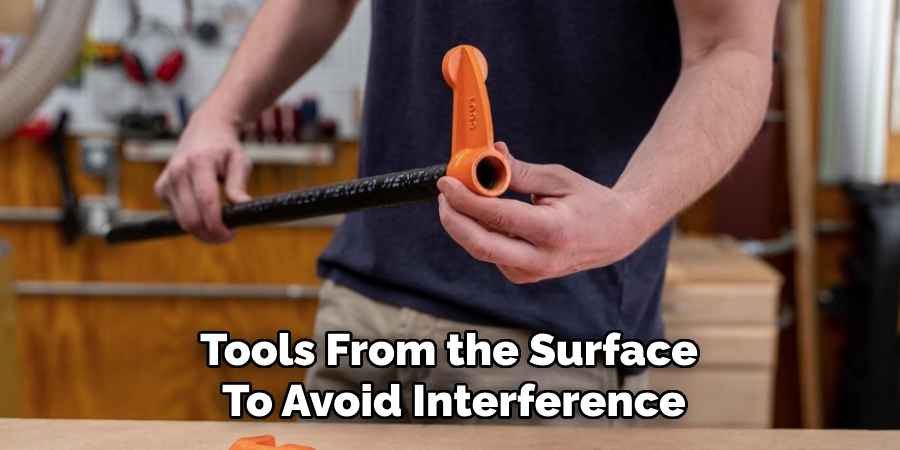
A clutter-free workspace makes the process more efficient, enhances safety, and reduces the risk of damaging your materials. If you’re working with delicate items, consider placing a protective sheet or non-slip mat on your work surface to keep the materials stable and secure.
Step 2: Assemble the Pipe Clamp
Start by assembling your pipe clamp. Attach the clamp head to one end of the pipe, ensuring it is securely fastened and will not move under pressure. Then, slide the adjustable tail-stop onto the other end of the pipe. Ensure the tail-stop can move freely along the pipe but stays in place when tightening the clamp. Verify that all components are correctly attached and aligned before proceeding, as this will prevent mishaps during your clamping process. Double-check the pipe length to ensure it accommodates the size of your project.
Step 3: Position the Materials
Carefully position the materials you want to clamp together. Align them correctly, as this will determine the outcome of your project. Ensure the edges are flush, and use spacers or blocks if necessary to maintain even gaps or prevent direct contact between the clamp and the materials. Take your time to confirm that everything is aligned to avoid needing to readjust later. Proper positioning is key to achieving a secure and accurate hold during clamping.
Step 4: Tighten the Clamp
Begin tightening the clamp by turning the handle or crank on the adjustable tail-stop. Apply steady pressure to bring the materials securely together. Be cautious not to overtighten, as this can damage the materials or compromise the integrity of your project. Monitor the alignment as you tighten to ensure the materials stay in their proper position.
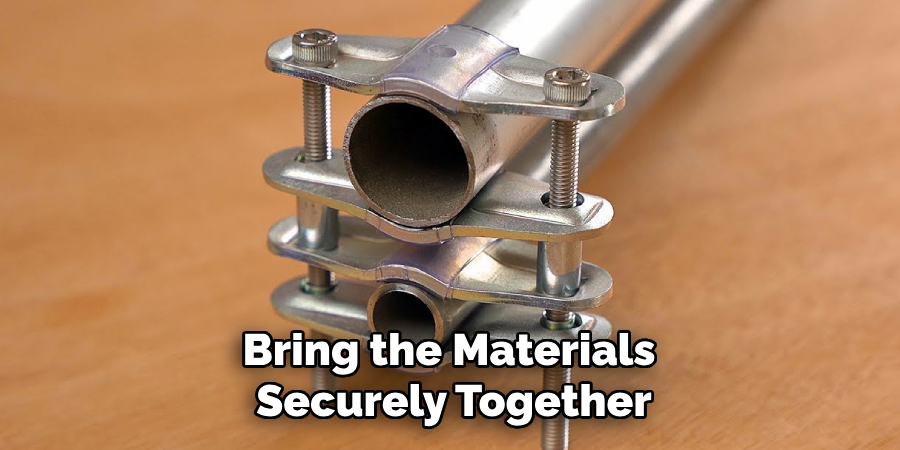
Once the desired pressure level is achieved, give the setup a final inspection to confirm that everything is secure and adequately aligned before proceeding with the next stage of your work.
Step 5: Allow the Clamp to Set
After securing the clamp, leave it in place to allow the materials to bond or stabilize as required for your project. The duration will depend on the type of materials and adhesive used, if applicable. Ensure the setup remains undisturbed during this period to maintain proper alignment and pressure. Regularly check the clamp tension, significantly if the materials might shift or settle during the setting process. Patience during this step is crucial to achieving a strong, lasting connection.
Step 6: Remove the Clamp Carefully
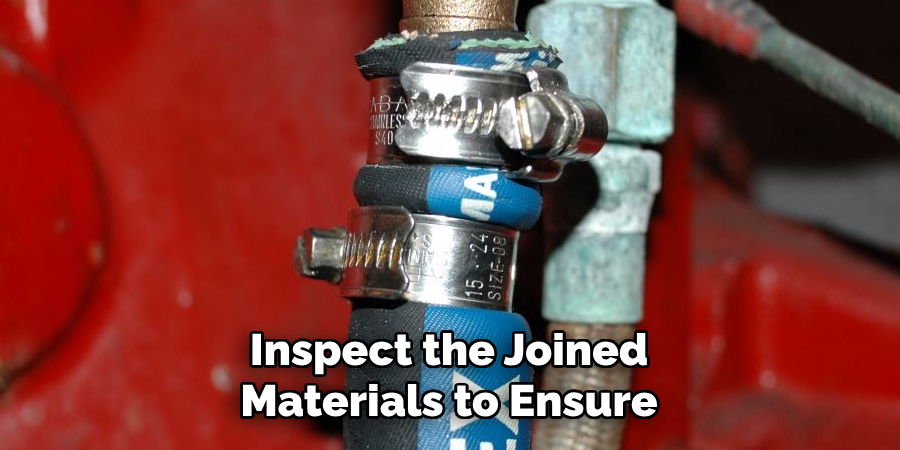
Once the setting period has been completed, carefully remove the clamp to avoid disrupting the bonded materials. Start by loosening the clamp gradually to release the pressure evenly. Inspect the joined materials to ensure the bond is secure and free of any gaps or irregularities. If any adjustments are needed, address them before proceeding. Proper removal of the clamp helps maintain the integrity of your work and prevents any unintended damage.
Step 7: Finishing and Cleanup
After confirming the integrity of the bond, proceed with any necessary finishing touches. Trim or sand any excess material to achieve a clean and smooth surface. Remove any adhesive residue or markings left during the process using appropriate tools or solvents. This step enhances the appearance and ensures the finished product meets the desired standards. Finally, thoroughly clean all tools and work surfaces to leave your workspace ready for future projects.
Step 8: Final Inspection
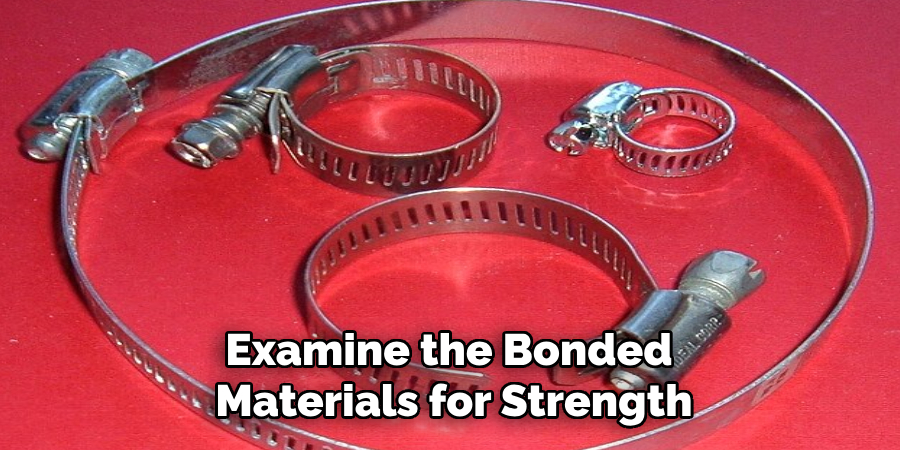
Before considering the project complete, conduct a thorough final inspection. Examine the bonded materials for strength, alignment, and aesthetic quality. Check for any imperfections and make any last-minute adjustments or repairs if necessary. This ensures the finished product is both functional and visually appealing. A meticulous final inspection helps guarantee the durability and professionalism of your work, providing confidence in the result.
Step 9: Documentation and Storage
Once the project is complete and has passed the final inspection, take the time to document your work. Record any relevant details such as materials used, methods applied, and any challenges encountered during the process. This documentation can be valuable for future reference or similar projects.
Properly store any leftover materials, ensuring they are sealed and organized for easy access later. Safely dispose of any waste or unusable remnants by local regulations. A well-organized conclusion to the project maintains efficiency and prepares you for upcoming endeavors.
Step 10: Presentation and Feedback
After completing the project and organizing all materials, present the finished work to stakeholders, clients, or team members as applicable. Provide a clear summary of the process, highlighting key achievements and any innovations or solutions applied during the project. Encourage feedback to gain insights into areas of improvement or potential enhancements for future projects.
Constructive feedback helps refine your skills and strengthens collaboration and communication within the team or with clients. A strong presentation and open discussion ensure satisfaction and build trust in your capabilities.
By following these steps, you can effectively and efficiently use a pipe clamp to achieve accurate and secure holds for your projects.
5 Things You Should Avoid
- Overtightening the Clamp: Applying excessive force when tightening the pipe clamp can damage the material being clamped or warp the pipe, reducing its effectiveness and longevity.
- Using the Wrong Size Pipe Clamp: Selecting a clamp that’s too large or too small for the pipe can lead to instability, improper fit, and potential safety hazards during use.
- Ignoring Regular Maintenance: Failing to inspect and maintain your pipe clamps can cause rust, wear, and decreased performance over time, leading to poor results and unsafe working conditions.
- Incorrect Placement: Placing the clamp in the wrong position might not provide adequate support or pressure, which could result in material slipping or uneven clamping.
- Using Low-Quality Clamps: Opting for poor-quality pipe clamps can lead to breakage, reduced precision, and even potential injury, as they are less reliable and durable. Always choose clamps made from high-grade materials.
Conclusion
How to use pipe clamp effectively requires attention to detail, proper selection of materials, and regular maintenance.
Always ensure you choose the right size and type of clamp for your specific project needs to achieve stability and precision. Avoid common mistakes such as over-tightening or incorrect placement, as these can damage the material or compromise the outcome. Regularly inspect your clamps for wear and tear, and invest in high-quality tools to ensure durability and safety.
By following these guidelines, you can maximize the performance of your pipe clamps and achieve excellent results in your work.

