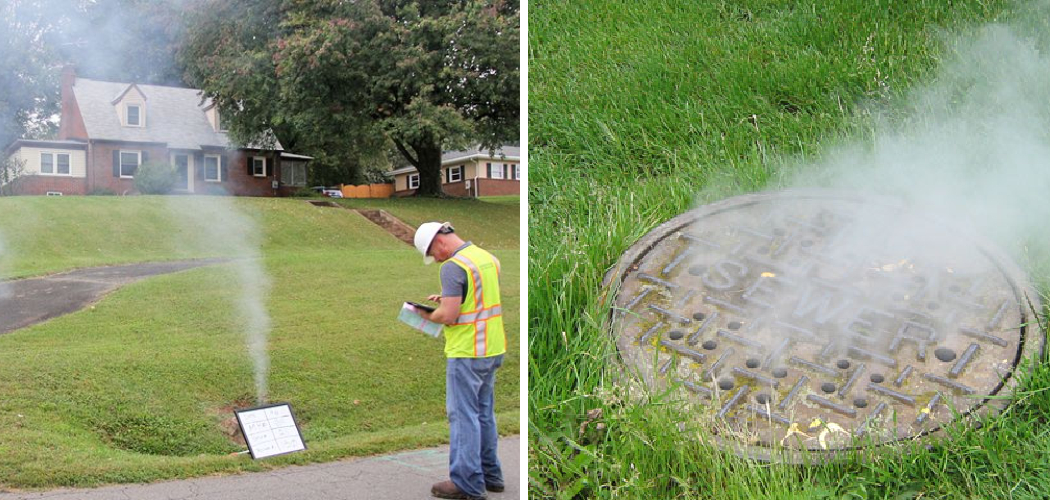
Are you curious about how plumbing smoke tests work? With the right knowledge and tools, anyone can do a quick and safe smoke test on their own plumbing. Smoke testing is an important part of maintaining your home plumbing because it can detect any potentially dangerous air or gas leaks that could be hazardous to your family’s health and safety.
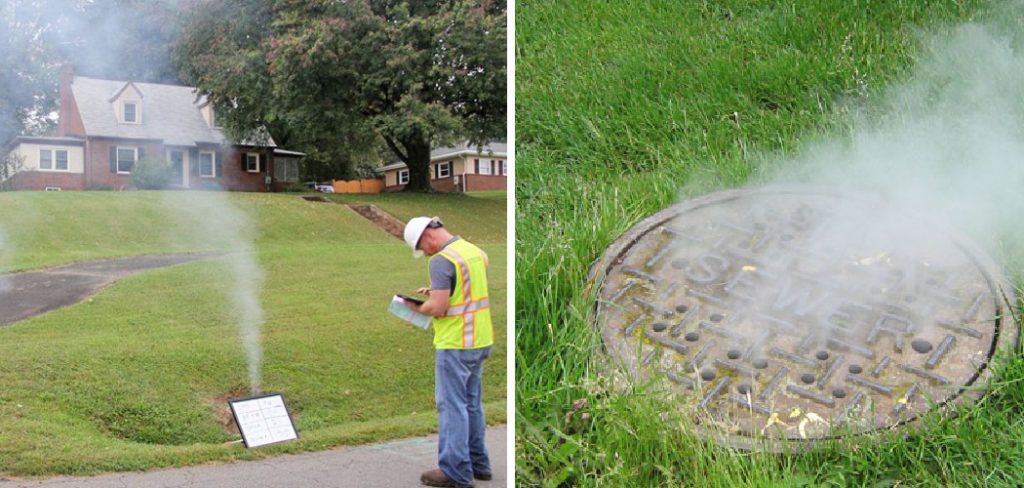
In this blog post, we will provide step-by-step instructions on how to do a smoke test on plumbing. Read on to learn more about what’s involved in properly testing your building’s pipes!
What is a Smoke Test?
Before we dive into the steps of conducting a smoke test, let’s first understand what it is. A smoke test is a method for detecting leaks in plumbing systems by releasing non-toxic smoke through the pipes and seeing where it escapes. The smoke makes it visible to locate any cracks or holes that may be present in the system. This test is commonly used in both residential and commercial buildings to ensure the safety of the occupants.
Tools and Materials You Will Need to Do a Smoke Test on Plumbing
- Non-toxic smoke pellets or fluid
- Smoke tester or blower
- Gloves and protective eyewear
- Duct tape or a rubber stopper
- Towels or rags to cover drains
Step-by-step Guidelines on How to Do a Smoke Test on Plumbing
Step 1: Prepare Your Plumbing System for Testing
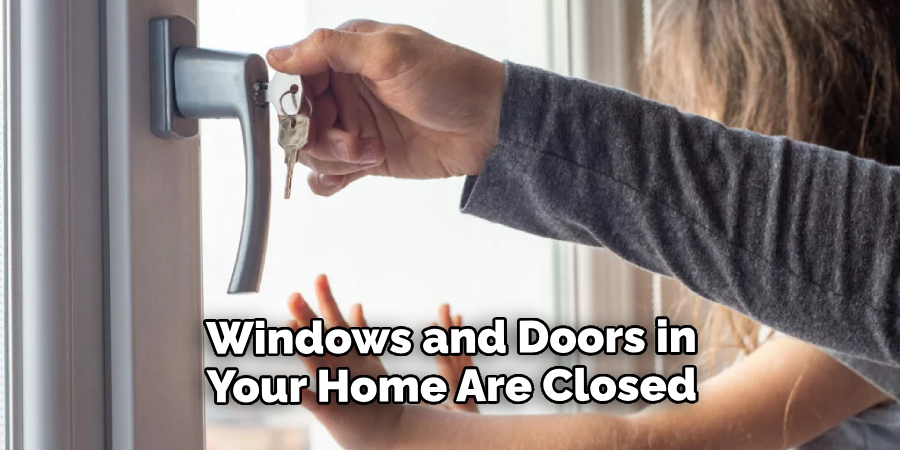
Before you begin the test, make sure that all windows and doors in your home are closed tightly. This will help contain the smoke and make it easier to spot any leaks. Also, cover all plumbing fixtures (such as sinks and bathtubs) with towels or rags to block any potential escape points. Preparing your plumbing system beforehand is crucial to getting accurate results.
Step 2: Insert the Smoke Pellets or Fluid
Next, insert the non-toxic smoke pellets or fluid into your smoke tester or blower according to the manufacturer’s instructions. These can usually be found at hardware stores or online. Make sure to wear gloves and protective eyewear as a safety precaution while handling these materials. This step is crucial because it creates the smoke that will be used to detect any leaks in your plumbing system.
Step 3: Seal Off All Drains
To ensure that the smoke does not escape through drains, cover all of them with tape or a rubber stopper. This includes any floor drains, bathtub drains, and sink drains. The goal is to create a closed system so that the smoke can easily travel through the pipes and reveal any leaks. While this step may seem minor, it is essential to get accurate results.
Step 4: Start Pumping the Smoke
Turn on your smoke tester or blower and start pumping the smoke into your plumbing system. You will be able to see the smoke traveling through your pipes, which will help you identify potential leak locations. Make sure to pay close attention to areas where pipes connect and any visible joints or fittings.
Step 5: Inspect for Leaks
With the smoke now circulating through your plumbing system, it’s time to start inspecting different areas of your home for any leaks. Keep an eye out for any wisps of smoke coming from potential problem areas such as walls, under sinks, or in basements. If you spot any, make a note of the location to address it later.
Step 6: Ventilate and Clean Up
Once you have completed your inspection and identified any potential leaks, turn off the smoke tester or blower and open all windows and doors to ventilate your home. This will help clear out any remaining smoke. Make sure to dispose of the non-toxic smoke pellets or fluid safely and clean up any materials used during the test.
Following these steps will ensure that you can conduct a proper smoke test on your plumbing system. It is recommended to do this test at least once a year as part of regular home maintenance.
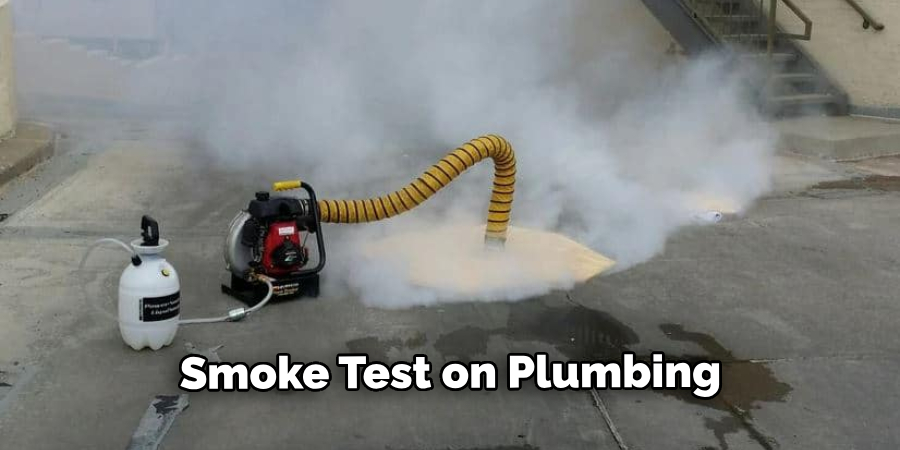
If you do notice any leaks, it’s crucial to address them promptly to avoid any potential health hazards or costly repairs in the future. In summary, knowing how to perform a smoke test on plumbing is a valuable skill for any homeowner and can help ensure the safety of your family and home. So, next time you suspect a leak in your plumbing system, don’t hesitate to use these guidelines to do a quick smoke test! Happy testing!
Additional Tips and Tricks to Do a Smoke Test on Plumbing
1. Make sure to have a clear understanding of the plumbing system before attempting a smoke test. Familiarize yourself with the layout and components such as fixtures, drains, pipes, and vents.
2. Before starting the smoke test, it is important to double-check that all drain traps are filled with water. This will prevent any potential smoke from escaping through an empty trap and giving a false reading.
3. Use caution when handling and lighting smoke candles, as they can produce heat and may potentially cause burns or fire hazards. It is recommended to wear protective gloves and eye gear while performing the test.
4. If you do not have access to smoke candles, there are alternative methods such as using a fog machine or creating your own smoke bomb with household materials. However, these may not be as reliable or effective as smoke candles.
5. If possible, have a helper observe the plumbing system while you conduct the test. This can help identify any potential leaks or issues that may arise during the test.
6. It is important to thoroughly ventilate the area after completing the smoke test, especially if using actual smoke. Open windows and doors to allow fresh air to circulate and clear out any remaining smoke.
7. Regularly conducting smoke tests on your plumbing system can help identify potential issues early on, saving you from costly repairs in the future.
8. Some common reasons for performing a smoke test include checking for leaks, locating sewer line connections or obstructions, and identifying faulty or improperly installed plumbing components. However, smoke tests can also be useful for other purposes such as finding hidden plumbing vents or checking the integrity of newly installed pipes.
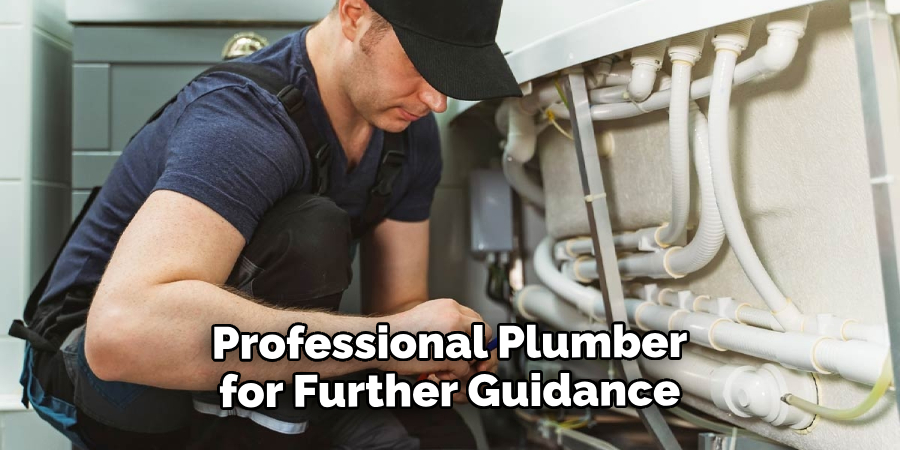
9. If you encounter any issues during the smoke test, it is best to consult a professional plumber for further guidance and assistance. They will have the necessary expertise and equipment to properly diagnose and address any problems with your plumbing system.
Following these additional tips and tricks can help ensure a successful smoke test on your plumbing system. By regularly testing and maintaining your plumbing, you can save yourself from potential disasters and keep your home’s water and waste systems functioning properly. Remember to always prioritize safety and seek professional help when needed. Happy smoke testing!
Precautions Need to Be Followed for Doing a Smoke Test on Plumbing
1. First and foremost, make sure that the plumbing system is completely dry. Any residual water can interfere with the results of the smoke test.
2. Before conducting the smoke test, ensure that all plumbing fixtures are tightly sealed and there are no visible leaks.
3. For safety reasons, it is important to wear protective gear such as gloves and safety glasses during the smoke test. The smoke emitted during the test can be irritating to the eyes and skin.
4. It is recommended to conduct the smoke test in a well-ventilated area or to use a fan to disperse the smoke after the test is completed.
5. Keep all sources of ignition, such as open flames and electrical devices, away from the testing area.
6. If there are any flammable materials present near the plumbing system, it is important to remove them before conducting the smoke test.
7. In case of any discomfort or irritation during the test, stop immediately and seek medical assistance if necessary.
8. If possible, it is best to have a professional plumber conduct the smoke test to ensure accurate results and avoid potential risks.

Following these precautions will help ensure a safe and effective smoke test on your plumbing system. It is important to take safety measures seriously, as any accidents or mishaps can cause significant damage and harm. Now, let’s dive into the steps for performing a smoke test on plumbing.
Conclusion
In conclusion, taking a few steps on how to do a smoke test on plumbing can help identify potential issues that may exist within an active system. While you will need certain supplies like a smoke-generating device, a flexible tube, and some other materials for venting, the process is relatively straightforward and can be done with relative ease.
If you are still unsure of the process or would like professional assistance, it is highly recommended that you reach out to a certified plumber who can ensure the job is done right the first time.
With this information in hand, you should now have all of the resources to adequately test your own plumbing and ensure it is working properly before any problems arise. Thanks for reading! Do try our methods to do a smoke test on plumbing today and make sure your systems are fully functioning as they should be.

